(4) Remove the strut upper mount assembly, upper
spring isolator, dust shield, and jounce bumper. The
jounce bumper should come off with the dust shield.
The dust shield and upper spring isolator can be
removed from the upper mount if necessary.
(5) Remove the clamp and remove the strut out
from the bottom of the coil spring.
(6) Remove the lower spring isolator from the strut
coil spring seat.
(7) Inspect the strut assembly components for the
following and replace as necessary:
• Inspect the strut for any condition of shaft bind-
ing over the full stroke of the shaft.
• Inspect the strut shaft for loss of charge.
• Inspect the jounce bumper for cracks and signs
of deterioration.
• Check the upper mount for cracks and distortion
and its retaining studs for any sign of damage.
• Inspect the dust shield for rips and deteriora-
tion.
• Inspect the upper and lower spring isolators for
material deterioration.
• Inspect the coil spring for any sign of damage to
the coating.
NOTE: Before releasing the tension on the coil
spring, note the position of the coil end on the
upper end of the coil spring. When reinstalled, posi-
tion it in the same spot for ease of alignment of the
upper mount, coil spring and the strut.
(8) If the coil spring needs to be removed from the
compressor, release the tension from the coil spring
by backing off the compressor drive fully. Push back
the compressor hooks and remove the coil spring.
ASSEMBLY
NOTE: Make sure all components are free of dirt
and debris before assembly, especially around the
mounting surfaces.
NOTE: If the coil spring has been removed from the
spring compressor, proceed with the next step, oth-
erwise, proceed with step 2.
WARNING: Do not install the spring compressor
hooks on the coil spring in an area of the spring
covered by a sleeve. If the sleeve moves when com-
pressing the spring, the spring could come move
resulting in personal injury.
CAUTION: When installing the spring compressor’s
hooks on the coil spring, do not position the hooks
of the spring compressor on the sleeve of the coil
spring. Positioning the spring compressor on the
sleeve could cause the sleeve to dislodge from the
coil spring when it is compressed. This would
result in the required replacement of the coil spring.
(1) Place the coil spring in the compressor follow-
ing the manufacturer’s instructions. The coil spring
must be installed so the sleeve on the spring is
towards the upper end of assembly. Before compress-
ing the spring, rotate the spring to the position noted
in disassembly for ease of strut assembly compo-
nents.
(2) Install the lower spring isolator on strut
matching the step in the isolator to the step in the
strut lower spring seat.
(3) Install the strut through the bottom of the coil
spring until the lower spring seat contacts the lower
end of the coil spring. Align the lower coil spring end
with the step in the strut lower spring seat. Install
the clamp on the lower end of the coil spring and
strut, so the strut is held in place.
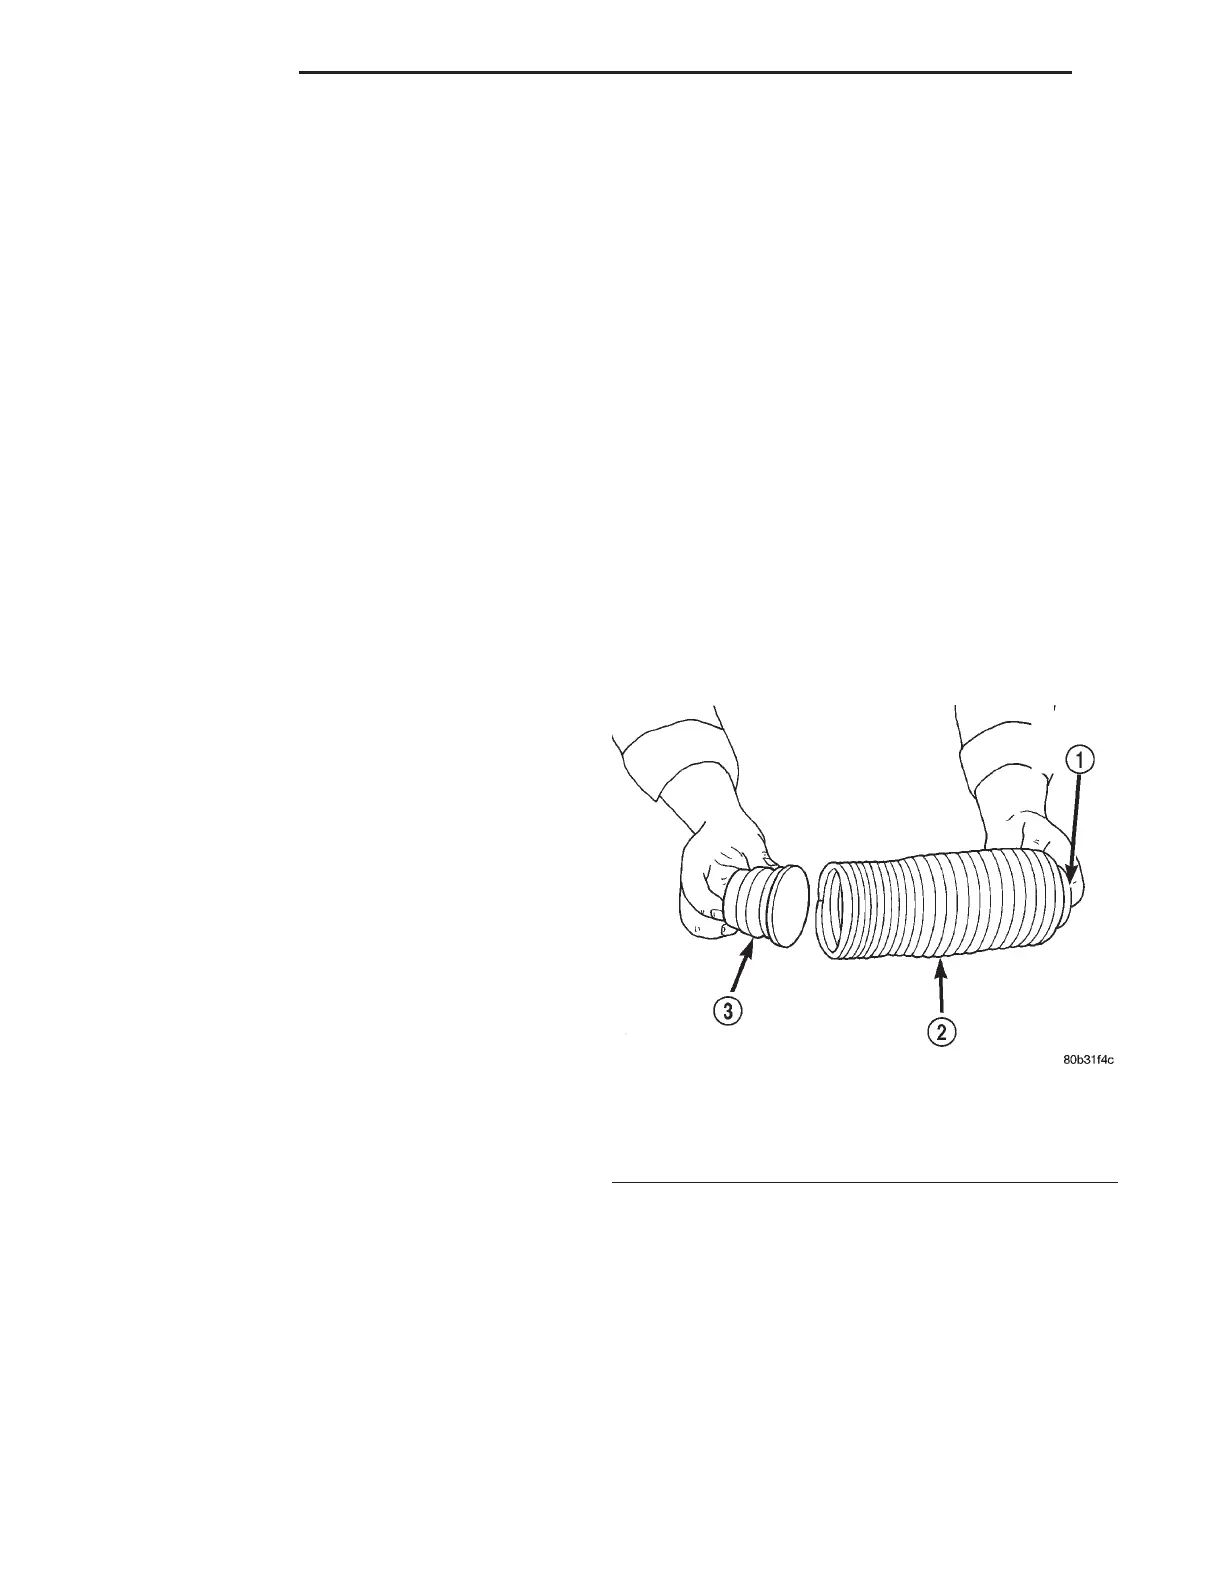
(4) Install the jounce bumper into the dust shield
from the bottom (Fig. 37). The jounce bumper should
snap into position at the top end of the dust shield.
(5) Install the dust shield and jounce bumper into
position in bottom of upper strut mount. Dust shield
should snap into position. Once correctly installed,
the dust boot should be able to be rotated within the
mount without coming loose.
(6) Install the upper strut mount, dust shield and
jounce bumper onto the strut shaft. Position the
mount so its center rear mounting stud is aligned
with the stabilizer bar attaching link bracket that is
on the inboard side of the strut.
(7) Install the upper strut mount to strut shaft nut
on the strut shaft. Install Strut Shaft Socket, Special
Fig. 37 Jounce Bumper Installed Into Dust Shield
1 – TOP OF DUST SHIELD
2 – DUST SHIELD
3 – JOUNCE BUMPER
2 - 62 SUSPENSION LH
DISASSEMBLY AND ASSEMBLY (Continued)