Getting Started
R&S
®
ZNA
100User Manual 1178.6462.02 ─ 29
To put the VNA system into operation, follow the steps described in Chapter 3.5.5,
"Putting the system into operation", on page 92.
Configuration and measurement steps
Configuring the measurement setup and measuring the DUT involves the following
steps:
1. Configuring the converters in the R&S ZNA firmware
See Chapter 3.5.7.2, "Converter configuration", on page 100
2. Establishing the required connections between the R&S ZNA and the test sets
See Chapter 3.5.6, "Connecting the external test sets", on page 93
3. Power calibration (optional for S parameter measurements
See Chapter 3.5.7.4, "Scalar power calibration and leveling (optional)",
on page 102
4. System error correction, using a suitable calibration kit
See Chapter 3.5.7.5, "System error correction", on page 105
5. Connecting the DUT
See Chapter 3.5.7.6, "Mounting a DUT", on page 106
6. Measuring the DUT
See Chapter 3.5.7.7, "Measurement", on page 106
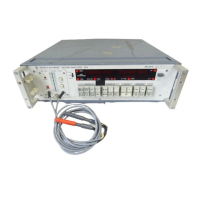
3.5.7.1 Required equipment
The cabling of the external test sets is described in Chapter 3.5.6, "Connecting the
external test sets", on page 93.
To calibrate the measurement setup, the following equipment is required:
●
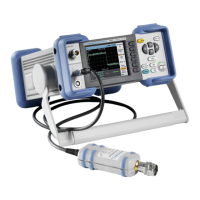
For power calibration and leveling at the 1 mm port of the external test set, a power
meter that covers the measured frequency range, such as the thermal power sen-
sor R&S NRP110T.
(for the latter an additional 1 mm f/f adapter is required)
●
Suitable adapters for scalar power calibration of the LO IN and RF IN signals at the
external test set
●
For system error correction, a 1 mm calibration kit that covers the measured fre-
quency range, e.g the R&S ZV-Z210
3.5.7.2 Converter configuration
Convenient converter configuration is provided with software option R&S ZNA-K8,
which is already preinstalled on your R&S ZNA.
1. At the graphical user interface of the R&S ZNA , open the "Converter Configura-
tion" dialog (System – [Setup] key > "Frequency Converter" tab > "Frequency Con-
verter ...").
Getting started with R&S
ZNA67EXT

 Loading...