24. Remove the Drive Roller by sliding it to the right, then downwards and then out of the printer.
NOTE: When reinstalling the parts, make sure you apply the grease (included with the support part) to
the gears.
NOTE: After installing the NEW Drive Roller, perform the following Service Calibration.
●
Substrate Advance Calibration. See
4.1.1 Substrate-Advance Calibration on page 178
Installation
▲
Reverse the removal steps.
Front panel
Removal
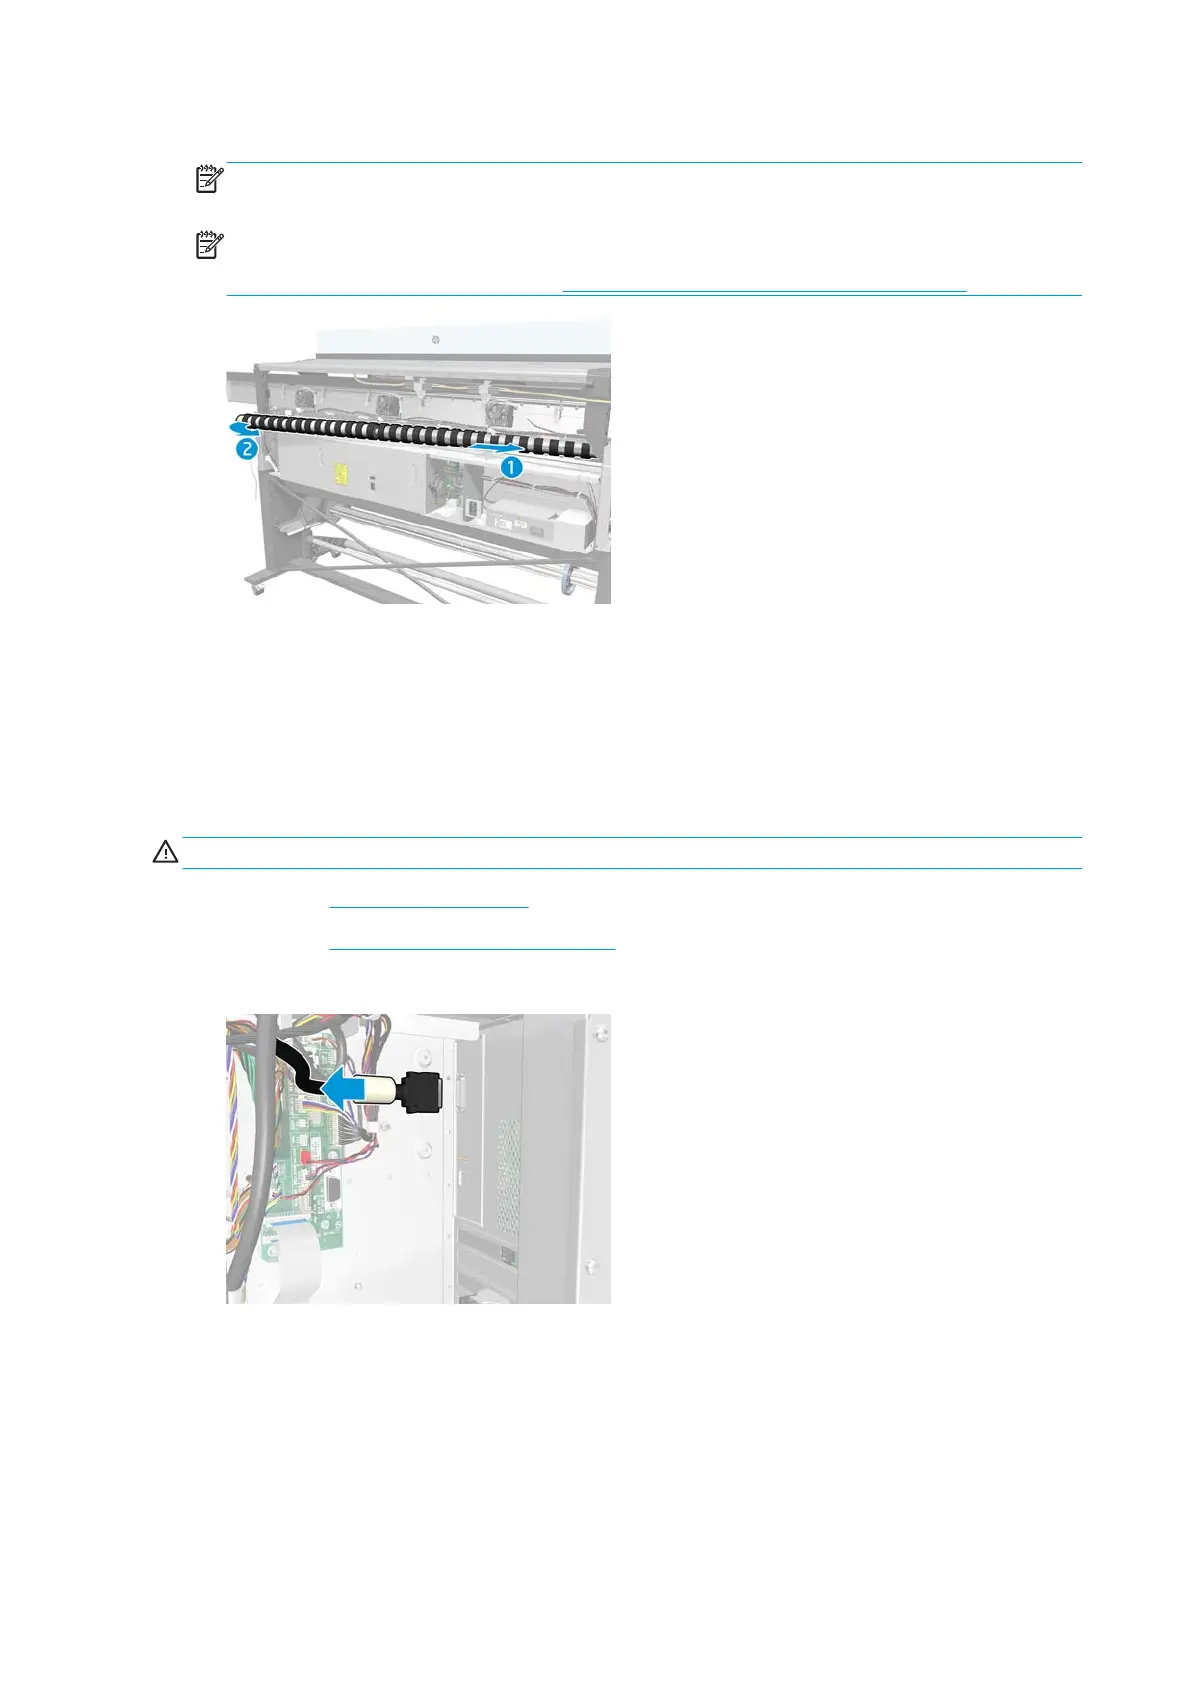
WARNING! Turn off the printer and disconnect both power cords.
1. Remove the Right cover on page 246.
2. Remove the
Right connector cover on page 258.
3. Disconnect the front-panel cable from the interconnect PCA.
244 Chapter 8 Removal and installation ENWW
 Loading...


