3. Remove three T-20 screws (Type A) that secure the formatter PCA cover.
4. Remove the formatter PCA cover from the printer.
5. Remove three T-20 screws (Type A) that secure the PSU cover.
6. Remove the PSU cover from the printer.
7. Disconnect cables as required.
8. Remove two T-10 screws (Type I) from the back of the PSU assembly.
9. Remove two T-10 screws (Type I) from the PSU assembly.
10. Pull out the PSU assembly slightly from the electronics module.
11. Remove the PSU assembly.
PrintMech PCA
Removal
WARNING! Turn off the printer and disconnect both power cords.
1. Remove the E-box extension on page 260.
2. Remove the
Heater control assembly on page 424.
3. Disconnect all cables from the PrintMech PCA.
4. Remove eight T-10 screws (Type I) that secure the PrintMech PCA.
5. Remove the PrintMech PCA from the printer.
Engine PCA
Removal
WARNING! Turn off the printer and disconnect both power cords.
1. Remove the Right connector cover on page 258.
2. Remove three T-20 screws (Type A) that secure the formatter PCA cover.
3. Remove the formatter PCA cover from the printer.
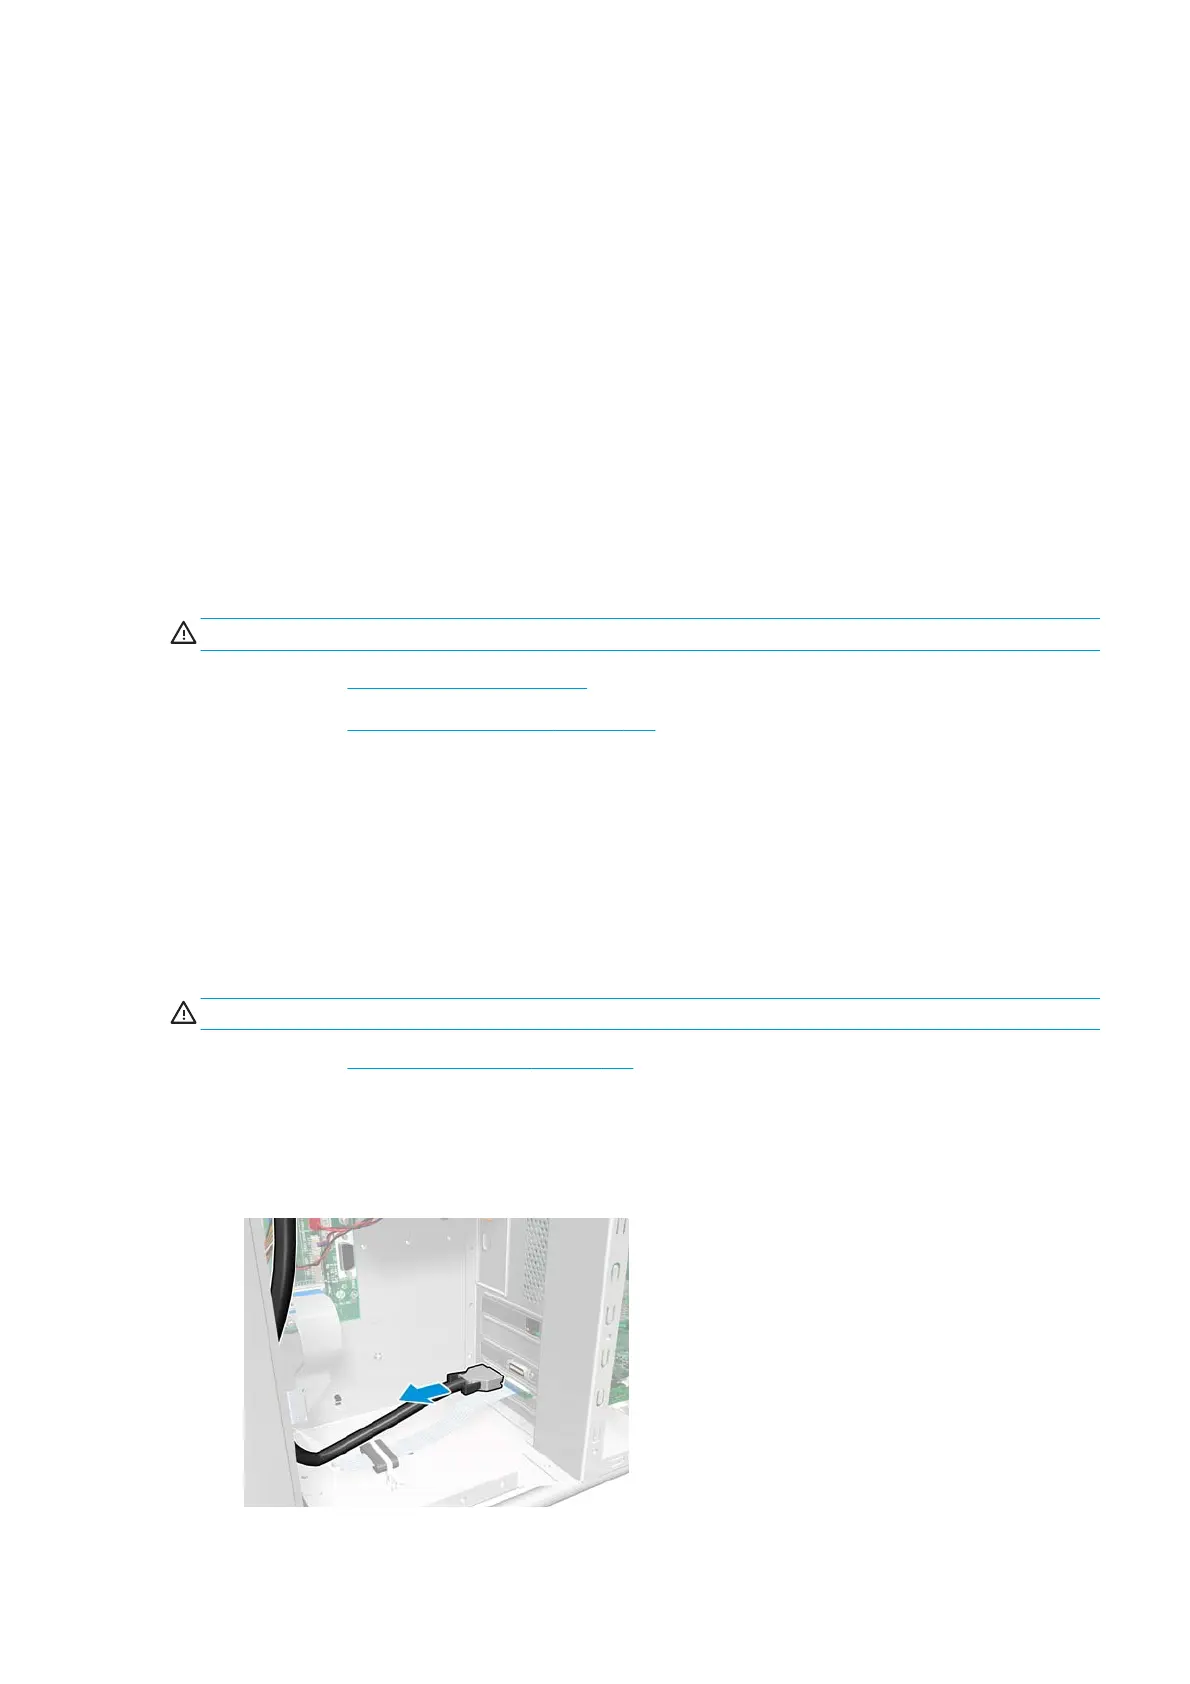
4. Disconnect the trailing cable from the engine PCA.
ENWW PrintMech PCA 433
 Loading...


