3. Carefully feed the OMAS cable through the vacuum beam sufficiently to have approximately 10 cm (4 in)
hanging from the OMAS installation position.
4. Slide the ferrite core and its associated attachment plate onto the OMAS cable.
IMPORTANT: Slide the OMAS cable through the ferrite core until the red line of the cable is aligned
with the edge of the ferrite core.
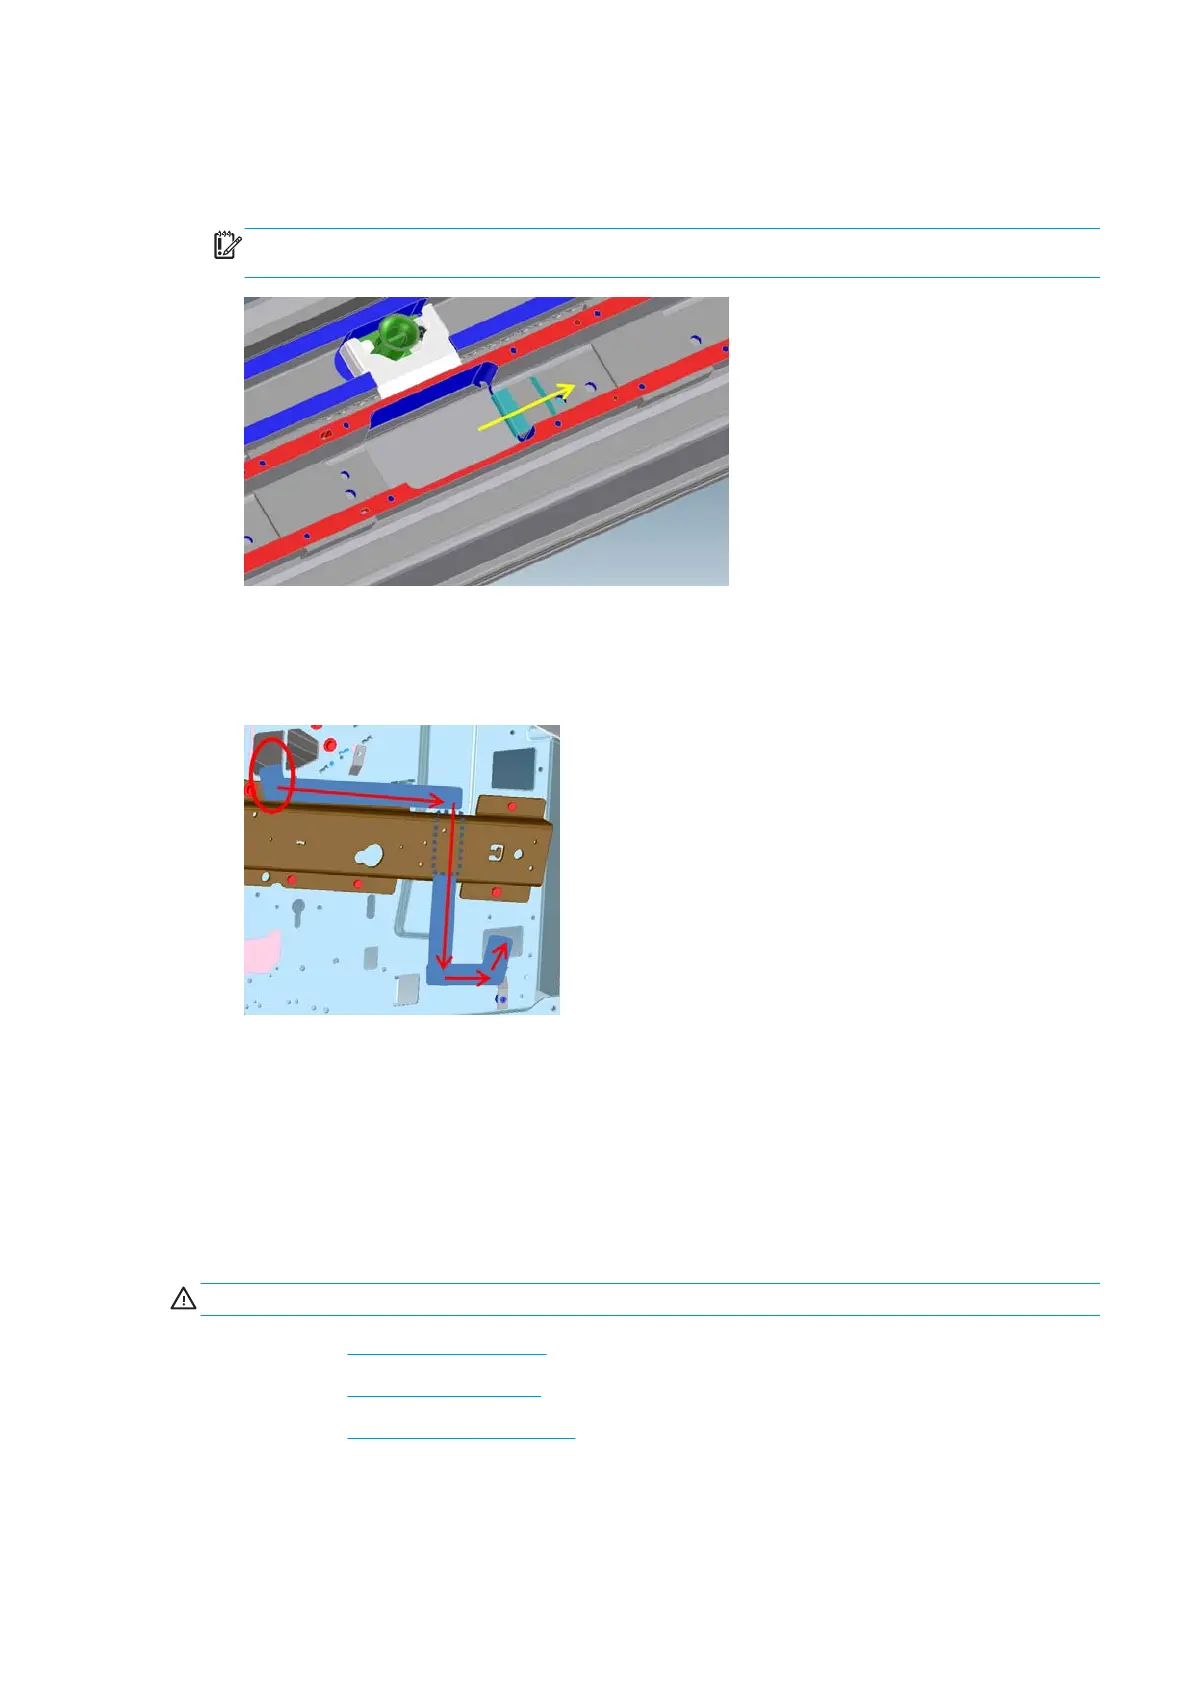
5. Carefully route the OMAS cable back into the sideplate connections, making sure that the straight fold
immediately before the first diagonal fold (from the OMAS sensor end) is aligned with the slot. Fold the
OMAS cable across the diagonal fold, and install the cable clamp to lock the OMAS cable in the correct
position.
6. Route the OMAS cable to the ferrite core in the right interconnect panel.
7. Feed the OMAS cable through the ferrite core.
8. Connect the OMAS cable to the OMAS controller card with the connections on the top.
Pinchwheel assembly
Removal
WARNING! Turn off the printer and disconnect both power cords.
1. Remove the Right cover on page 246.
2. Remove the
Rear cover on page 253.
3. Remove the
Service station on page 348.
ENWW Pinchwheel assembly 403
 Loading...


