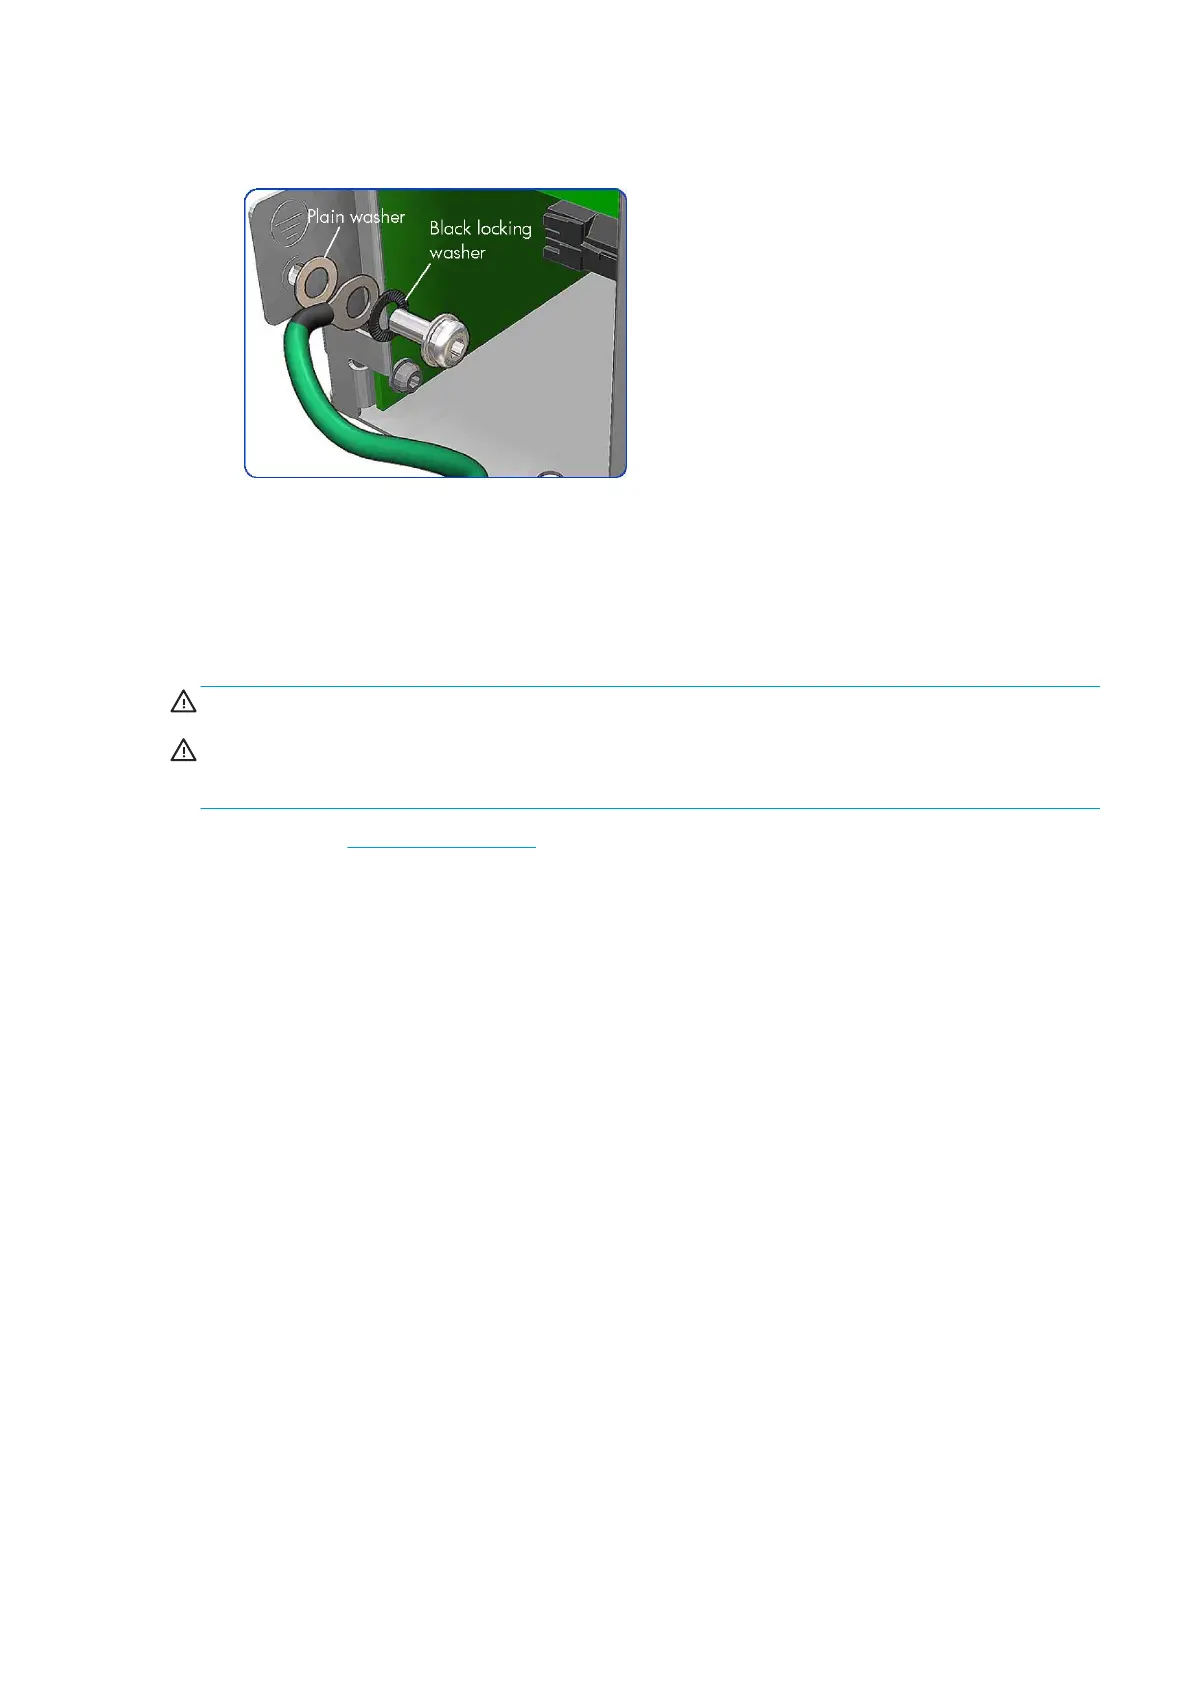
7. When connecting the cable of the dryer AC input assembly to the heater control assembly, it is
important to install the washers as shown here.
8. Once the heater control assembly has been installed successfully, tighten the screws of the electronics
enclosure extension to the electronics enclosure.
Ink supply station PCAs
Removal
WARNING! Turn off the printer and disconnect both power cords.
CAUTION: You must never replace both the SSD and the ISS PCAs (or the ink supply tubes and trailing cable)
at the same time. If these parts need to be replaced, you must first replace one part and then turn on the
printer until it completely initializes. Then turn off the printer and replace the other part.
1. Remove the Left cover on page 249.
2. Pull out the top row of cartridge trays and remove the ink cartridges.
3. Close the top row of cartridge trays and pull out the bottom row.
4. Pull out the bottom row of cartridge trays and remove the ink cartridges.
5. Twist the four latches at the rear of the lower ink cartridge tube connector and release the complete
assembly.
6. Slide the upper and lower cartridge tube connectors out of the ISS assembly (but do not remove) to gain
access to the upper ISS PCAs.
7. Disconnect the air tube from the upper ISS PCA.
8. Disconnect the electrical cable from the upper ISS PCA.
9. Remove two T-10 screws from the upper ISS PCA.
10. Disconnect four connectors from the upper ISS PCA.
11. To make the removal easier, you can remove the two ink valves located at the rear of the upper
cartridge tube connector from their holders, by turning them in a clockwise direction.
ENWW Ink supply station PCAs 427
 Loading...


