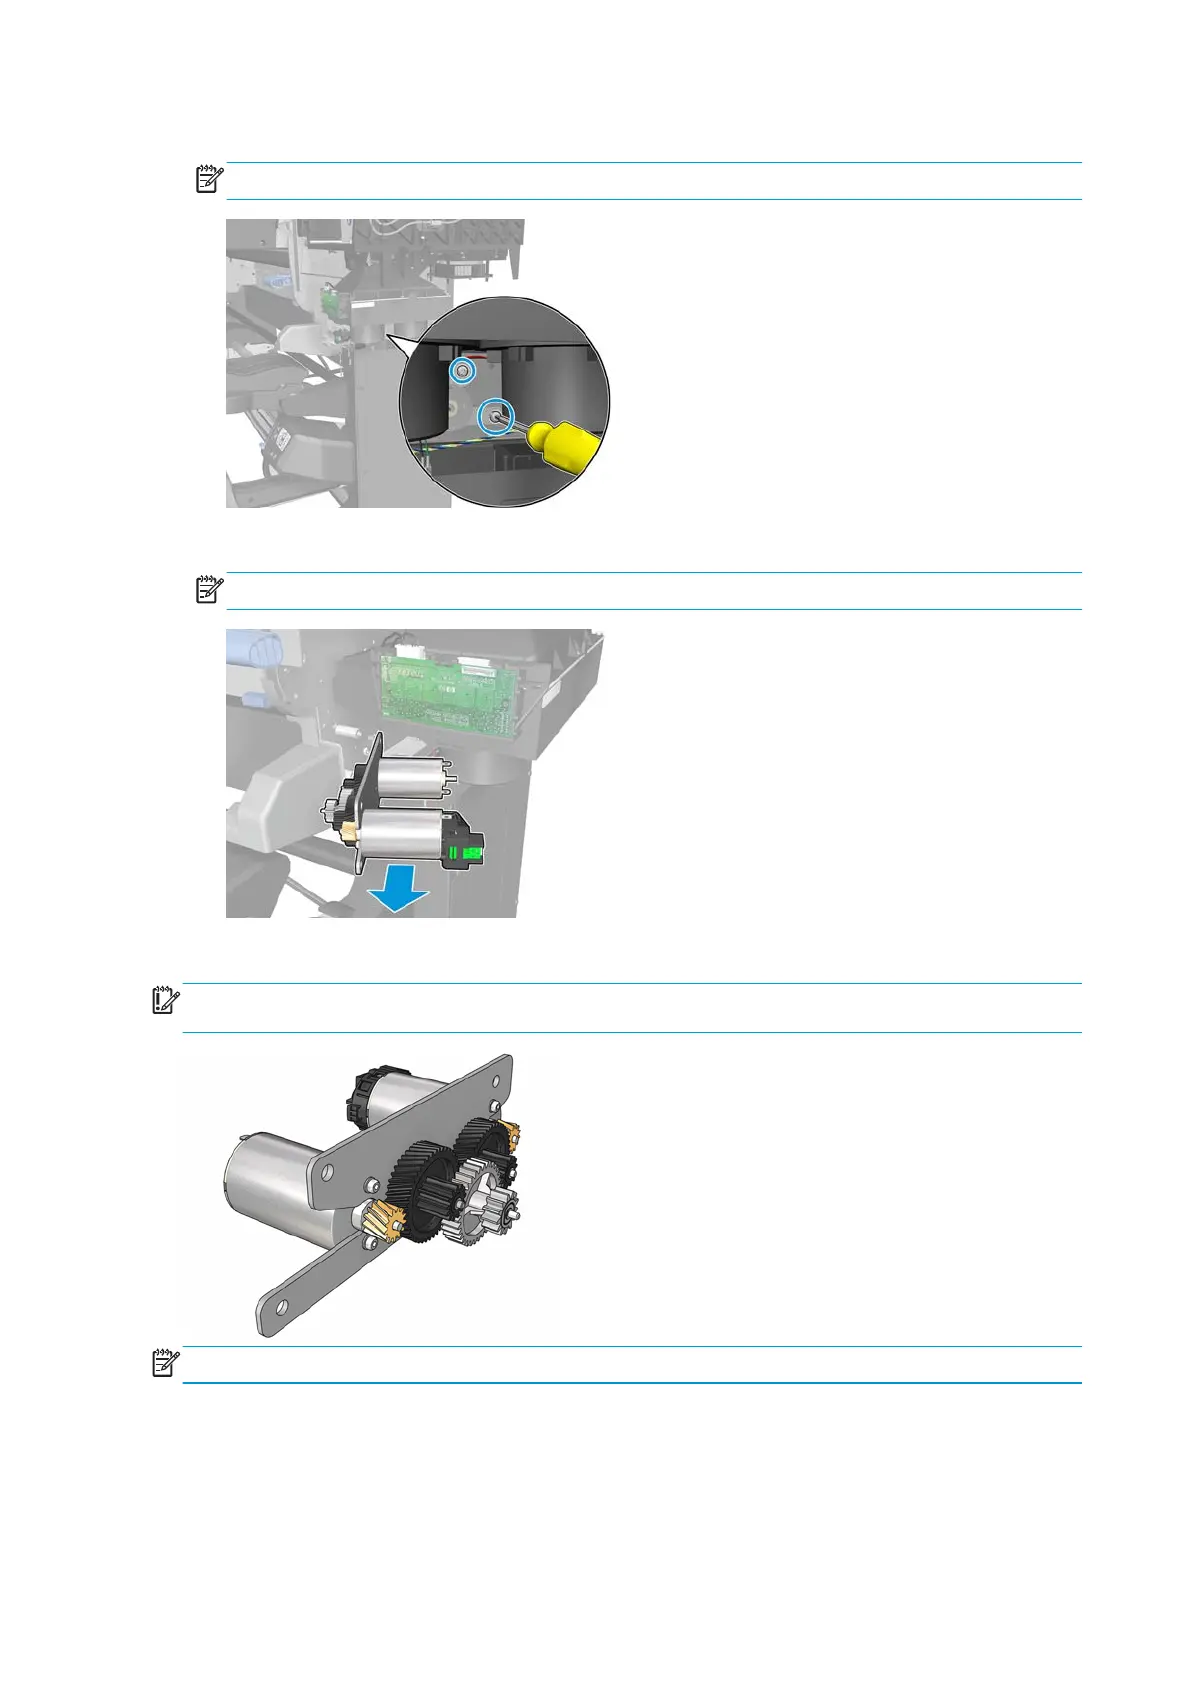
8. Remove two T-20 screws from the right of Rewinder Assembly.
NOTE: A long screwdriver is required to reach the screws.
9. Remove the Rewinder Assembly making sure that you do not drop the gears.
NOTE: The gears of the Rewinder Assembly are loose and could fall as you remove the assembly.
Installation
IMPORTANT: Note the position of the gears when installing the Rewinder Assembly, as they can fall from
the assembly while being installed.
NOTE: 64–inch printers have two Rewinder Motors. 54–inch printers have only one Rewinder Motor.
1. When you have installed the new Rewinder Motor, ensure that the correct cables are connected to the
correct terminals of the Rewinder Assembly:
●
Black cable on the right.
●
Red cable on the left.
340 Chapter 8 Removal and installation ENWW
 Loading...


