9. Gently open up the top part and the bottom part of the extension.
10. Pull out slightly (but do not remove) the heater control assembly.
11. Remove the heater control assembly with the dryer AC input and dryer circuit breaker from the printer.
Installation
Use the following installation procedure to avoid damaging exposed parts on the PrintMech PCA.
1. There are two screws that attach the electronics enclosure extension to the electronics enclosure. It is
important to loosen these two screws. If the screws are fully screwed in it is very difficult to insert the
heater control assembly correctly.
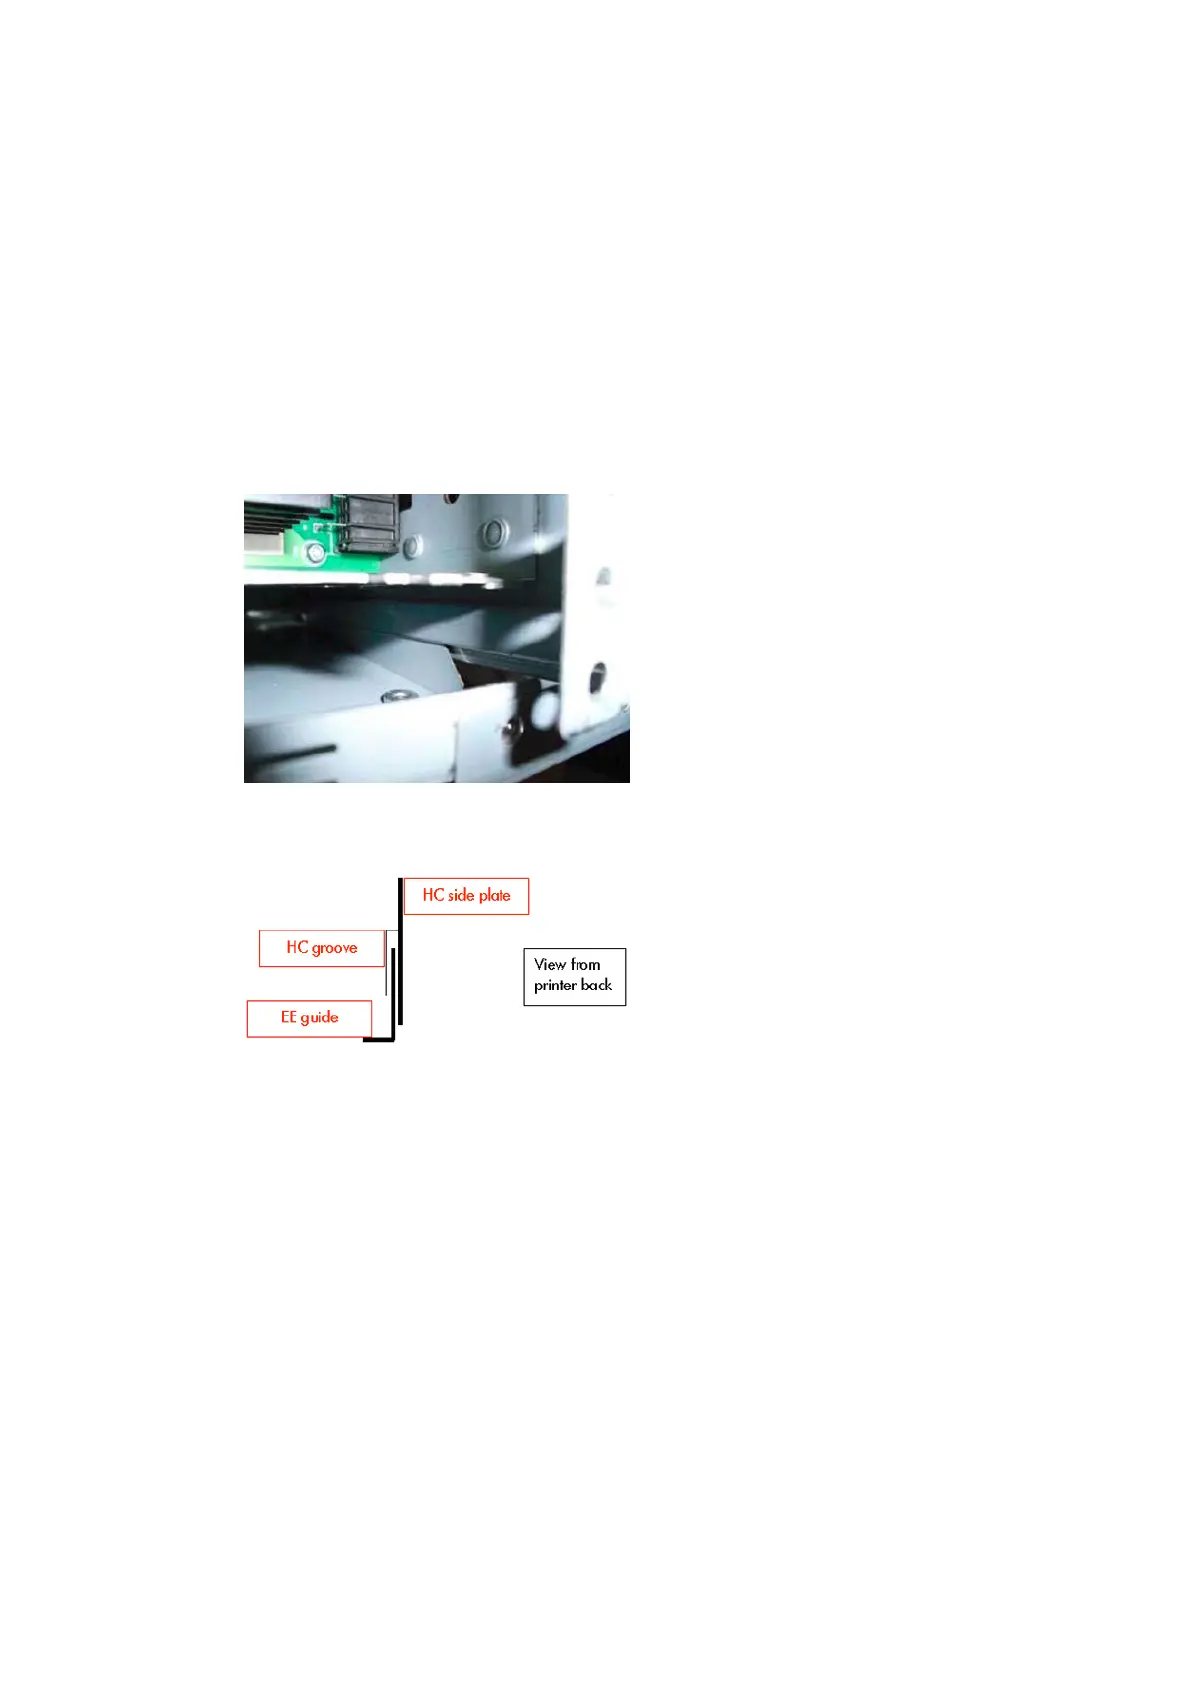
2. The heater control assembly has a groove at the top and another at the bottom of the side plate. These
grooves must be correctly inserted into the guides of the electronics enclosure.
3. The picture and drawing show the bottom part of the heater control assembly. The same features can
be found on the top, which are assembled in the same way.
ENWW Heater control assembly 425
 Loading...


