Configuring RLMI
Creating Service Names
ATM Services Configuration Guide for CBX 3500, CBX 500, GX 550, and B-STDX 9000 1/19/0515-7
Beta Draft Confidential
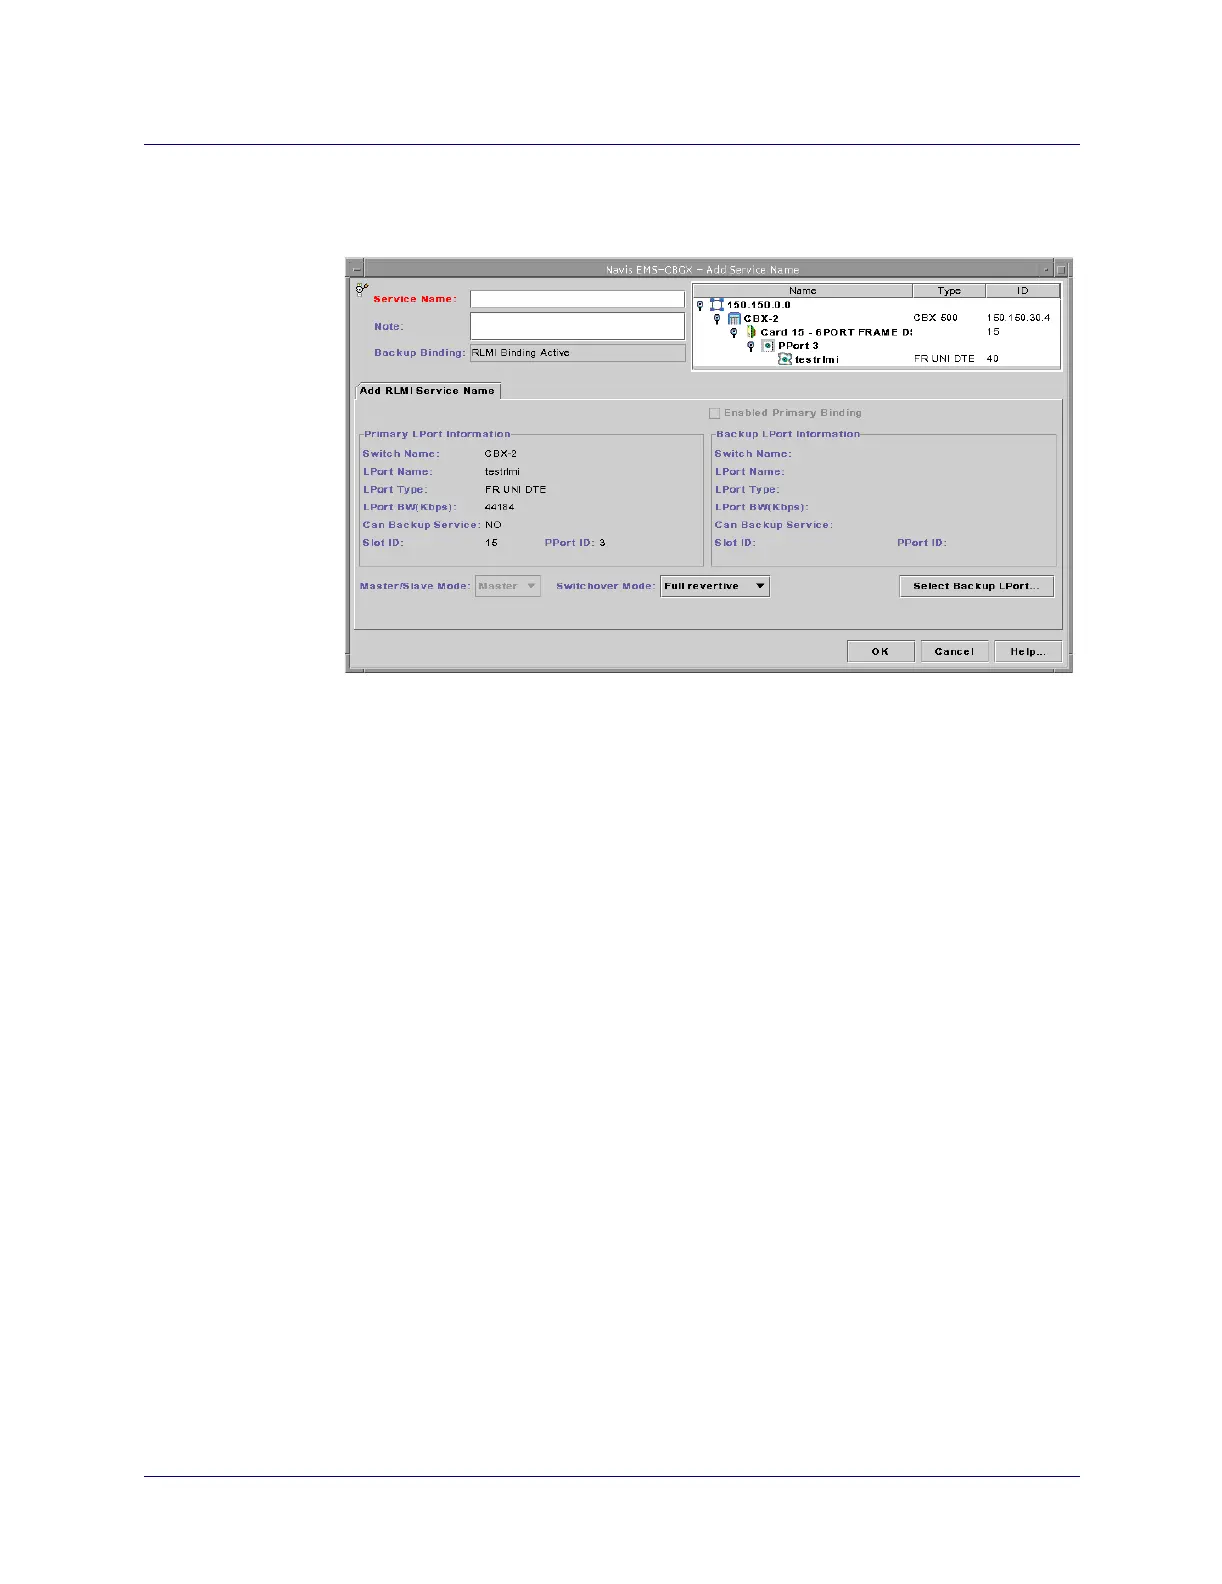
The Add Service Name dialog box (Figure 15-2) is displayed with the Add RLMI
Service Name tab available.
Figure 15-2. Add RLMI Service Name Dialog Box
4. Enter a service name (up to 32 characters) in the Service Name field. Optionally,
you can enter a brief comment or description of the service in the Note field.
5. Click OK to add the service name.
6. Configure the Master/Slave Mode field, selecting the mode of operation for
resilient LMI bindings from the pull-down list.
The RLMI feature does not detect invalid Master-Master or Slave-Slave
configurations. You must configure complementary types (for example, a
master-slave connection). You must configure UNI RLMI with the DTE (user
side) as the Master and the DCE (network side) as the Slave. You can configure
either side of an NNI RLMI as Slave or Master:
• Master – This mode determines which link to activate as the working link.
Only Frame Relay UNI DTE or NNI logical ports can be configured as
Preferred and Backup ports under this mode.
• Slave – Only Frame Relay UNI DCE or NNI logical ports can be configured
as Preferred and Backup ports under this mode.