Beta Draft Confidential
13-41/19/05 ATM Services Configuration Guide for CBX 3500, CBX 500, GX 550, and B-STDX 9000
Configuring Layer 2 VPNs
Configuring a Layer 2 VPN
Configuring a Layer 2 VPN
Use the following sequence to set up a Layer 2 VPN:
Creating a Layer 2 VPN
To create a Layer 2 VPN:
1. Expand the instance node for the network to which you want to add a VPN.
2. Right-click on the VPNs class node and select Add from the pop-up menu.
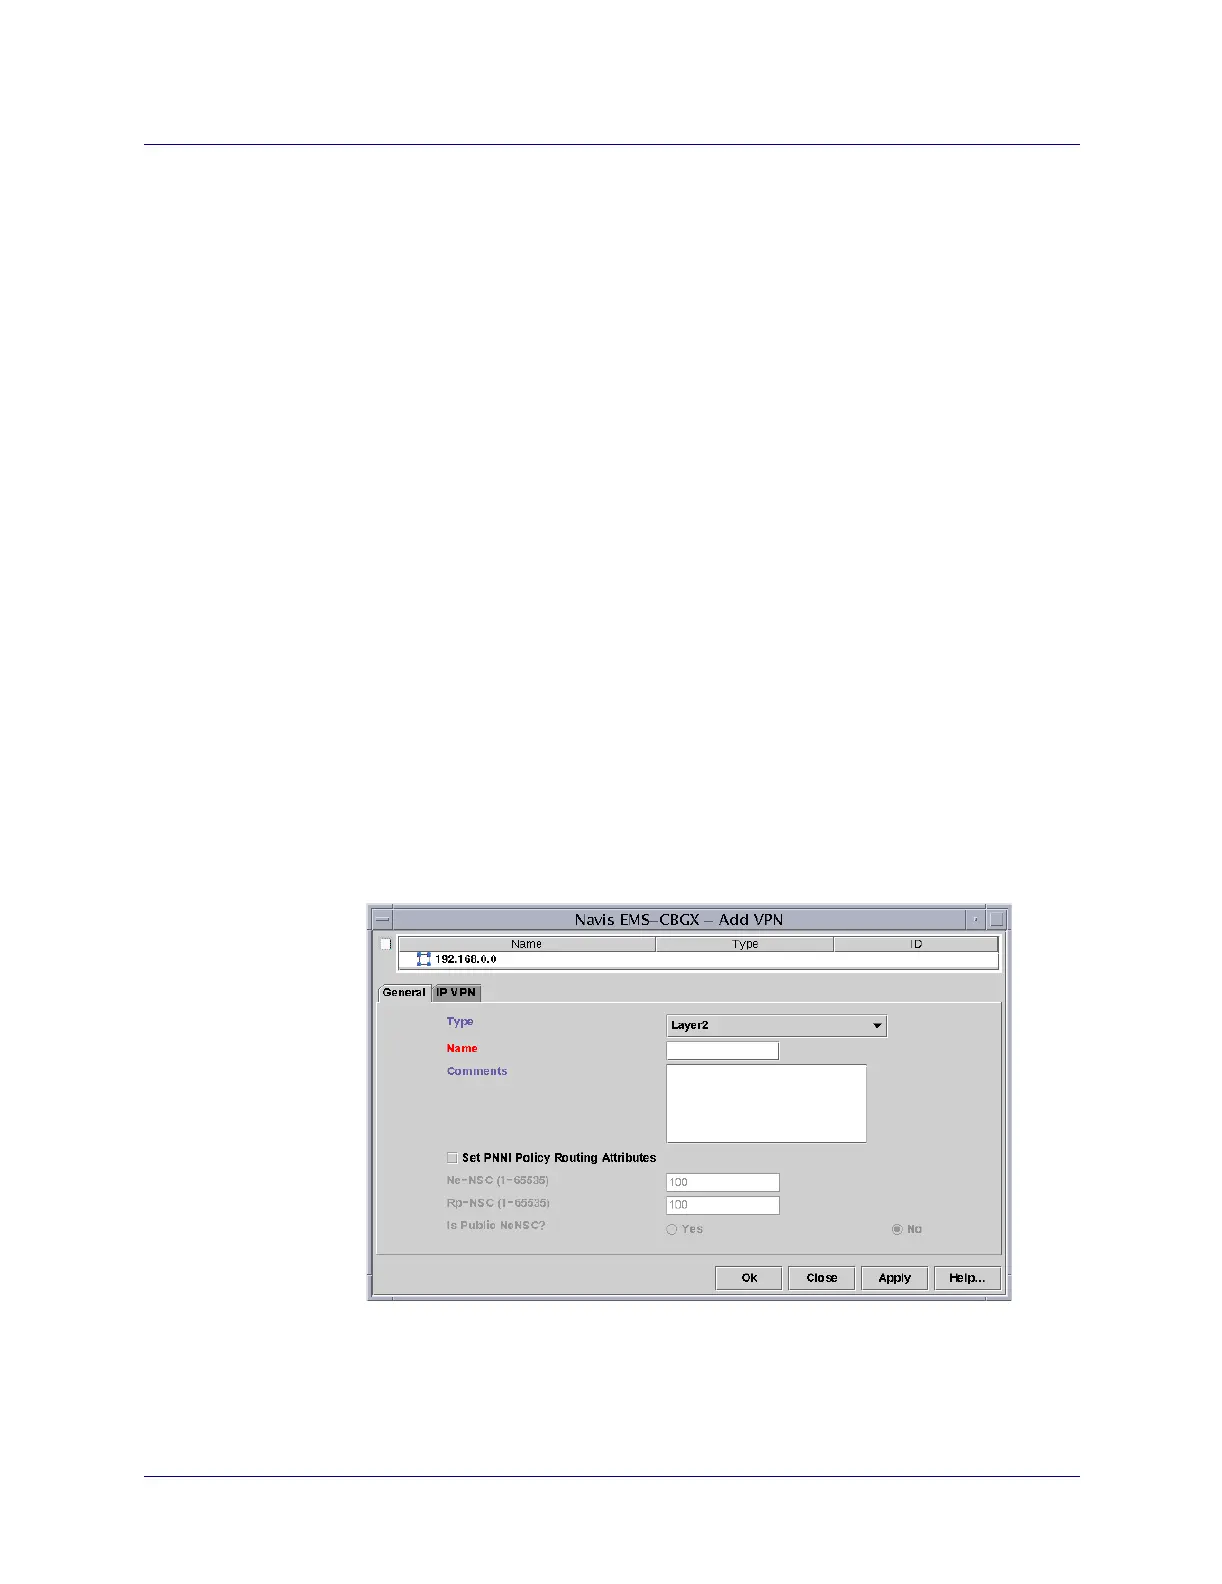
The Add VPN dialog box appears (Figure 13-3).
Figure 13-3. Add VPN Dialog Box
3. Select the General tab and complete the fields, as described in Table 13-1.
Step 1. Create the Layer 2 VPN (see page 13-4).
Step 2. Add customers to a specific Layer 2 VPN (see page 13-5).
Step 3. Dedicate a trunk to a specific Layer 2 VPN (see page 7-23).
Step 4. For SVC traffic, when you configure the UNI or NNI logical port, specify the
Network Overflow field (see page 3-18). Then, dedicate this logical port to a
specific VPN and customer (page 13-9).
Step 5. For PVC traffic, specify the Network Overflow field for the circuit
(page 10-19). Then, dedicate the circuit to a specific VPN and customer
(page 13-9).