Beta Draft Confidential
H-41/19/05 ATM Services Configuration Guide for CBX 3500, CBX 500, GX 550, and B-STDX 9000
Customer Names
Using the Layer2 Customer/VPN View Feature
3. From the list in the Customer Names field, select the name you want to assign to
this LPort.
4. From the list in the VPN/Policy Names field, select the name you want to assign
to this LPort.
5. Choose OK.
Using the Layer2 Customer/VPN View Feature
The Layer2 Customer/VPN View feature enables a network view for a specific
customer, making it easy to identify those logical ports that belong to the customer.
When you create PVCs with the Layer2 VPN/Customer View feature enabled, the
Select End Logical Ports dialog box only displays the logical ports that belong to the
customer you selected.
To use the Layer2 Customer/VPN View feature:
1. Right-click on the instance node of the network to which you want to assign a
Layer2 VPN and customer name.
2. Select L2 VPN/Customer Info from the popup menu. The Select Layer2 Customer
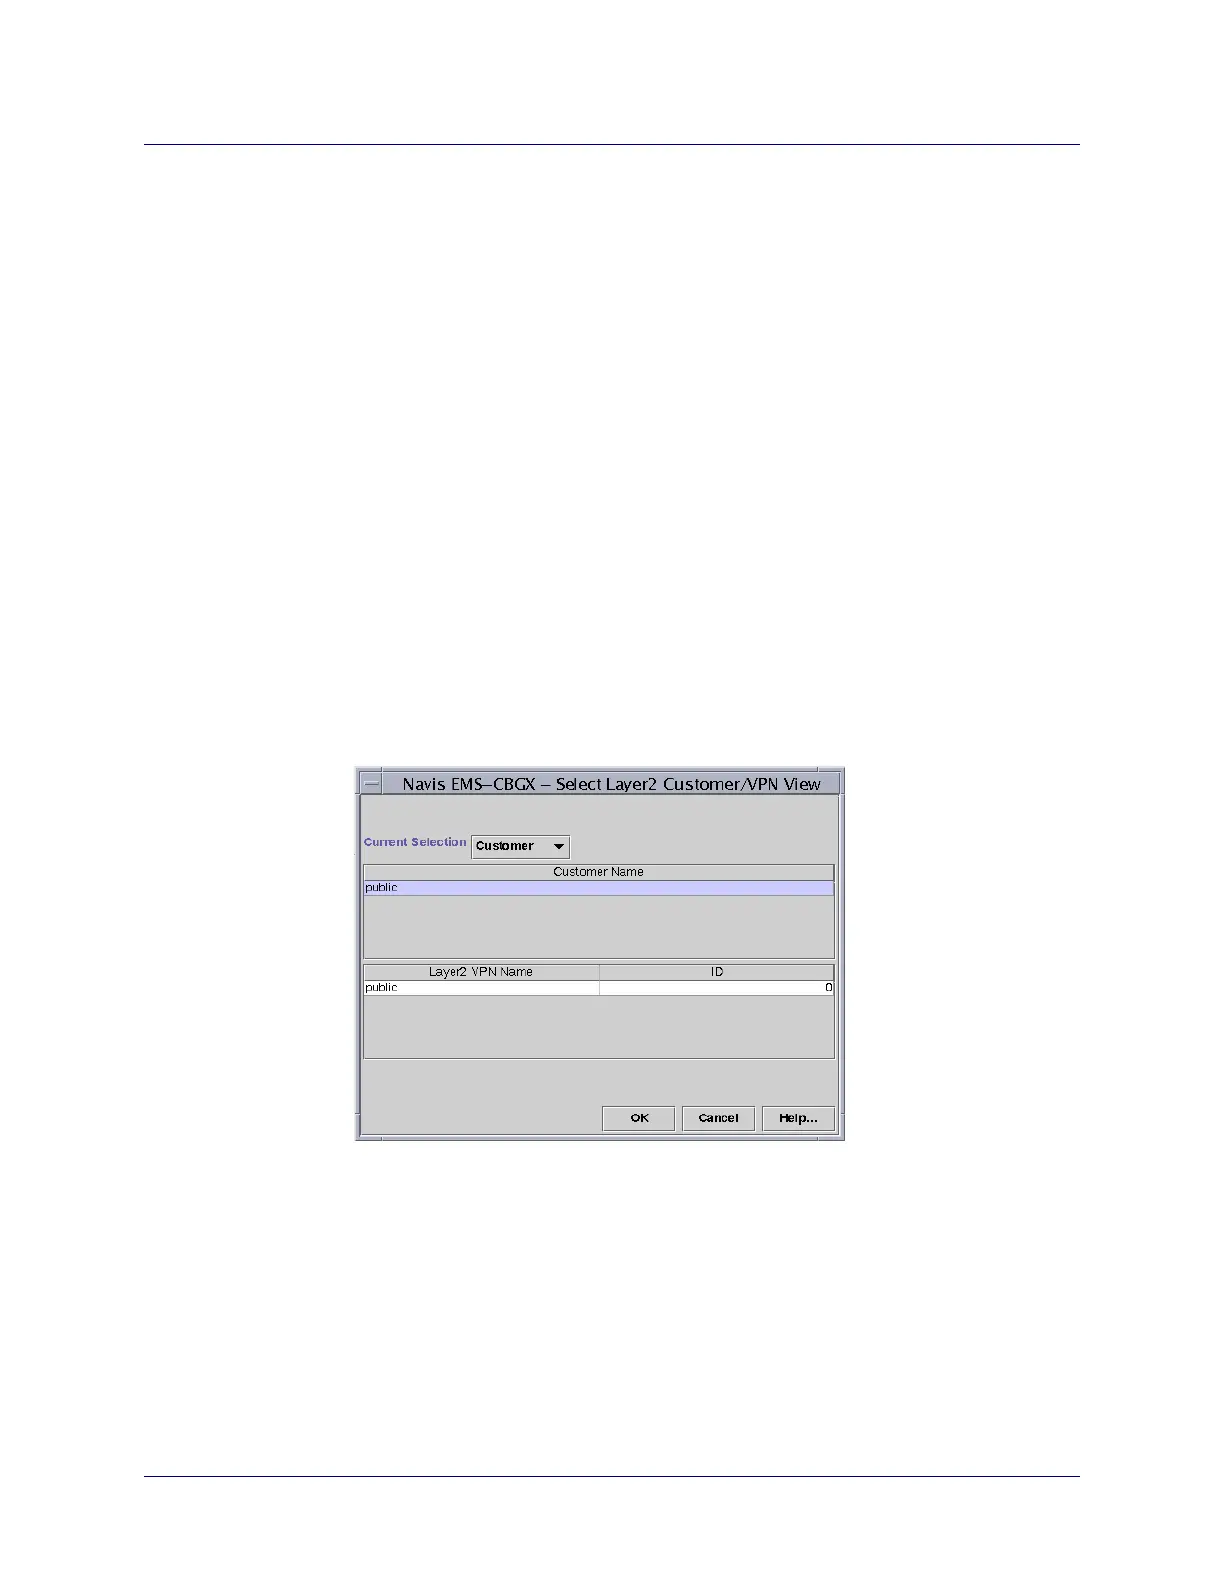
VPN View dialog box appears (Figure H-5).
Figure H-5. Select Layer2 Customer /VPN View Dialog Box
3. Select Customer from the pull-down menu in the Current Selection field.
4. Select the customer name from the Customer Name field.
5. Choose OK.