Repair information 4-151
5062
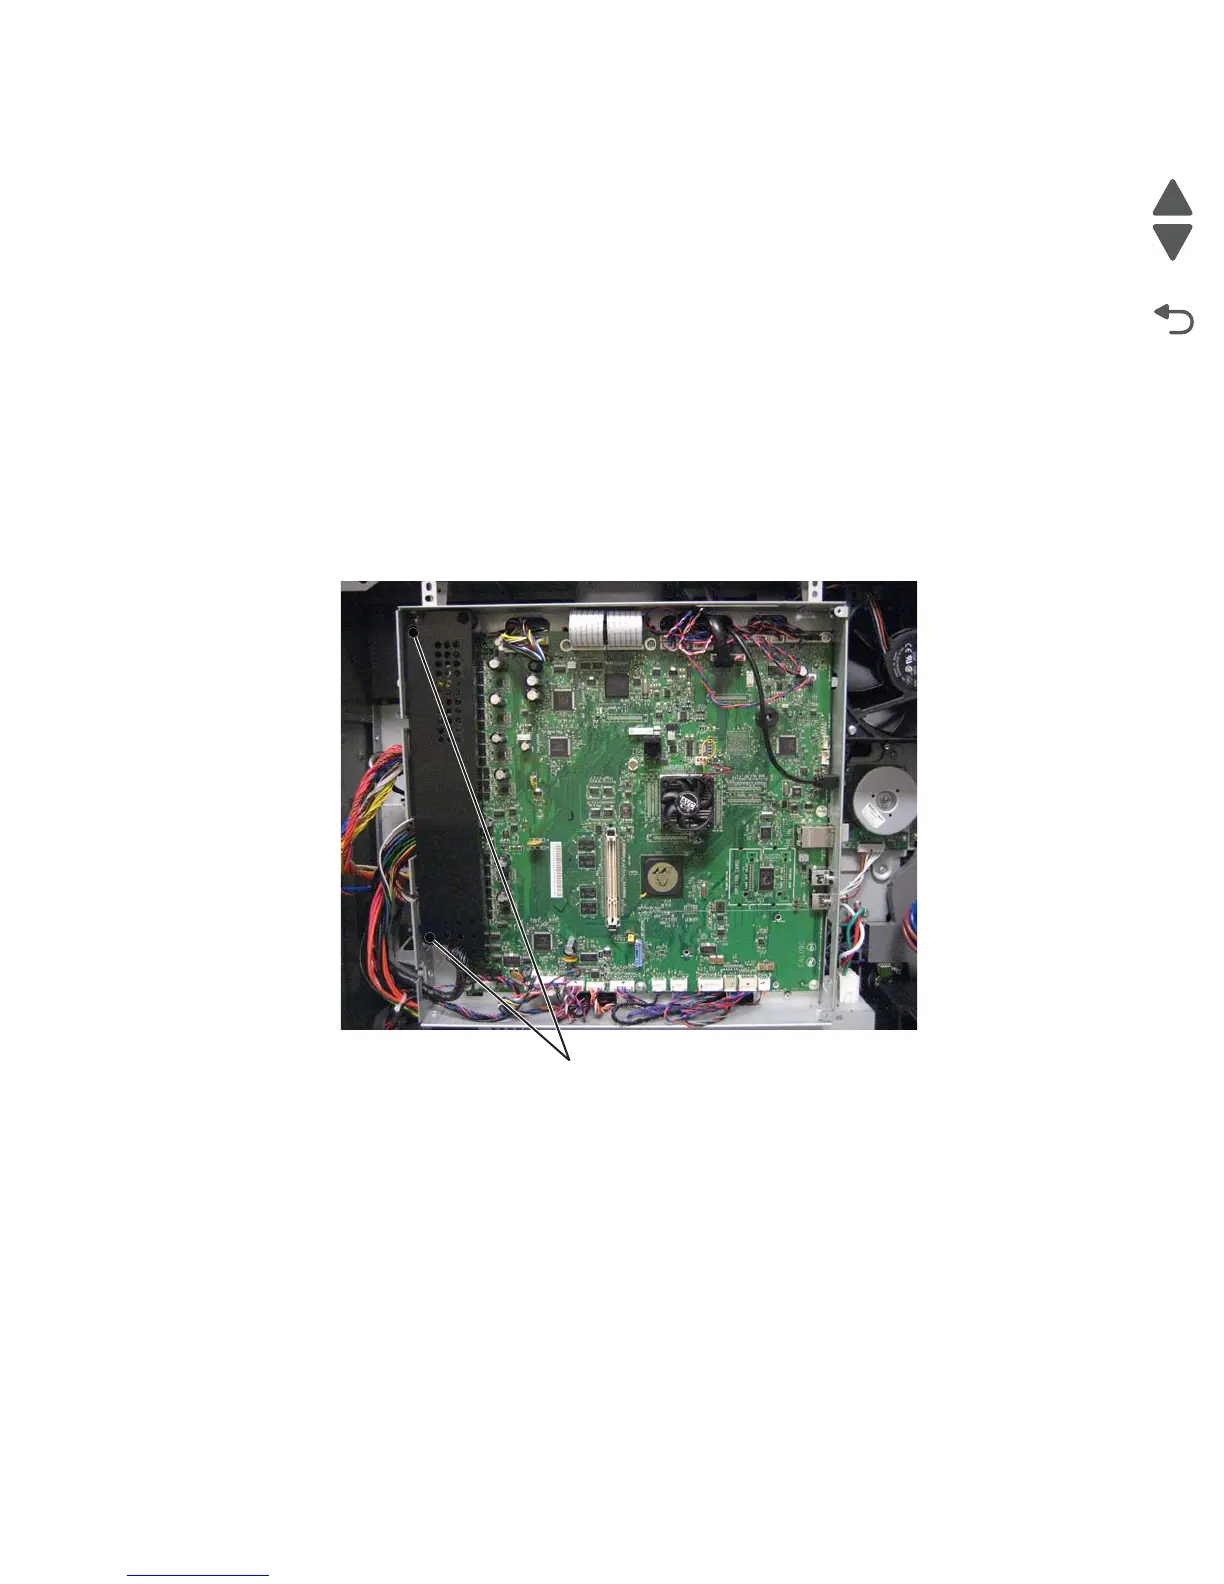
System board removal
See “Rear” on page 7-15 for the part number.
Warning: The following components contain mirrored NVRAM. When replacing any one of the following
components, replace only one component at a time:
• System board
• UICC card
Replace the required component, and then perform a POR before replacing a second component listed above.
If this procedure is not followed, the printer will be rendered inoperable. Never replace two or more of the
components listed above without a POR after installing each one, or the printer will be rendered inoperable.
Warning: Never install and remove components listed above as a method of troubleshooting components.
Once you install one of these components in a printer and perform a POR, the component cannot
be used in another printer. It must be returned to the manufacturer.
1. Remove the rear upper cover. See “Rear upper cover removal” on page 4-22.
2. Remove the system board shield. See “System board shield removal” on page 4-27.
3. Remove two screws (A) to remove the connector shield from the system board.