Rockwell Automation Publication 2198-UM004D-EN-P - December 2022 193
Chapter 8 Configure the Drive in Studio 5000 Logix Designer Application
9. Configure the new module.
a. Type the module Name.
b. Enter the Logix EtherNet/IP module slot (leftmost slot = 0).
c. Select an Ethernet Address option.
In this example, the Private Network address is selected.
d. Enter the address of your EtherNet/IP module.
In this example, the last octet of the address is 32.
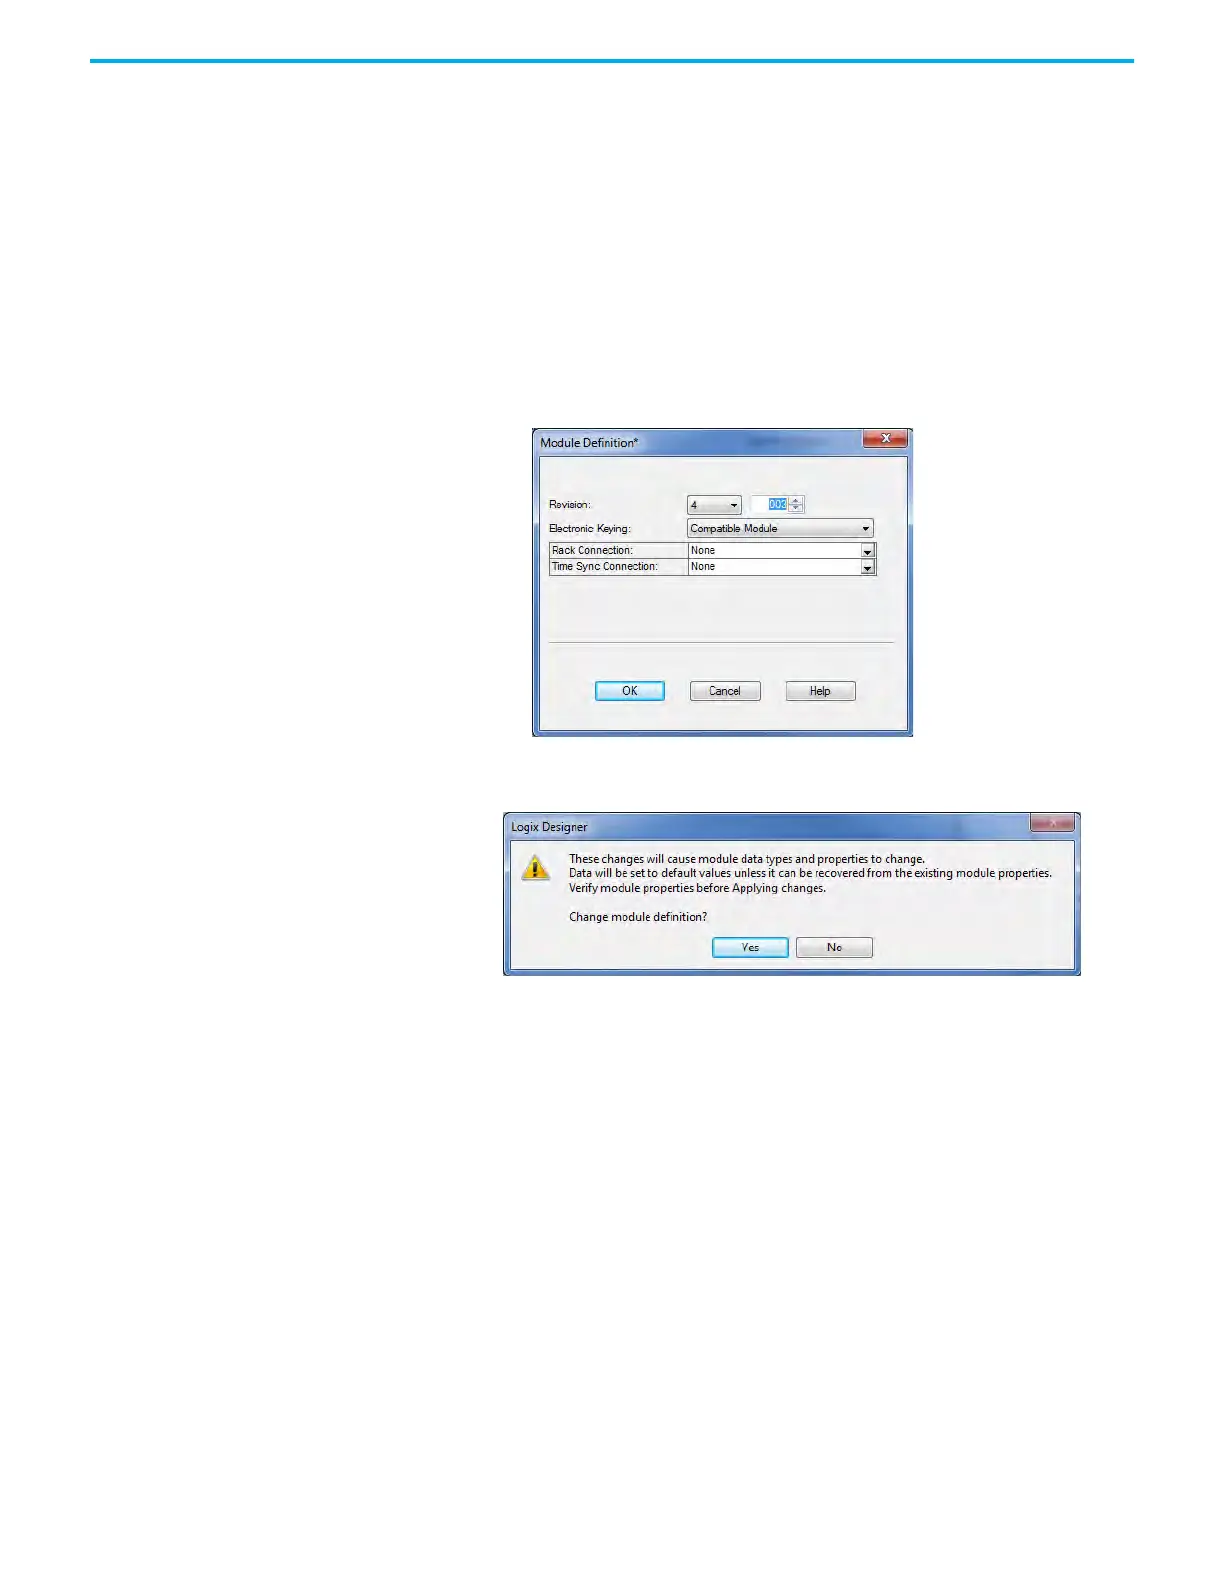
e. Click Change in the Module Definition area.
The Module Definition dialog box opens.
10. To close the Module Definition dialog box, click OK.
11. When prompted to confirm your module definition changes, click Yes.
12. To close the New Module dialog box, click OK.
Your new 1756-ENxT Ethernet module appears under the I/O
Configuration folder in the Controller Organizer.
13. Click OK.

 Loading...


