Chapter 11 Replacing the Motherboard and Associated Components 11-9
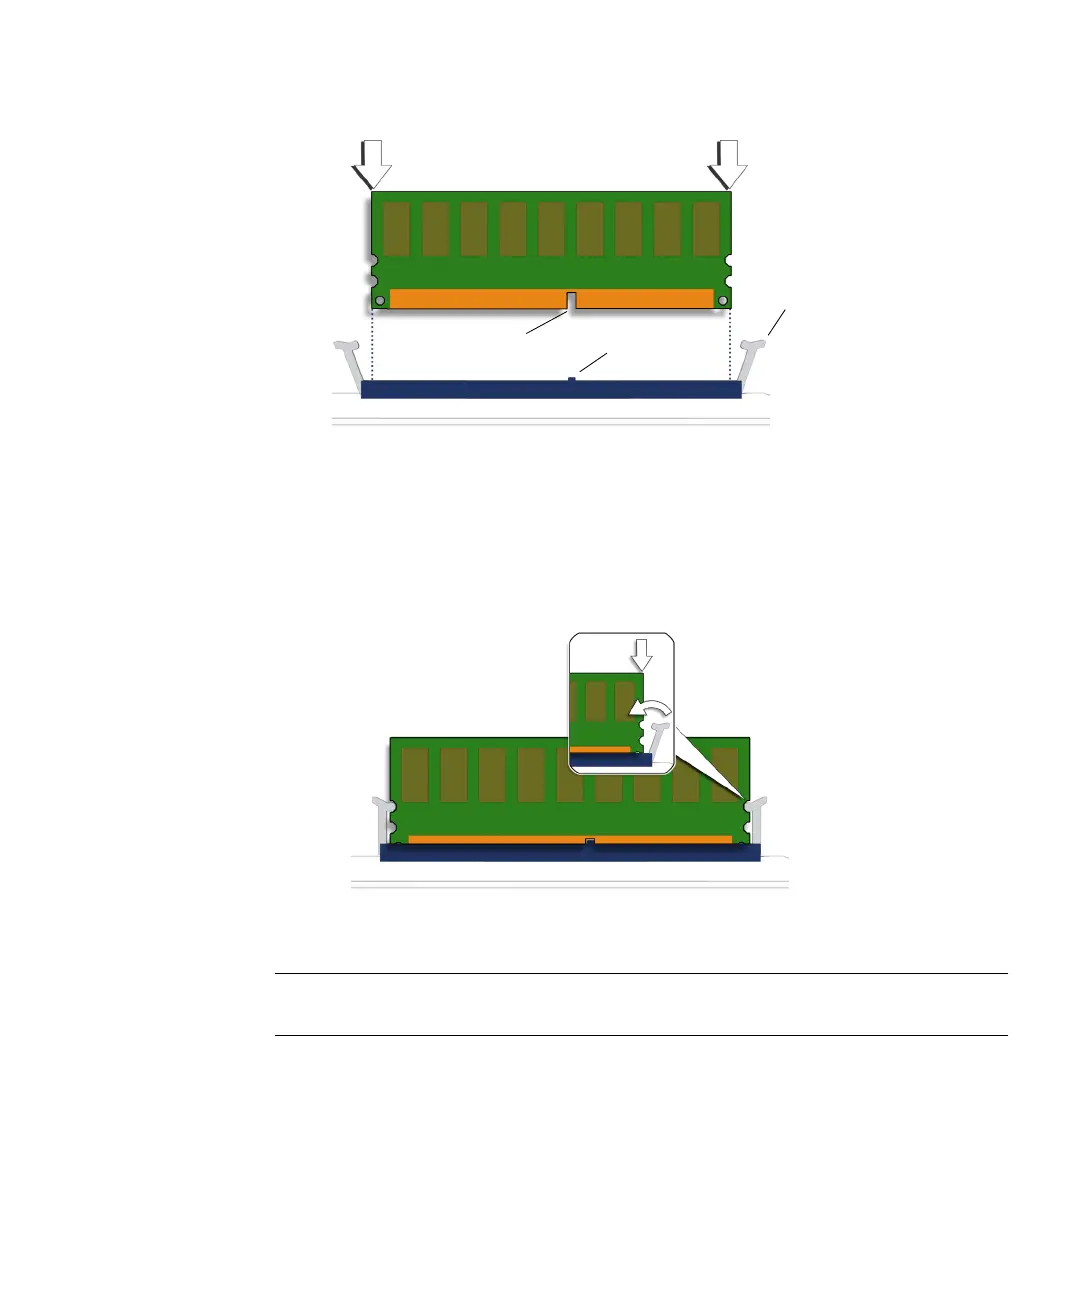
FIGURE 11-8 Aligning the DIMM
6. Insert the DIMM into the slot.
Using both thumbs, press the DIMM straight down into the DIMM slot until both
ejector levers click, locking the DIMM in the DIMM slot. See
FIGURE 11-9.
FIGURE 11-9 Securing the DIMM
Note – The DIMMs must be inserted evenly, straight down along the DIMM slot
until locked into place.
The DIMM is seated when you hear a click and the DIMM ejector levers are in the
vertical position.
7. Repeat Step 4 through Step 6 for all DIMMs.
DIMM key notch DIMM slot key
Ejector levers (2)