Chapter 13 Replacing Chassis Components 13-27
■ If you removed the DIMM cooling duct prior to removing the rear fan, return to
Step 4 of “Removing the Rear Fan” on page 13-16.
■ Otherwise, proceed to “Installing the DIMM Cooling Duct” on page 13-27.
Note – For ideal DIMM cooling, do not operate the Sun Blade 1500 workstation
without the DIMM cooling duct in place.
13.4.3 Installing the DIMM Cooling Duct
1. Power off the system and open the chassis.
Refer to:
■ “Powering Off the Workstation” on page 10-4
■ “Removing the Access Panel” on page 10-12
2. Locate where the DIMM cooling duct is to be installed.
The DIMM cooling duct attaches to the rear fan assembly. See FIGURE 13-20. Make
sure no cables interfere with the installation.
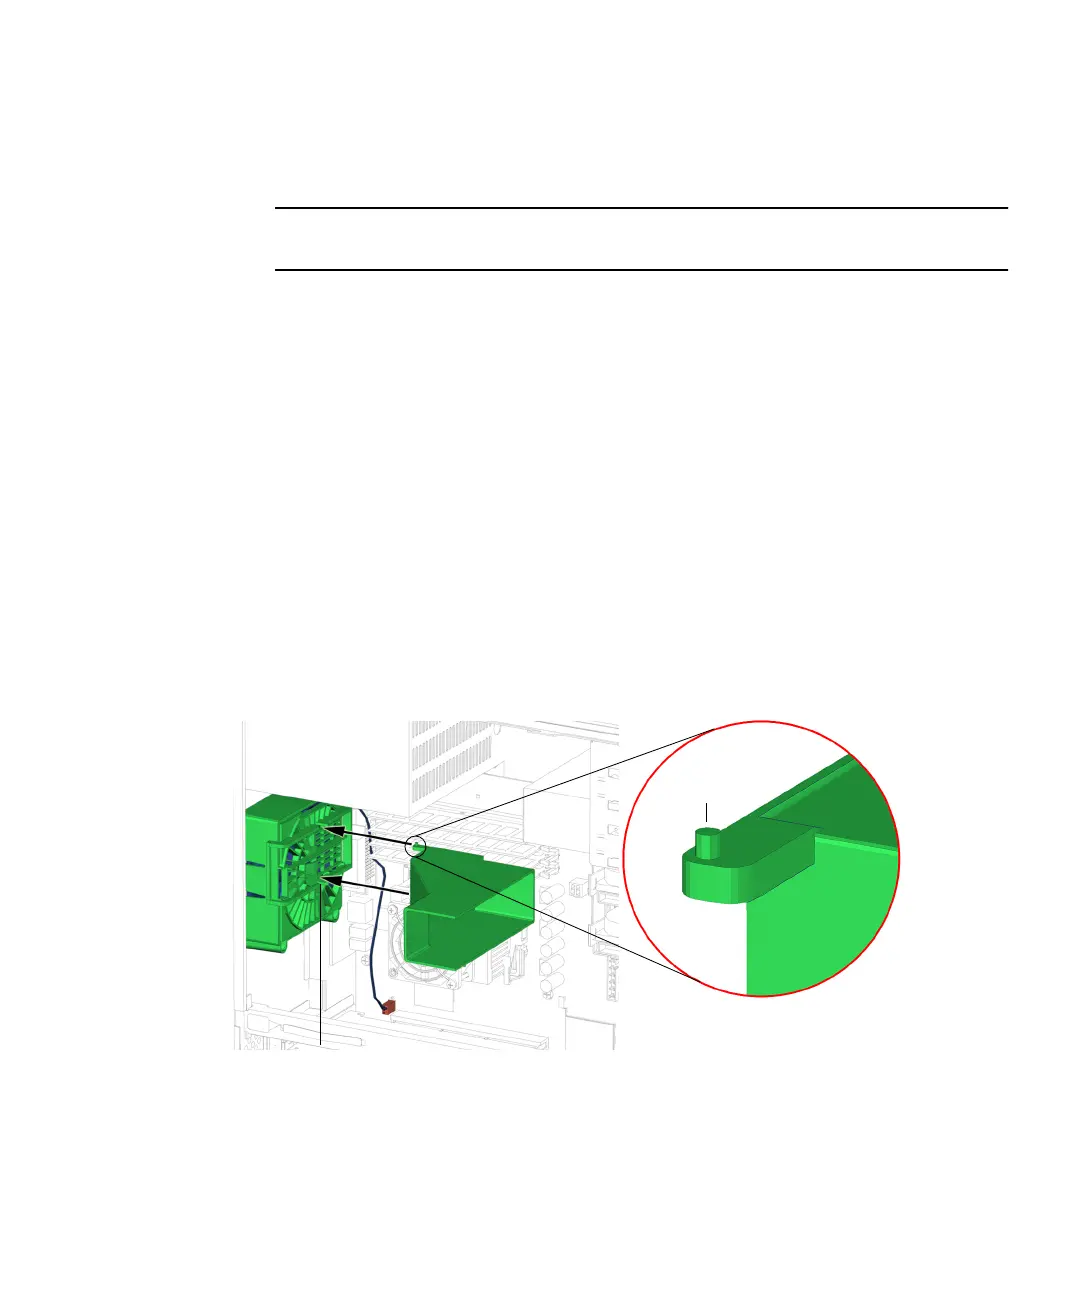
3. Align the pivot pins of the duct into the gaps in the rear fan bracket’s guide rails.
See FIGURE 13-27.
FIGURE 13-27 Aligning the Pivot Pins With the Gap
Pivot pins (2)
Gap (2)