Chapter 11 Replacing the Motherboard and Associated Components 11-25
■ “Positioning the Chassis” on page 10-16
2. Identify the battery installation site, BAT0.
See FIGURE 11-25.
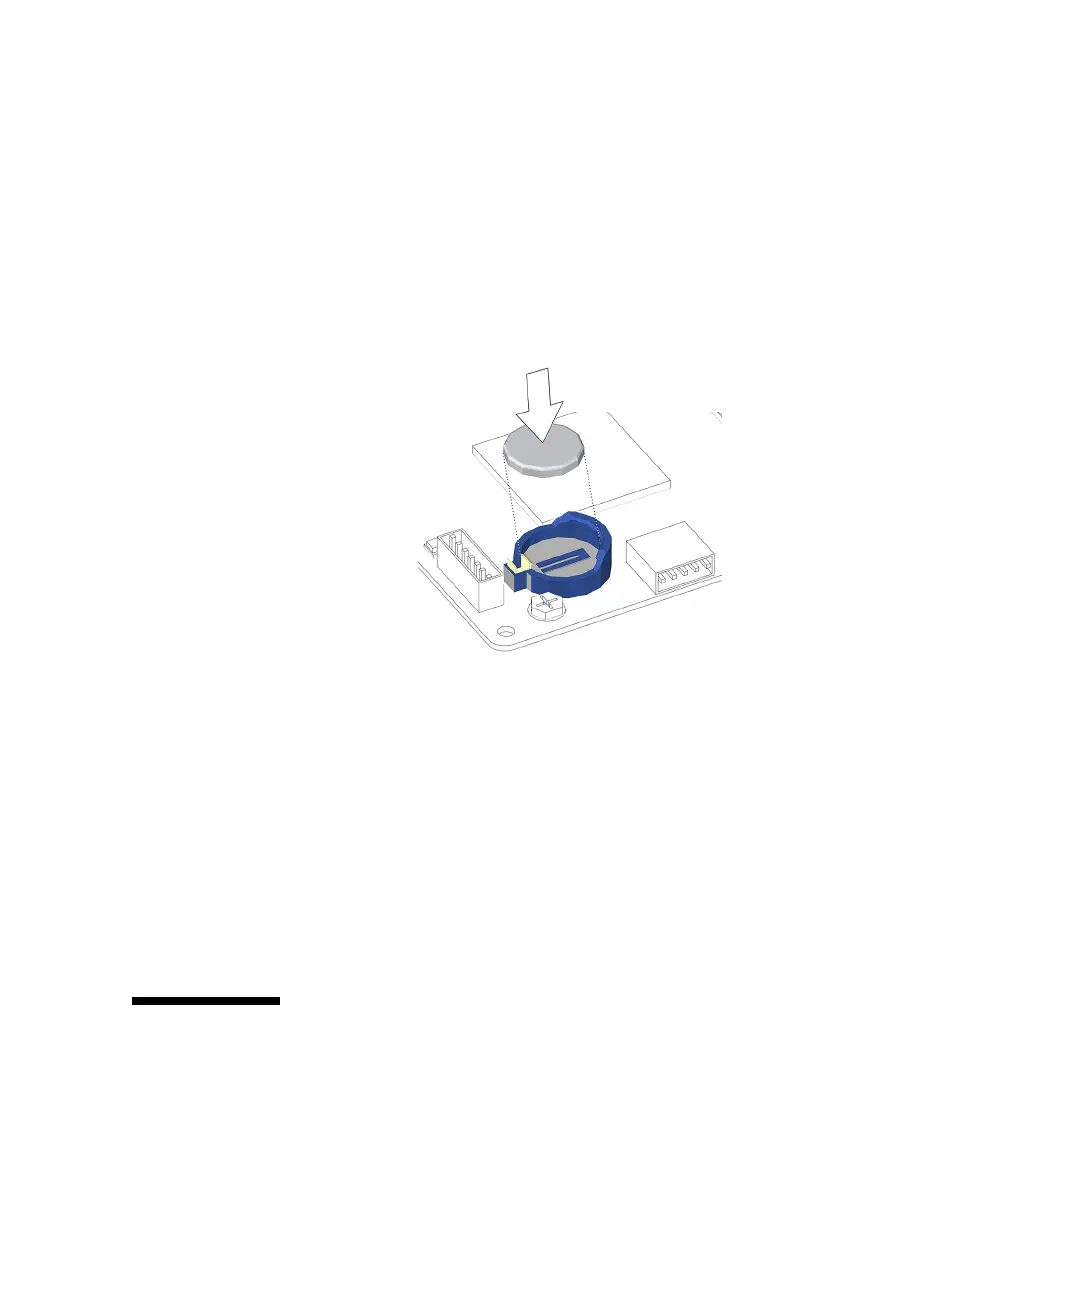
3. Position the battery over the battery socket with the plus (+) side up.
4. Press the battery down into the socket until it clicks into place.
See FIGURE 11-27.
FIGURE 11-27 Installing the Battery
5. Make sure the battery is tight in its socket.
6. Reposition the chassis, install the access panel, power on the system, and verify
the battery installation.
Refer to:
■ “Repositioning the Chassis” on page 15-1
■ “Installing the Access Panel” on page 15-5
■ “Powering On the Workstation” on page 15-8
■ “Verifying an Installation” on page 15-11
11.4 Replacing the NVRAM
This section describes removal and installation of the nonvolatile random access
memory (NVRAM). Topics include:
■ “Identifying the NVRAM” on page 11-26