Chapter 13 Replacing Chassis Components 13-5
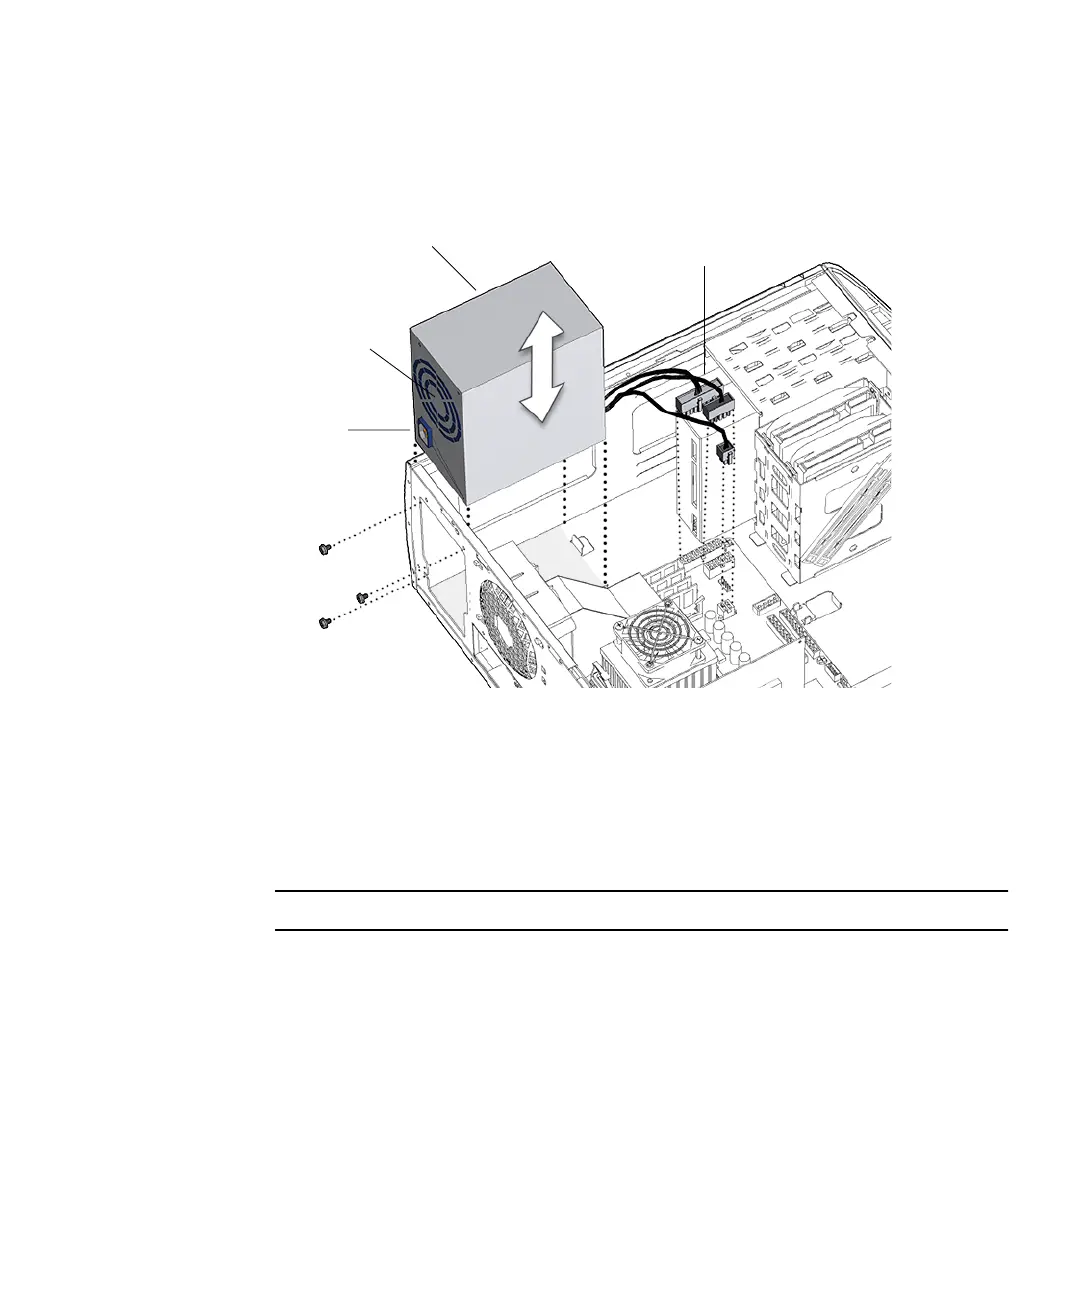
5. Using a No. 2 Phillips screwdriver, remove the three screws that secure the power
supply to the rear panel of the chassis.
See FIGURE 13-4. Set the screws aside in a container.
FIGURE 13-4 Removing Power Supply.
6. Rotate the rear of the power supply slightly outward, then lift the power supply
up and out of the chassis.
See FIGURE 13-4. Set the power supply aside on an antistatic mat.
Proceed to “Installing the Power Supply” on page 13-5.
Note – The workstation cannot operate without the power supply.
13.1.3 Installing the Power Supply
1. Open and position the chassis.
Refer to:
■ “Removing the Access Panel” on page 10-12
■ “Positioning the Chassis” on page 10-16
Screws (3)
Power supply
Connectors
PS0, PS1, PS2
IEC-320
connector
Power supply
fan