3 Teaching
3.9 Other Job-editing Functions
3-82
149235-1CD
RE-CSO-A031
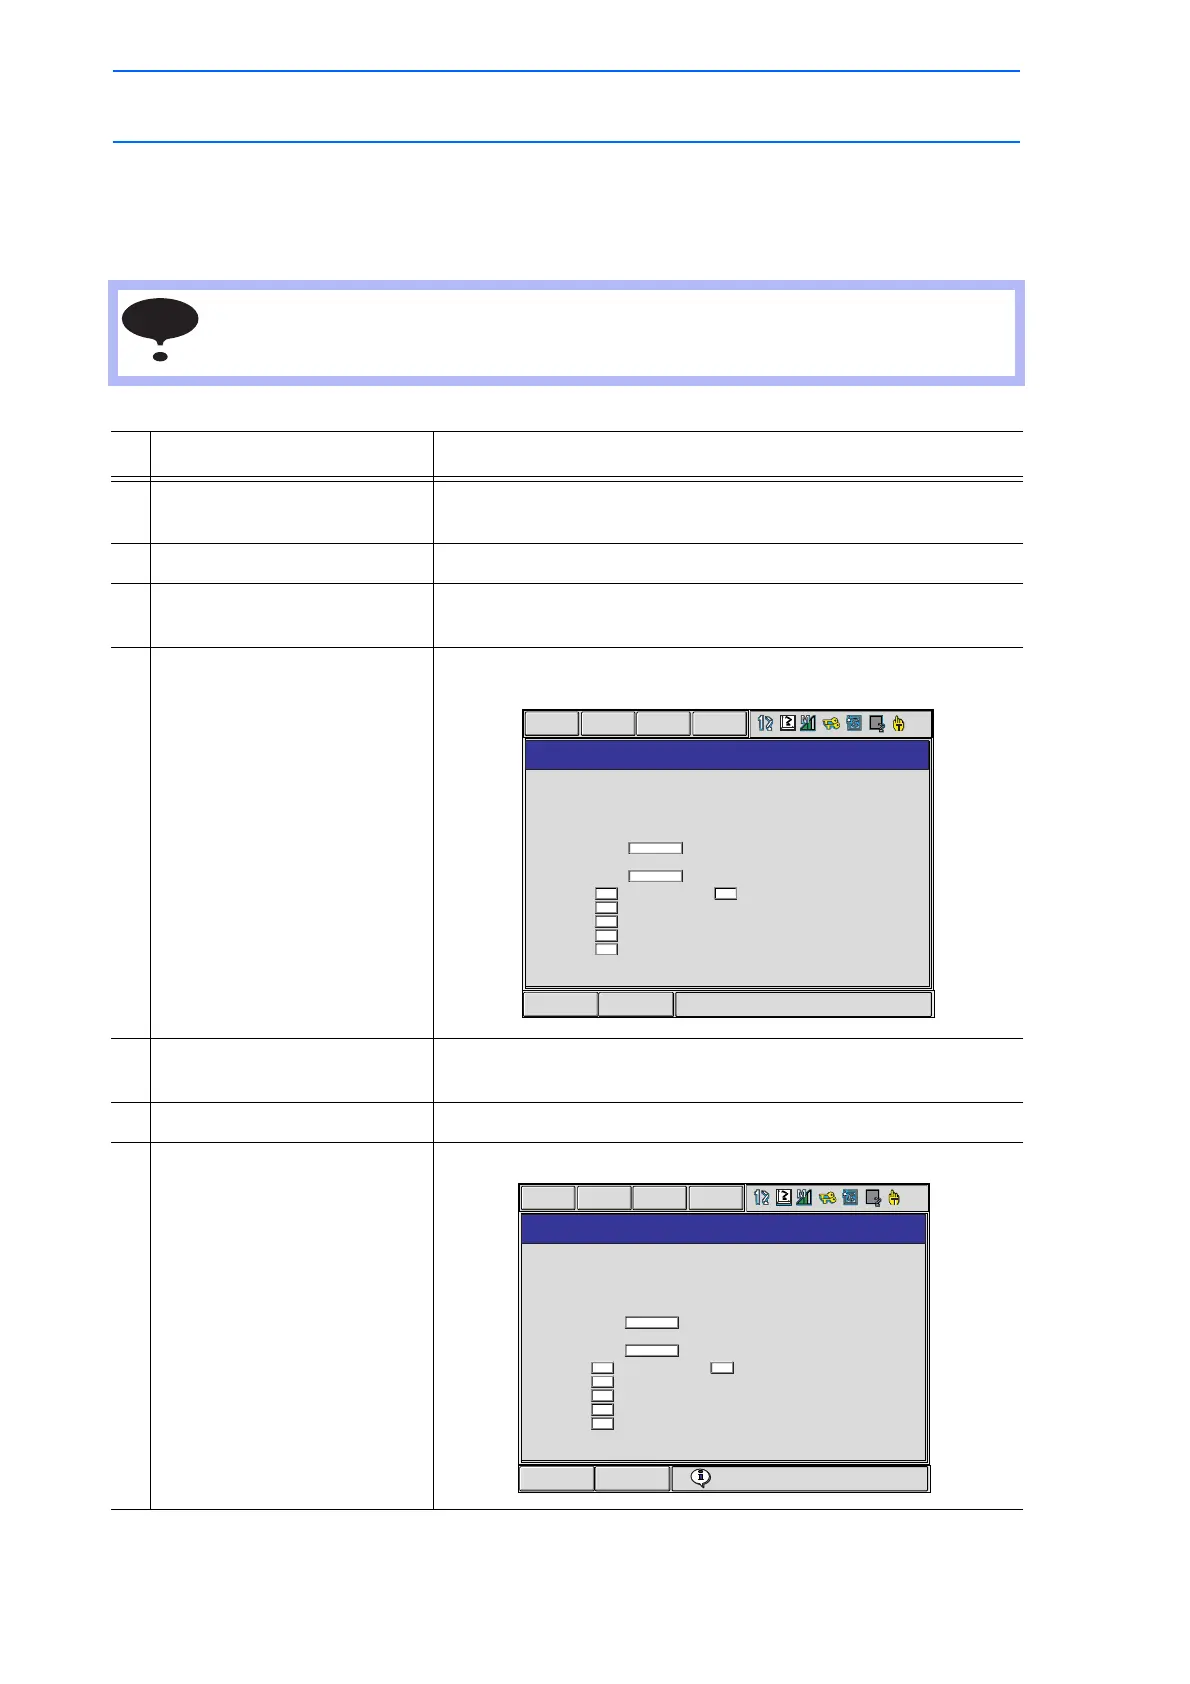
Setting the Number of Local Variables
How many local variables are to be used in a job is set in the JOB HEADER window. When setting the
number of variables, the memory area needed for those variables is saved.
Only when expanding the “INSTRUCTION LEVEL,” it is possible to use local variables.
Refer to section 8.12 “Instruction Level Setting” of “NX100 INSTRUCTIONS” for details on
setting the language level.
Operation Explanation
1 Select {JOB} under the main
menu.
2 Select {JOB}.
3 Select {DISPLAY} under the
menu.
4 Select {JOB HEADER}. The JOB HEADER window appears. Scroll the window using the
cursor.
5 Select the number of local
variables to be set.
The input buffer line appears.
6 Input the number of variables.
7 Press [ENTER]. The number of local variables are set.
Short CutMain Menu
JOB HEADER
JOB NAME : TEST01
:
:
:
:
:
:
:
:
BYTE (LB)
INT (LI)
DOUBLE
(LD)
REAL (LR)
CHARACTER
(LS)
This job is test job
2003/05/20 12:00
24 BYTE
30 LINE
20 STEP
OFF
NOT DONE
R1
ROBOT (LP)
COMMENT
DATE
CAPACITY
LINES
STEPS
EDIT LOCK
TO SAVE TO FD
GROUP SET
JOB
EDIT
DISPLAY
UTILITY
Short CutMain Menu
Reconstruct local variable from next start
JOB HEADER
JOB NAME : TEST01
:
:
:
:
:
:
BYTE (LB)
INT (LI)
DOUBLE
(LD)
REAL (LR)
CHARACTER
(LS)
This job is test job
2003/05/20 12:00
24 BYTE
30 LINE
20 STEP
OFF
NOT DONE
R1
ROBOT (LP)
COMMENT
DATE
CAPACITY
LINES
STEPS
EDIT LOCK
TO SAVE TO FD
GROUP SET
JOB
EDIT
DISPLAY
UTILITY
 Loading...