386
Upgrade and Maintenance Manual TX2560 M2 / RX2560 M2
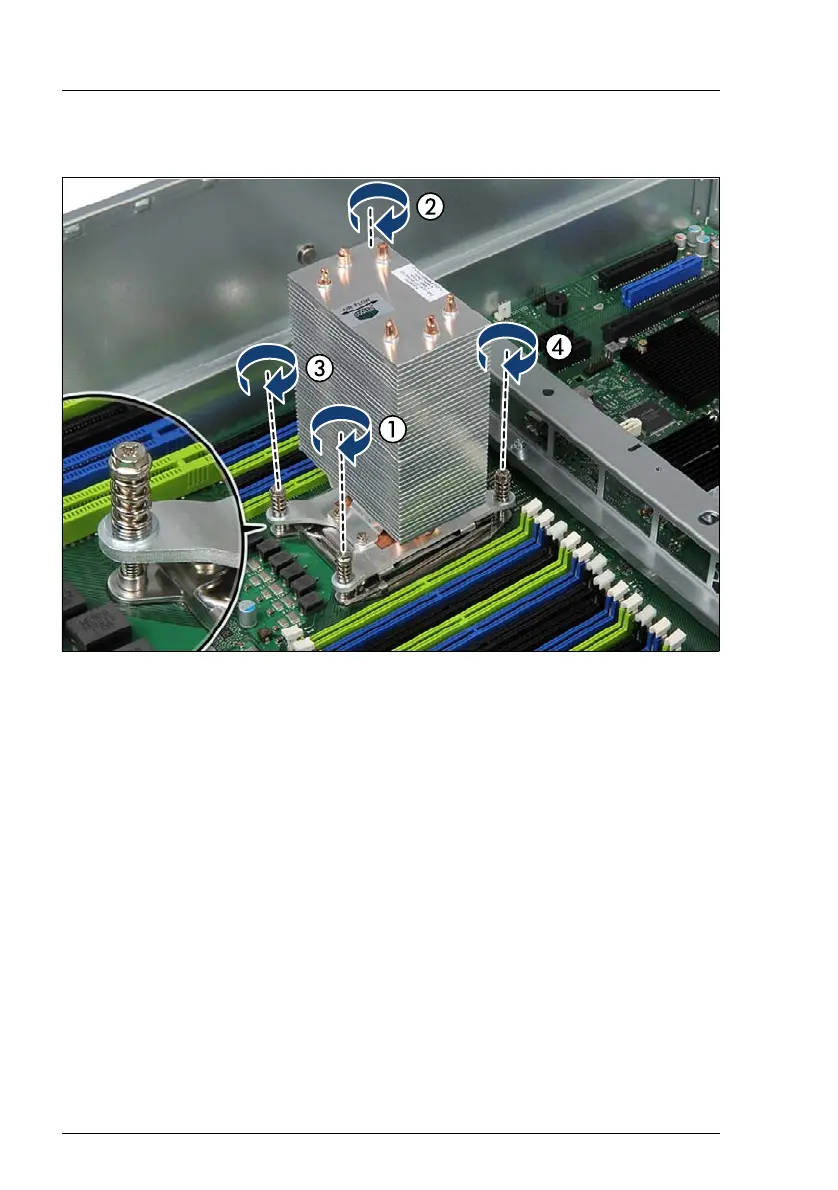
11.5.2.2 Installing the heat sink
Figure 280: Installing the heat sink
Ê
Carefully seat the heat sink on the four threaded holes as shown (see close-
up).
V CAUTION!
– Ensure that the screws on the heat sink are properly seated on the
threaded holes.
– Ensure that the heat sink cooling fins match the direction of the
airflow!
Ê
Fasten the four captive screws on the heat sink in a crossover pattern (nut
driver size 6 mm, screw torque: 1.0 Nm, not applicable for the Japanese
market) (1-4).

 Loading...