• To increase transparency, drag upward.
•
To decrease transparency, drag downward.
2 To adjust landmarking in the control panel, do the following:
a Select the Processing task and click Vascular Tools.
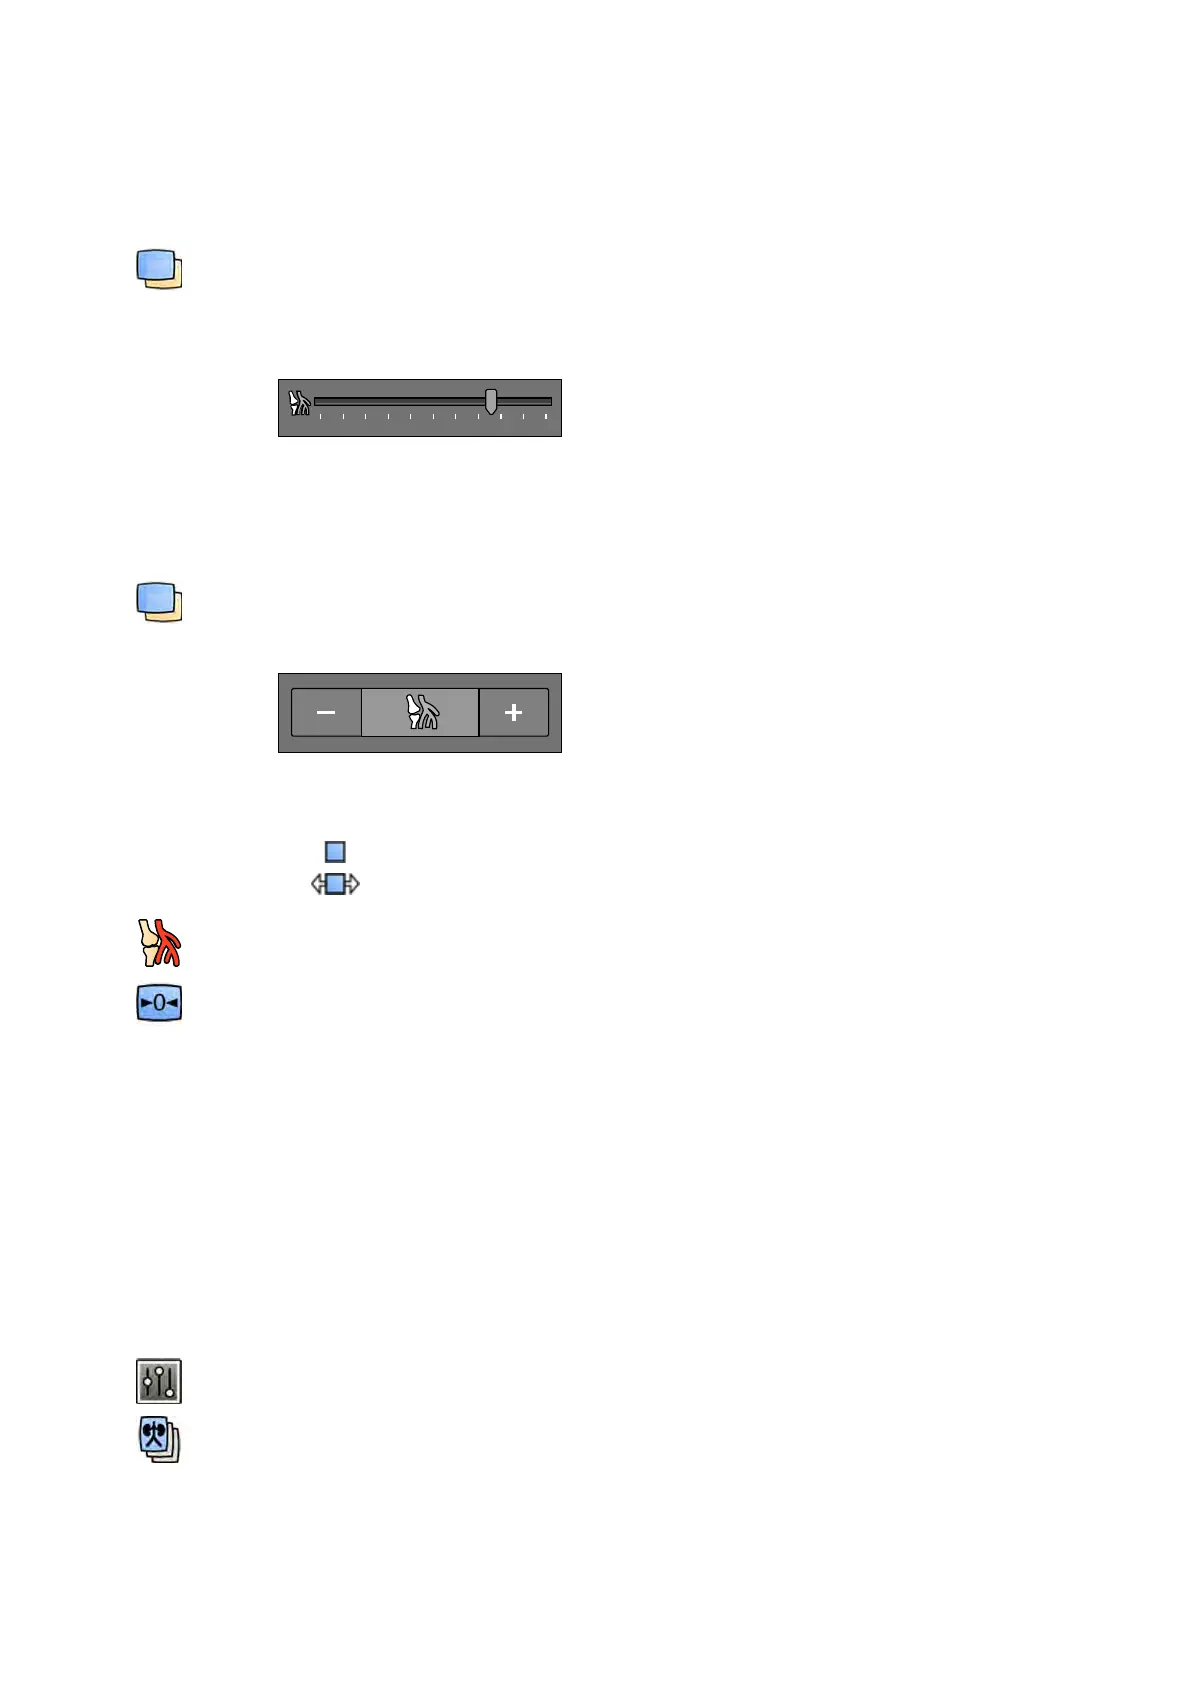
b click On in the Landmarking control panel
c Adjust the Landmarking slider.
d T
o apply the changes to the current image only, select Adjust current image only.
NOTE You can also select Landmarking using the toolbar.
3 To adjust landmarking on the touch screen module, do the following:
a Select the Processing task, tap Vascular Tools, and then tap Landmarking.
b Use the Landmarking controls.
c T
o select whether your changes apply to the current image only or to all images, tap Scope and
select an opon.
–
Apply changes to the current image only.
–
Apply changes to all images in the series.
4 T
o turn landmarking on or o, click Landmarking in the toolbar.
5 To reset your changes, click or tap Reset in the task panel.
You can also reset your changes by clicking Reset image processing on the toolbar in the acquision
window or review window.
8.10 Creang a View Trace Image
View Trace creates a single image showing the whole vessel tree lled with contrast. The system
creates this image by adding together images that you select from the series.
To use View Trace, the series that you are reviewing must contain images with contrast medium.
NOTE While creang a view trace image, other processing tools are unavailable.
1 Navigate to the image that you want to use as the starng point.
2 Click the Processing task in the acquision or review window.
3 Click View Trace.
The View Trace control panel opens and the view trace image is displayed.
4 Select the contrast medium in use.
Processing Creang a Vie
w Trace Image
Azurion Release 1.2 Ins
trucons for Use 139 Philips Healthcare 4522 203 52421