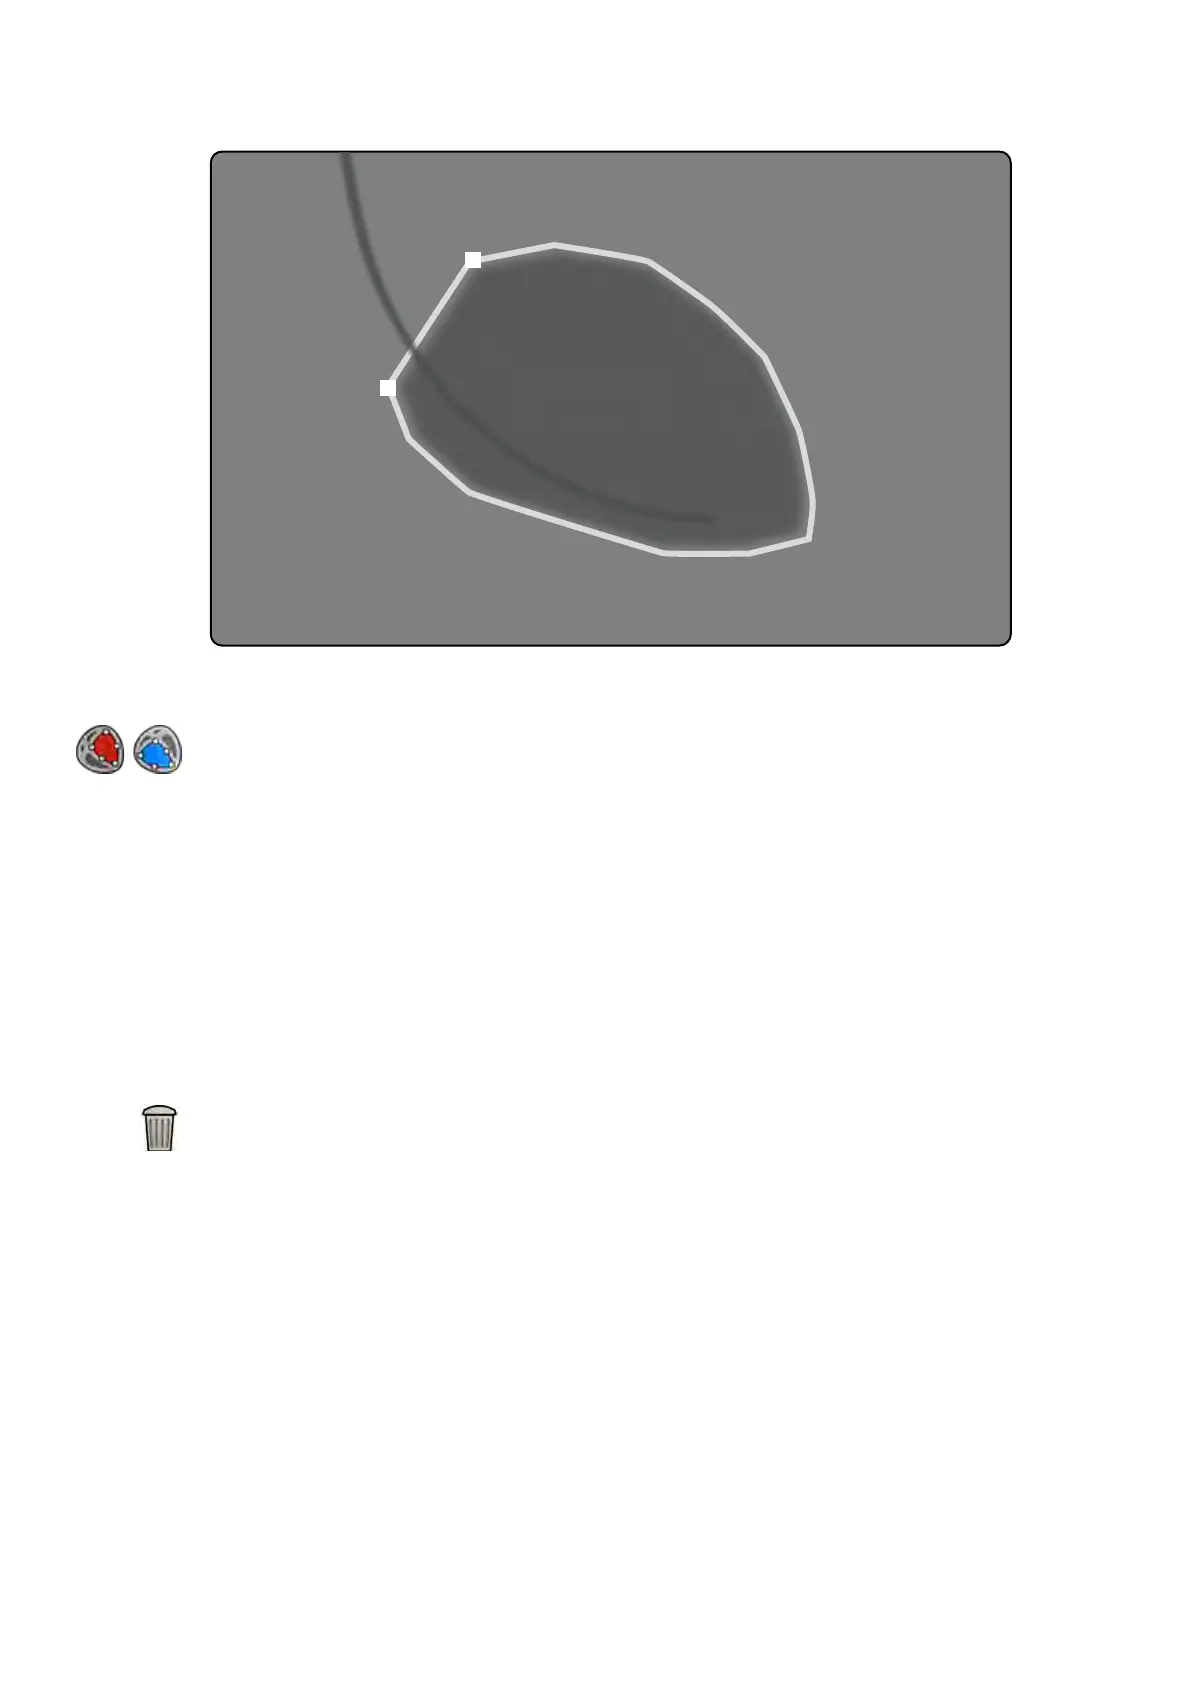
Figure 76 ED manual c
ontour denion
1 Click Manual in the control panel.
2 Click on the superior border of the aorc root (LVA) or the pulmonary root (RVA) to start the
contour.
3 Click further along the ventricle wall to place the next point of the contour.
4 Connue placing points along the ventricle wall through the cardiac apex unl you reach the
inferior border of the aorc root (LVA) or the pulmonary root (RVA).
5 Double-click on the inferior border of the aorc root (LVA) or the pulmonary root (RVA) to complete
the contour.
6 If you are using Biplane LVA/RVA: Perform this process on both the frontal image and the lateral
image so that the contour is detected in each image.
7 If you want to delete the contour and start over, click Delete in the control panel.
10.6.5 End Systole (ES) Task
Y
ou use the End Systole task to select the ES image from the series and to dene a contour on the
image.
When dening a contour in LVA, you can use either a semi-automac method or a manual method.
When dening a contour in RVA, you can only use the manual method.
Selecng the ES Image
Before you dene the ES contour, you must select a suitable image that shows the ES posion.
The ECG is displayed with the series to assist you with idenfying the ES cardiac phase.
2D Quant
ave Analysis (Opon) LVA / RVA
Azurion Release 1.2 Ins
trucons for Use 173 Philips Healthcare 4522 203 52421