CAUTION
If you use aut
o calibraon for measurements or quantave analysis, the region of interest must be
posioned as close to the isocenter as possible during acquision. If the region of interest is not in the
isocenter, the calibraon factor will not be correct and measurements will not be accurate.
If auto calibraon is not available, you should calibrate the series manually. For more informaon, see
Manual Calibraon (page 144).
NOTE If you accept the calibraon factor, measurement values are displayed in millimeters. If you
do not accept the calibraon factor, measurement values are displayed in pixels.
Accuracy
Accuracy of length measurements, when calibrated automacally, is ±5% when the measured object is
in the isocenter and where the length of the object is at least 50 pixels on the monitor.
Accuracy of angle measurements is ±2 degrees.
8.14.1 Creang a Distance Measurement
1 Select the Processing task and click Calibraon and Measurements to display the available
measurement opons.
2 If the automac calibraon factor is available, click Accept.
If the automac calibraon factor is not available, you should perform manual calibraon before
creang a measurement. For informaon, see Manual Calibraon (page 144).
3 Click Distance.
4 Click in the image at the start point of the measurement, then click again at the end point.
The measurement and its value are displayed in the image.
5 To move a measurement, drag it to a new locaon.
6 To edit a measurement, drag an end point to a new locaon.
7 To delete a measurement, select the measurement and click Delete in the task panel.
You can also delete the selected measurement using Delete on the keyboard, or from the shortcut
menu aer right-clicking a measurement.
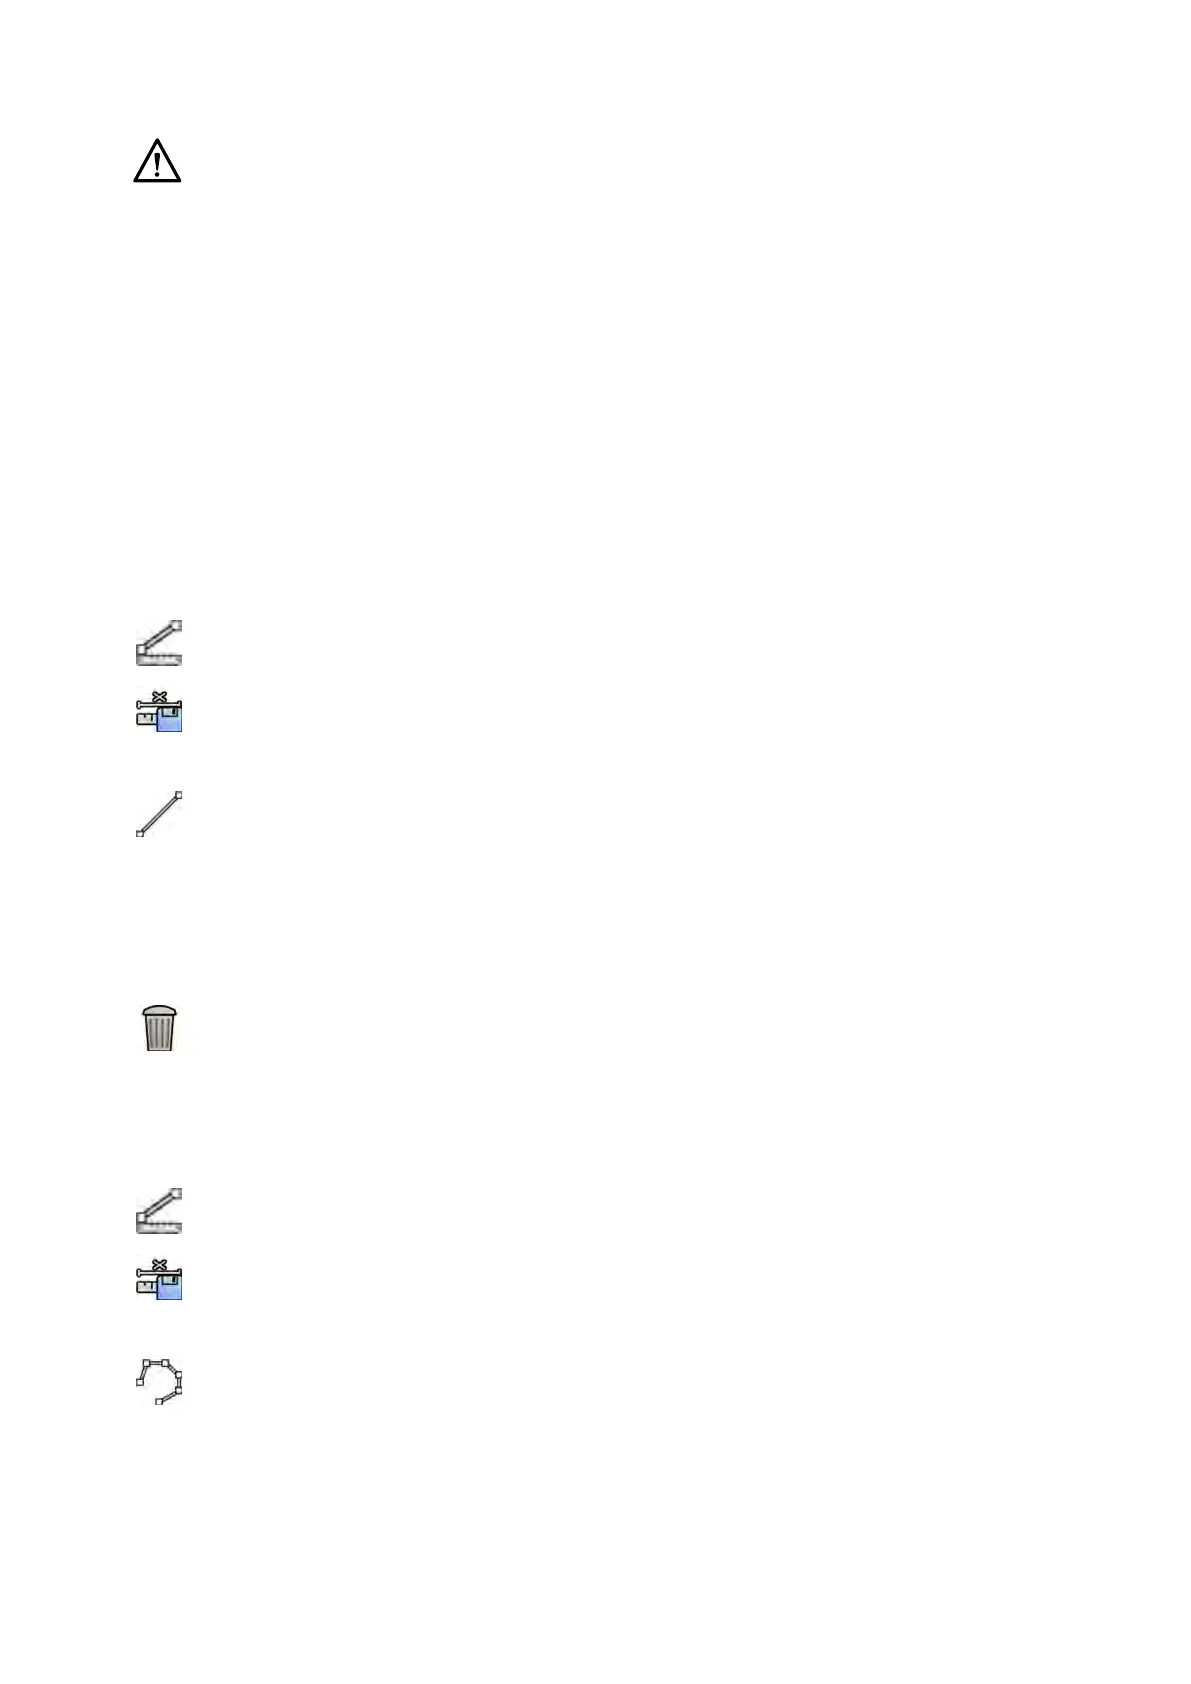
8.14.2 Creang a Polyline Measurement
1 Select the Processing task and click Calibraon and Measurements to display the available
measurement opons.
2 If the automac calibraon factor is available, click Accept.
If the automac calibraon factor is not available, you should perform manual calibraon before
creang a measurement. For informaon, see Manual Calibraon (page 144).
3 Click Polyline.
4 In the image, click at the start point of the line.
5 Click at intermediate points in the line.
You can set as many intermediate points as you want.
6 Double-click at the end point of the line.
Processing Creang Measur
ements
Azurion Release 1.2 Ins
trucons for Use 142 Philips Healthcare 4522 203 52421