For more in
formaon, see Acquiring Images (page 79).
5 When the study is complete, close the study.
For more informaon, see Ending a Study (page 114).
6.2 Enabling X-ray
To use the system for imaging, you need to enable X-ray. You can do this using the review module or the
touch screen module.
You can see on the touch screen module if X-ray is enabled or disabled. The following symbols are used:
Symbol Status
X-ray is disabled
X-ray is enabled
1 T
o enable X-ray using the review module, press Enable X-ray.
When X-ray is disabled, the indicator light is on.
When X-ray is enabled, the indicator light is o.
2 To enable X-ray using the touch screen module, tap X-ray Disabled.
6.3 X-ray On Indicators
For safety reasons, the system is provided with several indicators to show that X-ray is acve.
The following paragraphs describe the indicators and their locaons.
Indicaon Box
An indicaon box is installed in the examinaon room. It provides indicator lights for when the system
is ready for exposure (green) and when X-ray is on (yellow). When X-ray is on, the indicaon box also
provides an audible signal.
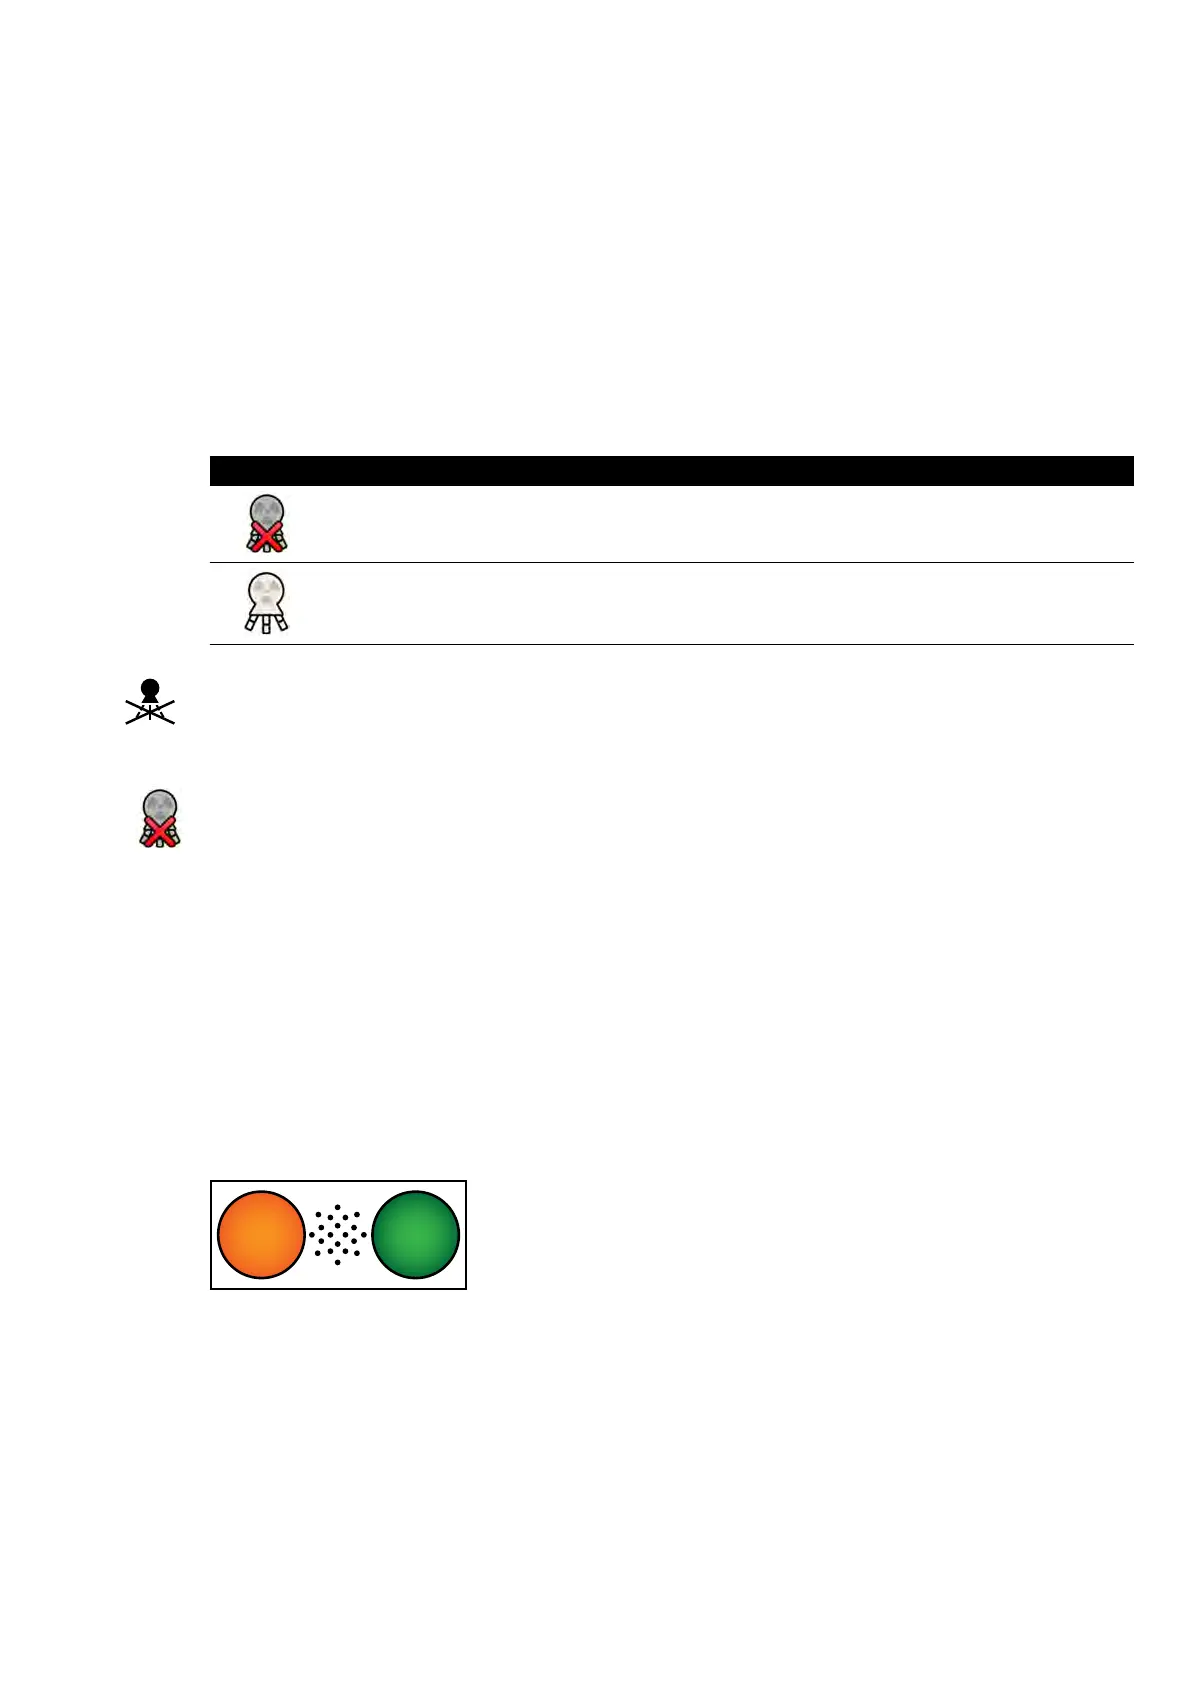
Figure 47 Indic
aon box: X-ray On indictor light (le) and Ready for Exposure indicator light (right)
NOTE Even if the Ready for Exposure indicator light is not lit, it is sll possible to start uoroscopy.
Outside Indicator
At least one indicator light is posioned outside the examinaon room, next to each door. The light is lit
when a foot or hand switch is pressed to iniate uoroscopy or exposure.
Performing Procedures Enabling X-ray
Azurion Release 1.2 Ins
trucons for Use 77 Philips Healthcare 4522 203 52421