5.9.4 Control Modules
The c
ontrol module provides a combinaon of controls to adjust the posion of the stand and table,
and to perform imaging funcons during acquision.
You can posion the control modules at convenient posions around the table by mounng the
modules on the accessory rail.
Do not aach more than two modules to the accessory rail.
Reposioning the Control Module
You can reposion the control module to a more convenient posion for the study being performed.
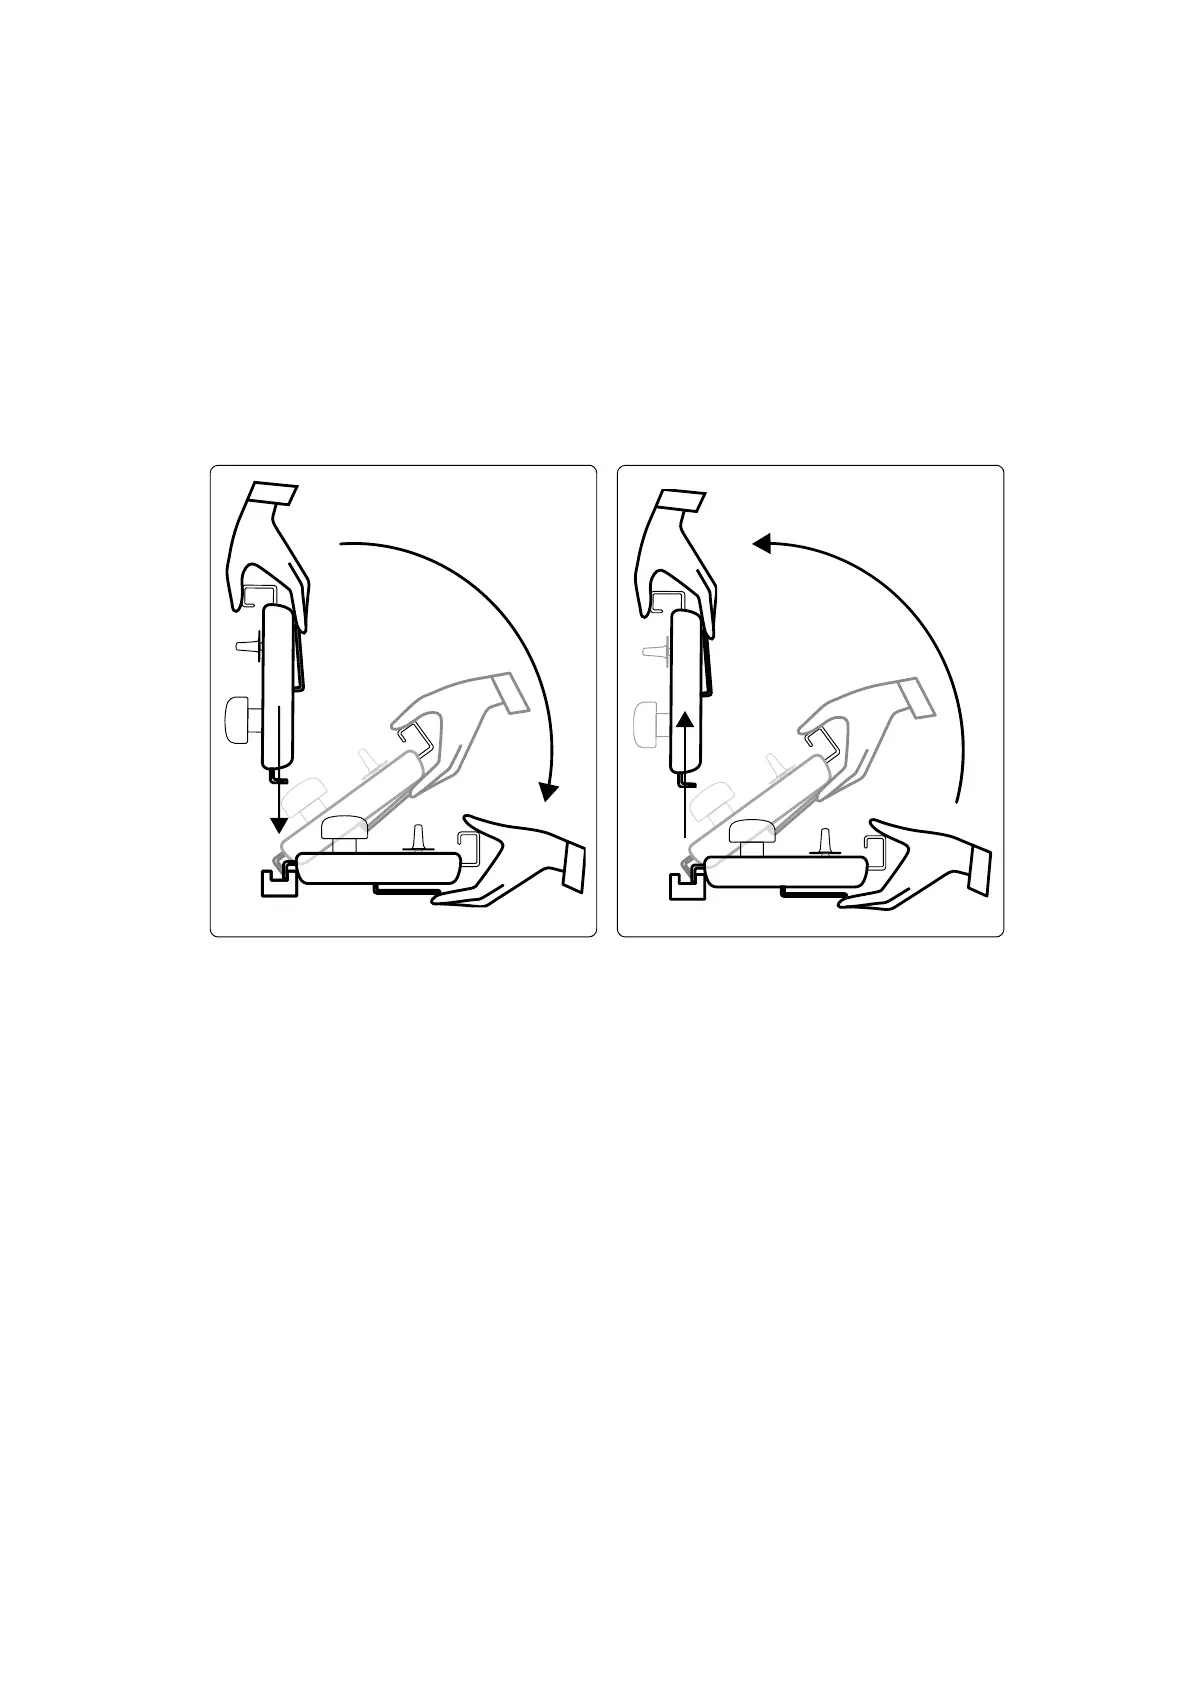
Figure 33 Aaching the c
ontrol module (le) and removing the control module (right)
1 To remove the control module from the accessory rail, grip it from the front with one hand, with
your thumb on top and your ngers on the lock release bar.
2 Press the lock release bar to release the module and li the module upwards.
The module can now be lied o the accessory rail and moved to another posion.
3 To aach the control module to the accessory rail, press the lock release bar to open the lock.
4 Place the lock over the accessory rail and push the module down unl the back edge of the module
housing is ush with the accessory rail, and then release the lock release bar.
5 Ensure that the control module cables are supported by the cable guides.
6 If you reposioned the control module to a dierent side of the table, you must select the correct
tableside posion using the Orientaon switch. For more informaon, see Selecng the Tableside
Posion for the Control Module (page 59).
Selecng the Tableside Posion for the Control Module
To ensure that stand movements remain logical for each posion in which the control module can be
mounted, the Orientaon switch located on the under side of the module must be set to the
appropriate posion.
Preparing a Paent Study Preparing the System
Azurion Release 1.2 Ins
trucons for Use 59 Philips Healthcare 4522 203 52421