9 Exporng and Prinng
The f
ollowing secons provide informaon about how to export the images that you acquired during a
paent study. Prinng funcons are also provided on the system if a printer is available.
9.1 Exporng Data
You can export locally stored data to network locaons or to storage devices in either DICOM or PC
formats.
You can export complete studies or selected series and images from a study to a network locaon, a
DICOM archive, or to a storage device such as USB ash memory drives or CD/DVD.
When you export biplane images, the frontal and lateral images are always exported together.
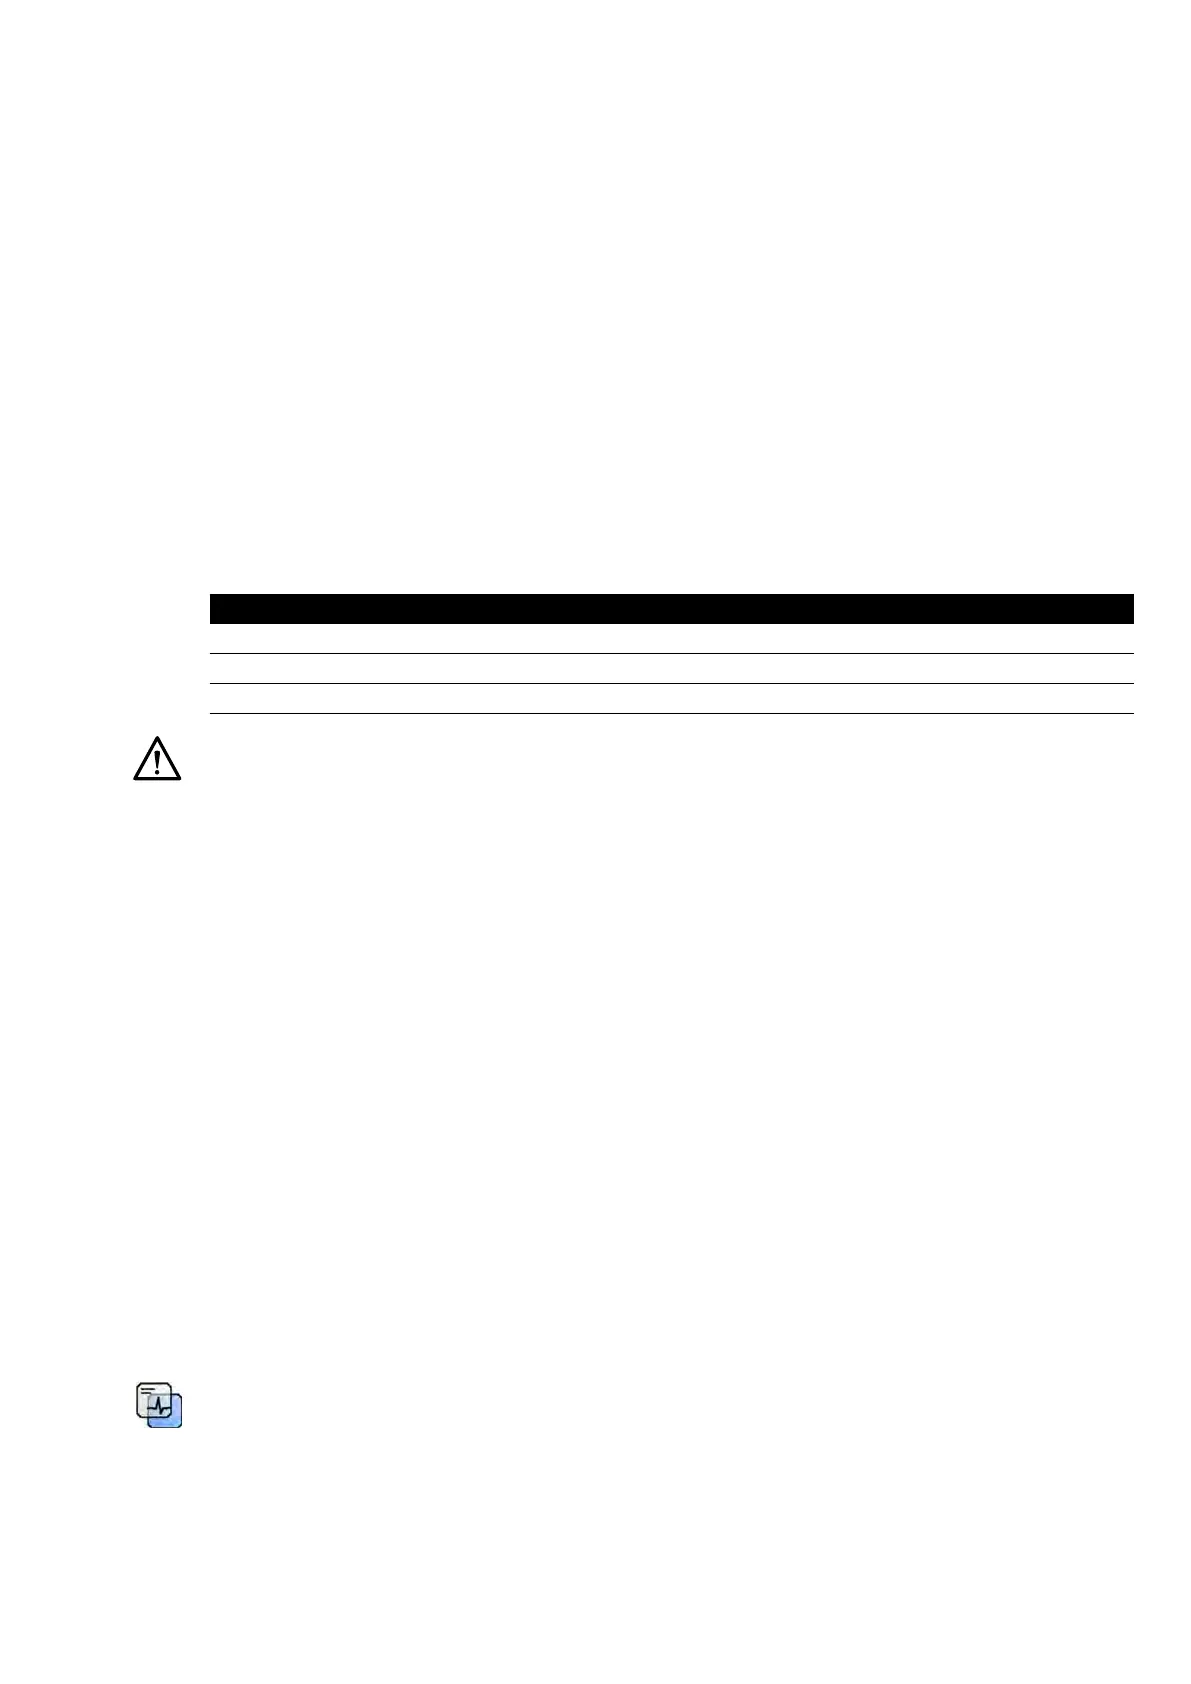
You can export images in the following formats:
Desnaon Supported Formats
USB memory device DICOM, PNG, MPEG4
PACS, Xcelera, MulModality Vie
wer DICOM
DVD DICOM, PNG, MPEG4
CAUTION
Do not use images in PNG or MPE
G4 format for diagnosc purposes. Such images are for non-
diagnosc viewing only.
You can also c
ongure the system to export data automacally when you acquire images or when you
close a study, by customizing the export protocols in use. For more informaon about customizing
export protocols and automac data transfer, see Conguring Export Protocols (page 239) and
Conguring Automac Data Transfer (page 241).
NOTE Export protocols and automac data transfer sengs can only be customized by a system
administrator.
9.1.1 Exporng Da
ta to a USB Flash Memory Drive
You can export data from either the Series task or from the paents list to a USB ash memory drive in
either DICOM or PC format, allowing you to view the study, series, or images on another system or
computer.
Ensure you have the desired study open in the Series task in the review window, or that you have the
paents list open and the study available.
You can select images or series to export and you can export more than one study, series, or image at a
me.
NOTE When handling personal data, do so in accordance with the privacy policies that apply in
your healthcare environment and privacy laws that apply in your region.
1 Ensure that the appropriate level of paent informaon is displayed in the images using the Image
overlays tool in the global tools panel.
2 Insert a USB ash memory drive into one of the USB ports at the side of the le monitor.
Regardless of the posion of the review and acquision monitors (le or right) within the control
room, the USB ports are always situated in the le monitor.
Exporng and Prinng Exporng Da
ta
Azurion Release 1.2 Ins
trucons for Use 147 Philips Healthcare 4522 203 52421