7. Enter the SP mode and do SP5878.
8. Go out of the SP mode, turn the operation switch off, then turn the main power
switch off.
9. Turn the machine power on.
10. Enter the User Tools mode, and select System Settings> Administrator> Auto
Erase Memory Setting> On.
11. Go out of the User Tools mode.
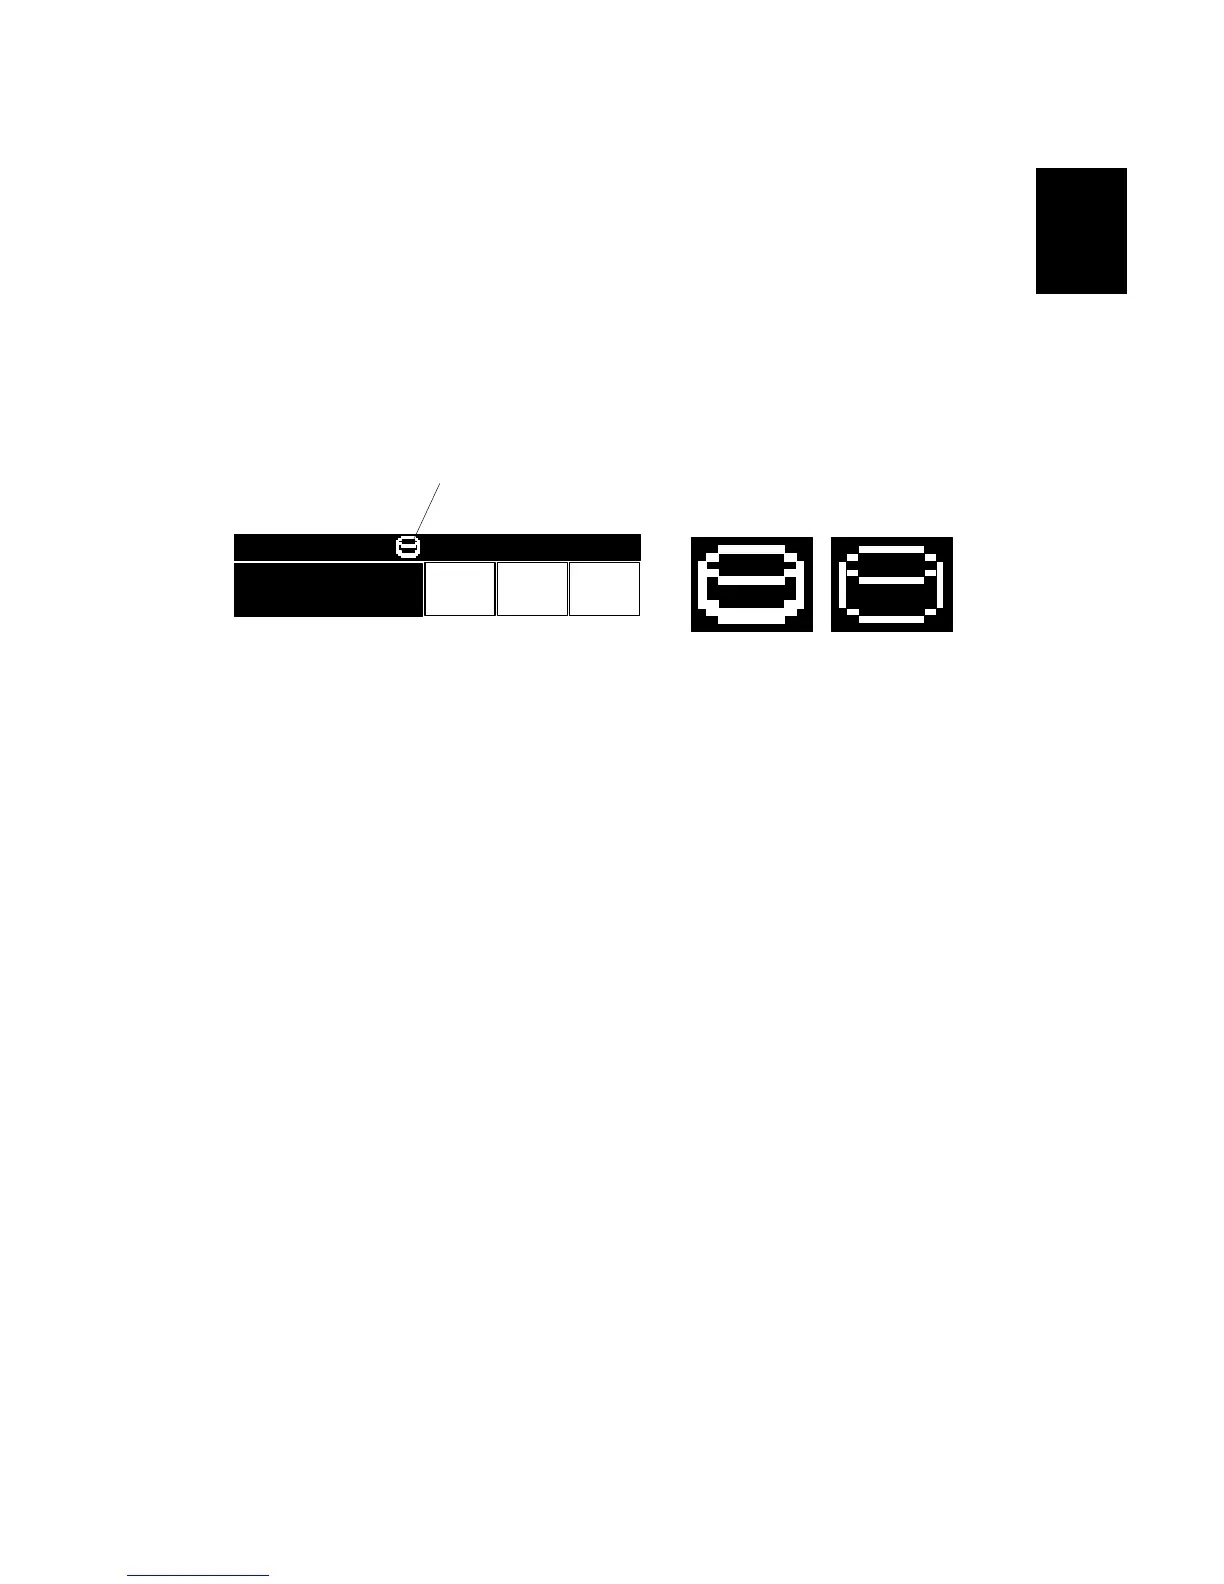
12. Check the display and make sure that the overwrite erase icon [A] is displayed.
13. Make a Sample Copy.
14. Check the overwrite erase icon.
• The bottom of the icon becomes thicker [B].
• “Next Copy” is shown for a short interval below the icon.
• The icon goes back to its usual shape [C].
15. Remove the Document Server and Scanner key-tops, and replace them with
the blank key-tops that are supplied with the kit.
B692I905.WMF
CopiesTotalOrigi
.
010
09/09/2003 14:13
 Loading...


