August, 2006 ARDF
3-169
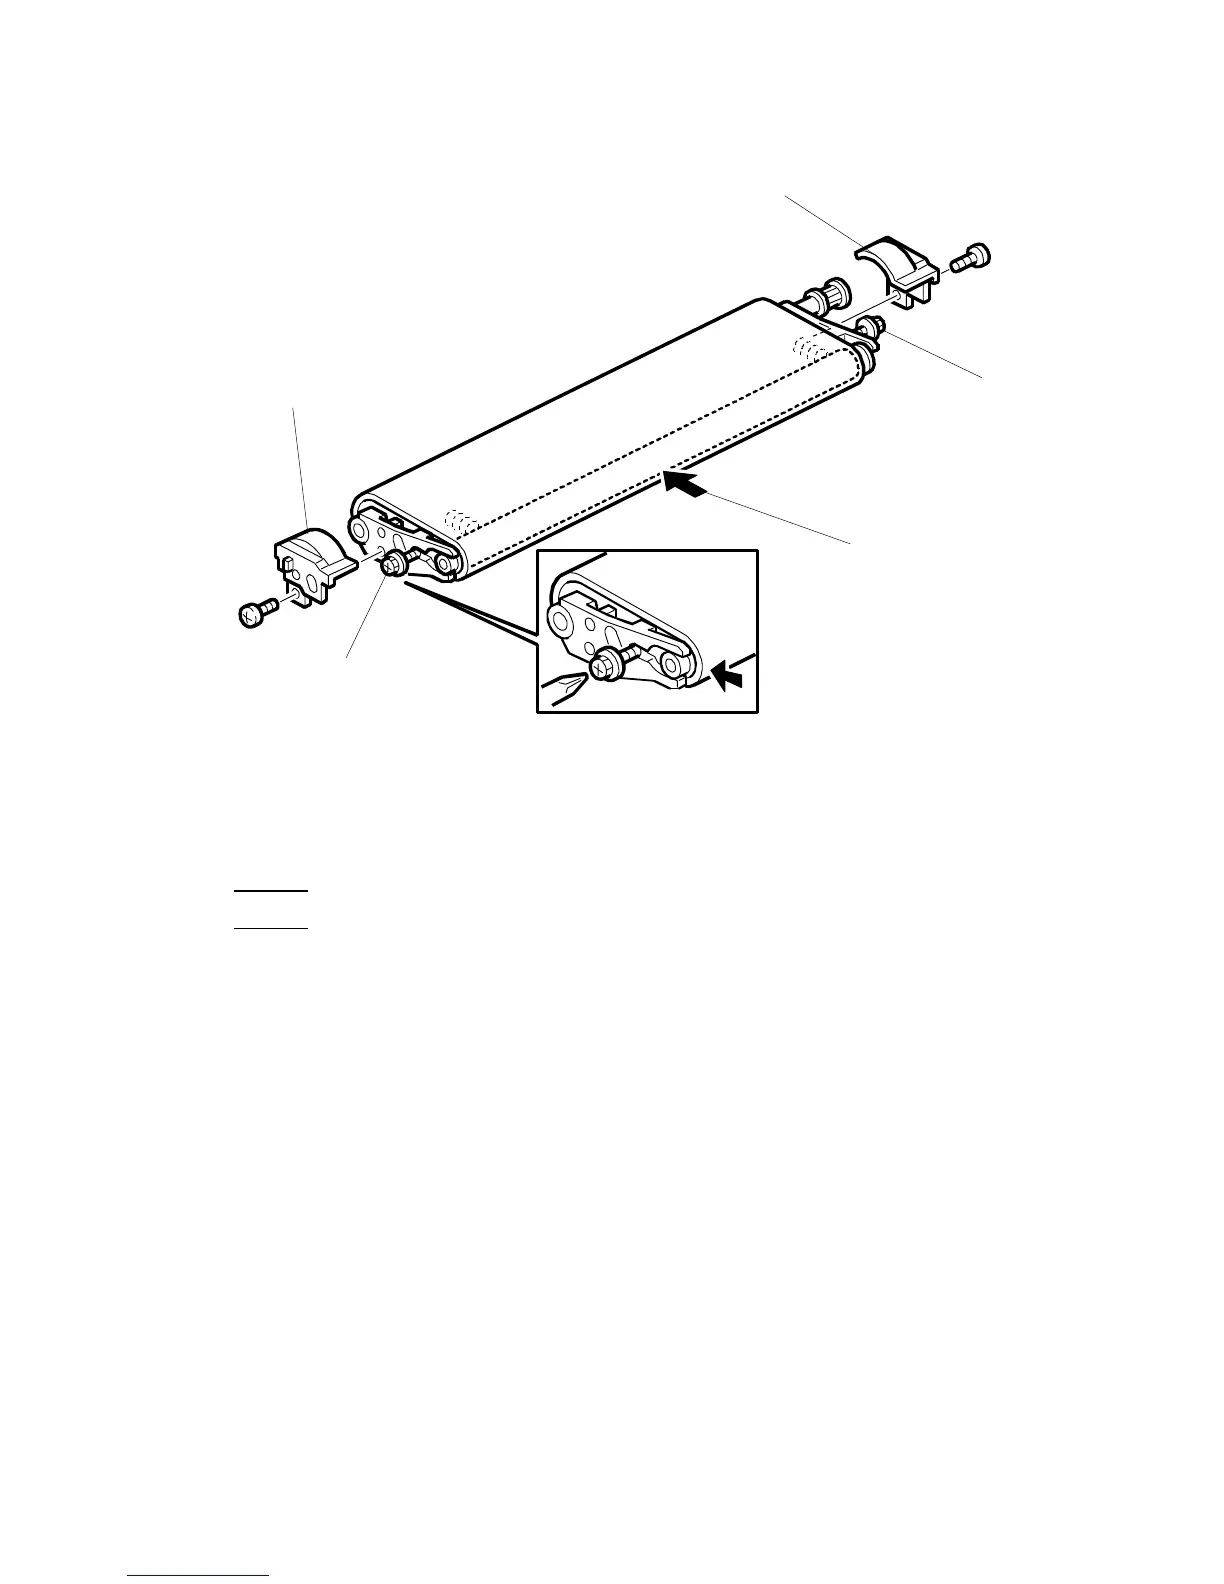
Removing the Belt
1. Remove the front plastic cover [A] ( x1)
2. Remove the rear plastic cover [B] ( x1)
3. Loosen front lock screw [C]. Do not remove.
4. Loosen rear lock screw [D]. Do not remove. This releases the spring-loaded
tension on the belt.
5. Grip the roller in the center [E] then squeeze the belt to bring the rollers
together.
6. While squeezing the belt and rollers together in the center, tighten screws [C]
and [D]. This compresses the spring and releases tension on the belt.
Important
• To avoid stripping the threads of the screws, do not apply excessive torque to
these screws!
7. Release the belt and make sure that the belt is loose and that the rollers do not
move. Repeat Steps 5 and 6 if the rollers expand and tighten the belt.
B132R127.WMF
[A]
 Loading...


