August, 2006 PCU (PHOTOCONDUCTOR UNITS)
3-41
3.5 PCU (PHOTOCONDUCTOR UNITS)
3.5.1 DEVELOPER REPLACEMENT
1. Spread some paper on a flat surface to hold developer that will be dumped
from the development unit.
2. Remove the toner hopper and face plate. (3.2.7)
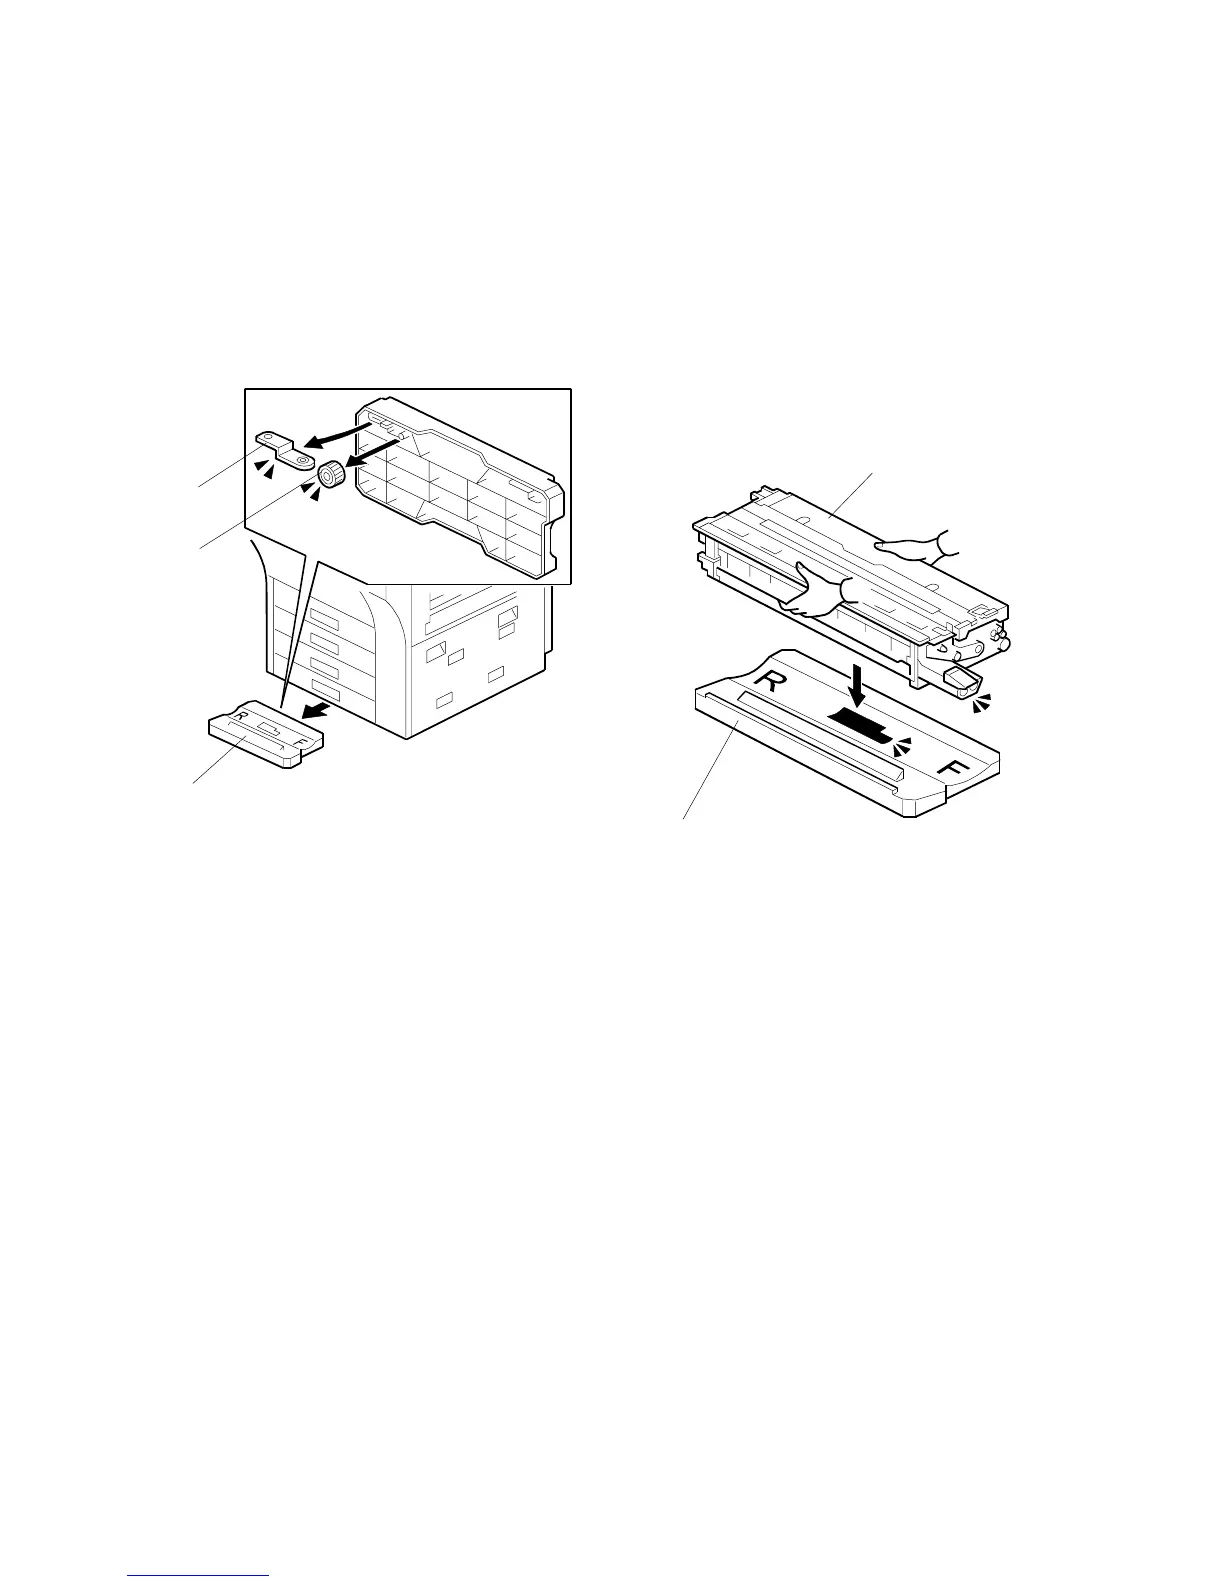
3. Remove the PCU stand [A] from bottom of the machine.
4. Remove the long special tool [B] and gear lock [C] from the bottom of the PCU
stand.
5. Put the PCU stand [A] on a flat surface.
6. Remove the PCU. (3.2.7)
7. Position the front and rear of the PCU [D] so it matches the F (front) and R
(rear) markings on the stand, then place the PCU on the stand.
Important:
• The front-rear alignment aligns the shape of the stand with the contours of
the PCU bottom. This ensures that the exposed drum on the bottom of the
PCU is completely protected during servicing.
B132R220.WMF
F
R
B132R214.WMF
[A]
 Loading...


