EasyManuals Logo

Toshiba e-STUDIO4500c Service Manual

Toshiba e-STUDIO4500c
1120 pages
To Next Page IconTo Next Page
To Previous Page IconTo Previous Page
Page #60 background imageLoading...
Page #60 background image
August, 2006 COPIER E-STUDIO4500C/5500C
1-21
Installation
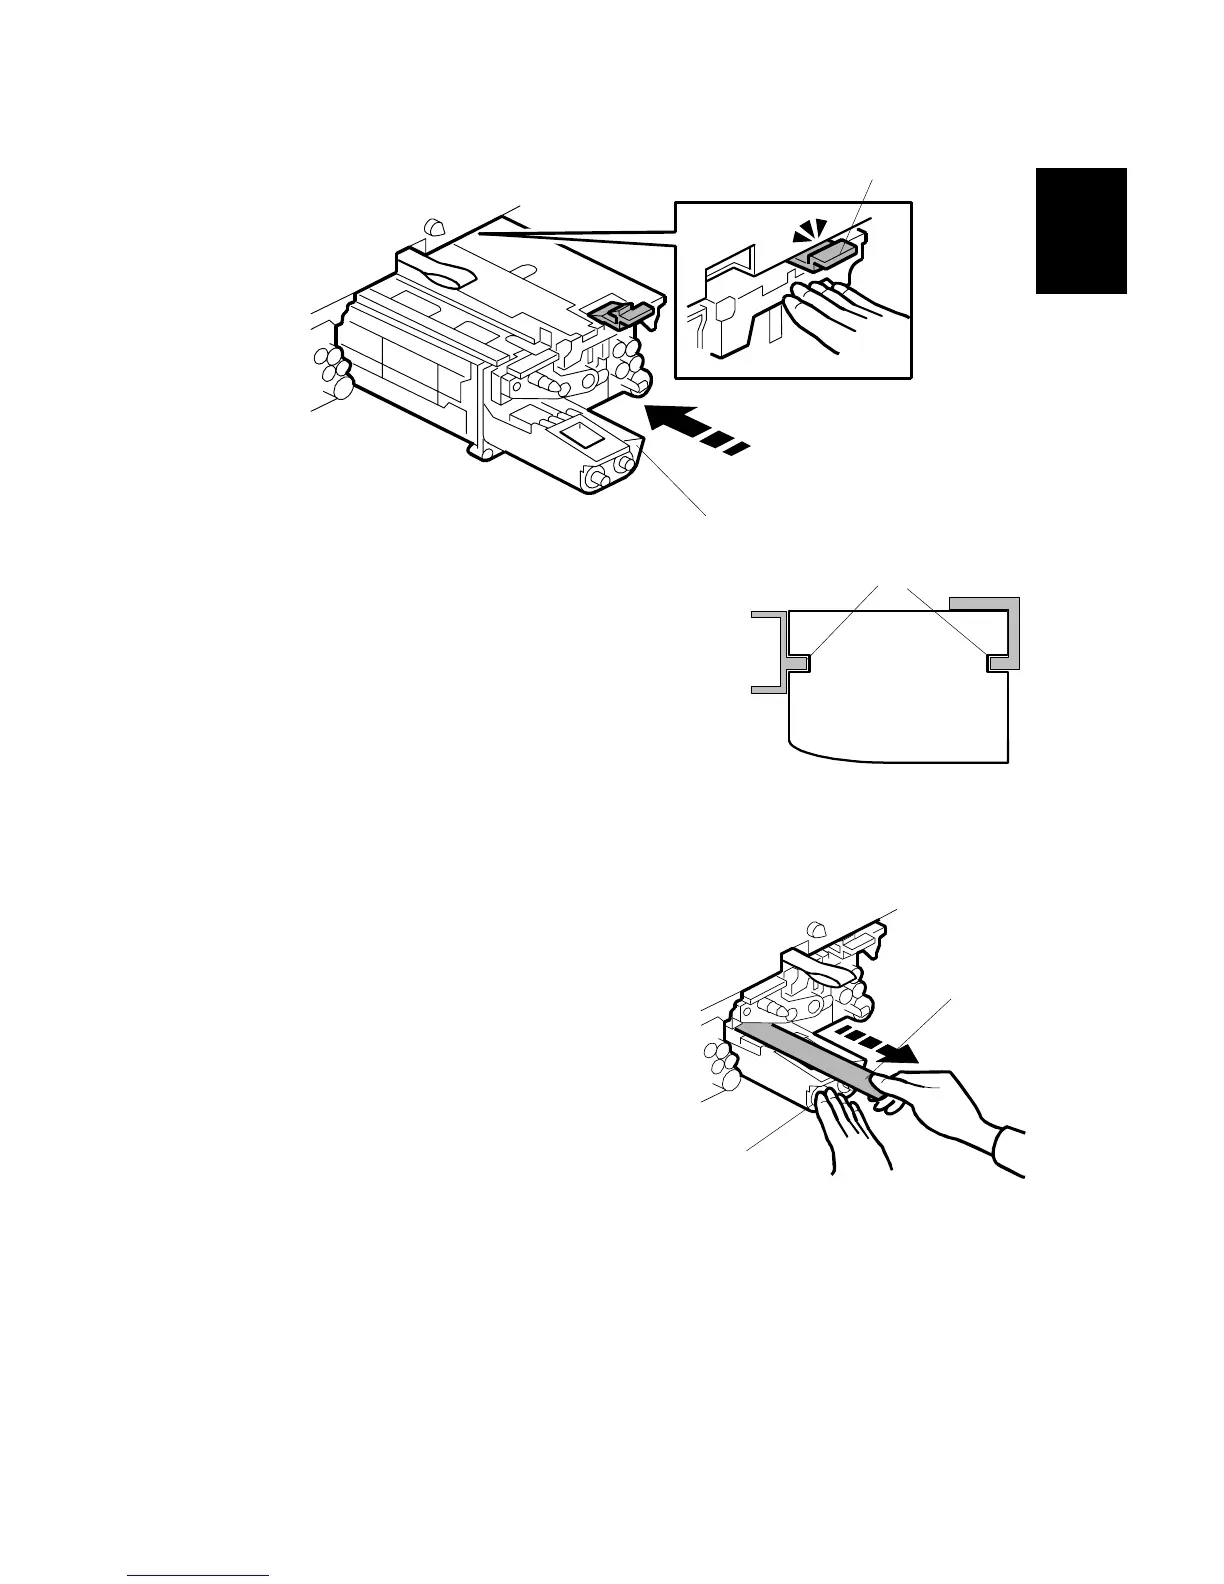
3. Hold the PCU [A] in front of the slot where you
removed it.
4. Engage the rails [B] with the slots in the sides of
the PCU.
5. Slowly push the PCU into the slot. Make sure
the tab [C] above the PCU is locked.
NOTE: If the PCU does not go in smoothly,
make sure the rails [B] and grooves are
engaged correctly.
6. To release the developer into the PCU,
pull out the film seal [D].
NOTE: Put your other hand on the
PCU [E] to keep it stable it while you
pull on the film seal.
7. Repeat Steps Page 1-15 to 1-21 for the
other PCUs (Cyan, Magenta, Black).
B132I114.WMF
B132I905.WMF
B132I101.WMF
[A]
[C]
[D]
[E]
[B]

Table of Contents

Other manuals for Toshiba e-STUDIO4500c

Questions and Answers:

Question and Answer IconNeed help?

Do you have a question about the Toshiba e-STUDIO4500c and is the answer not in the manual?

Toshiba e-STUDIO4500c Specifications

General IconGeneral
BrandToshiba
Modele-STUDIO4500c
CategoryAll in One Printer
LanguageEnglish

Related product manuals