August, 2006 COMMON REMOVAL PROCEDURES
3-17
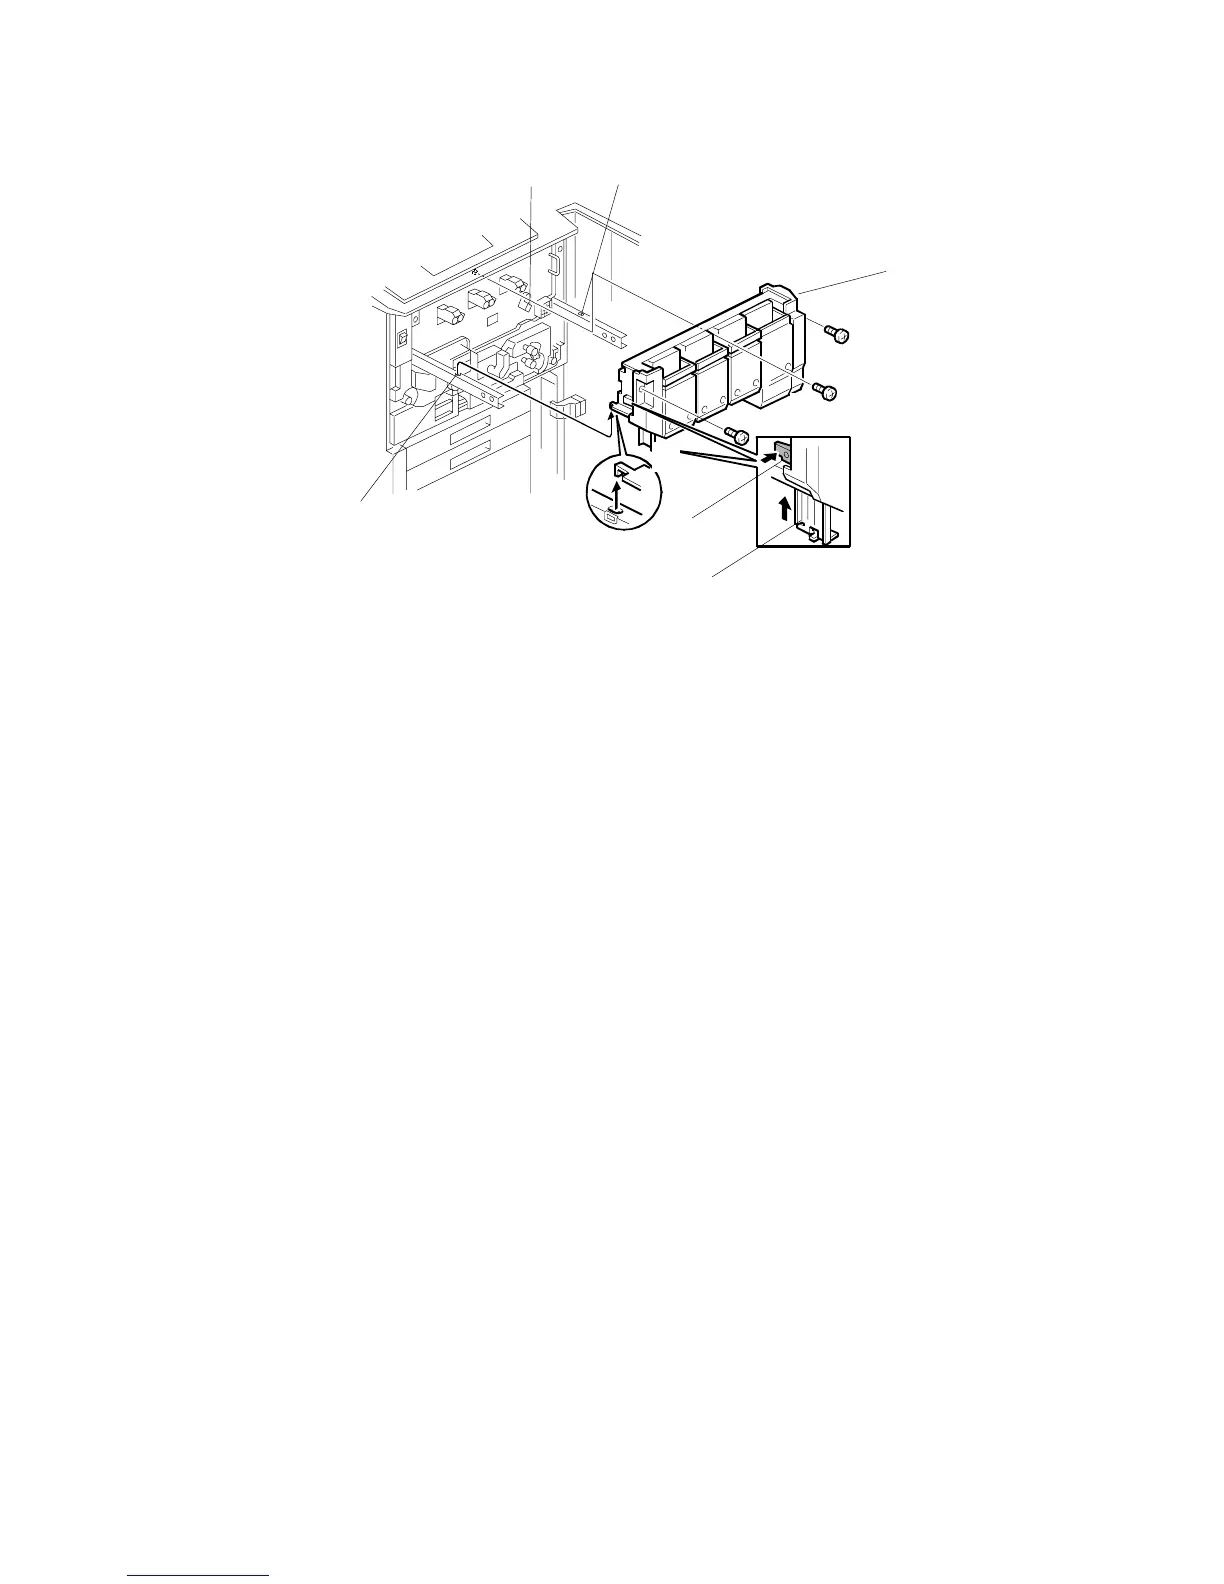
To reinstall the toner hopper:
1. Confirm that the transfer belt release lever [A] is up and locked before you
reattach the toner hopper.
2. Make sure the toner hopper rails are fully extended, then set the toner hopper
[B] on the rails.
3. Make sure the steel tabs of the toner hopper are inserted into the holes on the
left rail [C] and right rail [D].
4. Push up the release [E] and support leg [F].
Important: Make sure that the support leg is up and locked before you push
the toner hopper into the machine.
5. Place your hands at the bottom of the toner hopper at and and then push
the toner hopper into the machine against the face plate.
Important: To avoid damaging the toner hopper, never press in on the top of
the toner hopper.
6. Make sure that the toner hopper is flat against the face plate on the right side.
NOTE: If the toner hopper [B] is not flat against the face plate on the right side,
pull it out slightly and make sure that the transfer belt release lever is
rotated up completely and locked.
7. Fasten the toner hopper to the face plate ( x3).
 Loading...


