9 General Purpose Application
9.1 Simplified Teaching and Playback
9-21
155507-1CD
RE-CSO-A037
DX100
9.1.3.2 Teaching Procedure
The teaching procedure of Step 2 which specifies the cutting pose and
Step 3 and 4 (cutting section) are explained.
Step 2 -- Near cutting position
Define the cutting pose.
• Teach Step 1, which is the standby position, to a safe
position where the manipulator will not collide with the
workpiece and the tool.
• Confirm the cutting path with [FWD] and [BWD] after
teaching.
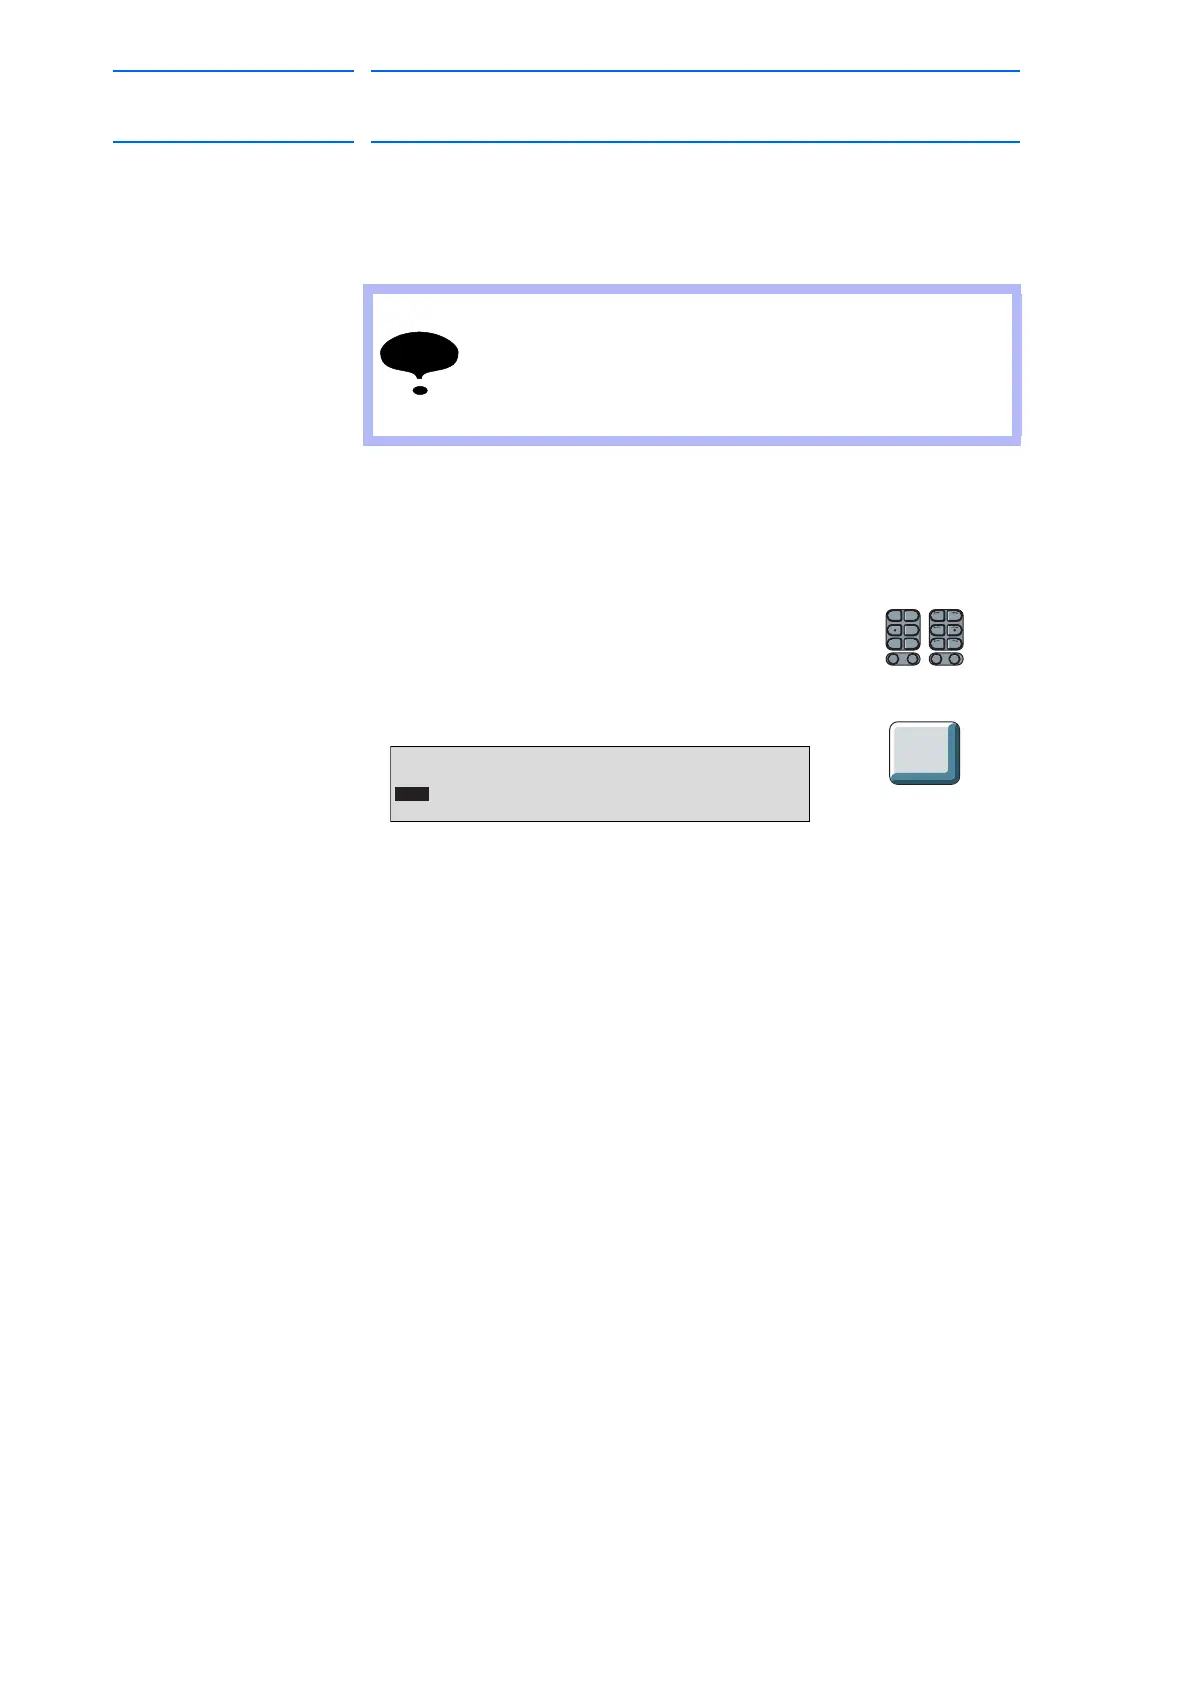
1. Specify the correct posture with the axis
operation keys for the manipulator to start
cutting.
2. Press [ENTER]. Step 2 is registered.
S-
X-
S+
X+
L-
Y-
L+
Y+
U-
Z-
U+
Z+
7- 7+
R-
X-
R+
X+
B-
Y-
B+
Y+
T-
Z-
T+
Z+
0000 NOP
0001 MOVJ VJ=25.00
0002 MOVJ VJ=25.00
0003 END

 Loading...