XY View Screen - Using Die Grid Navigation (Optional Feature, P-16+ only) KLA-Tencor P-16+ / P-6 User’s Guide
4-20 KLA-Tencor Confidential 0142530-000 AB
3/13/09
3. Click OK to continue with the procedure. (See Figure 4.14.)
4. In the
Teach Die Grid screen, the procedure is prompted from the message
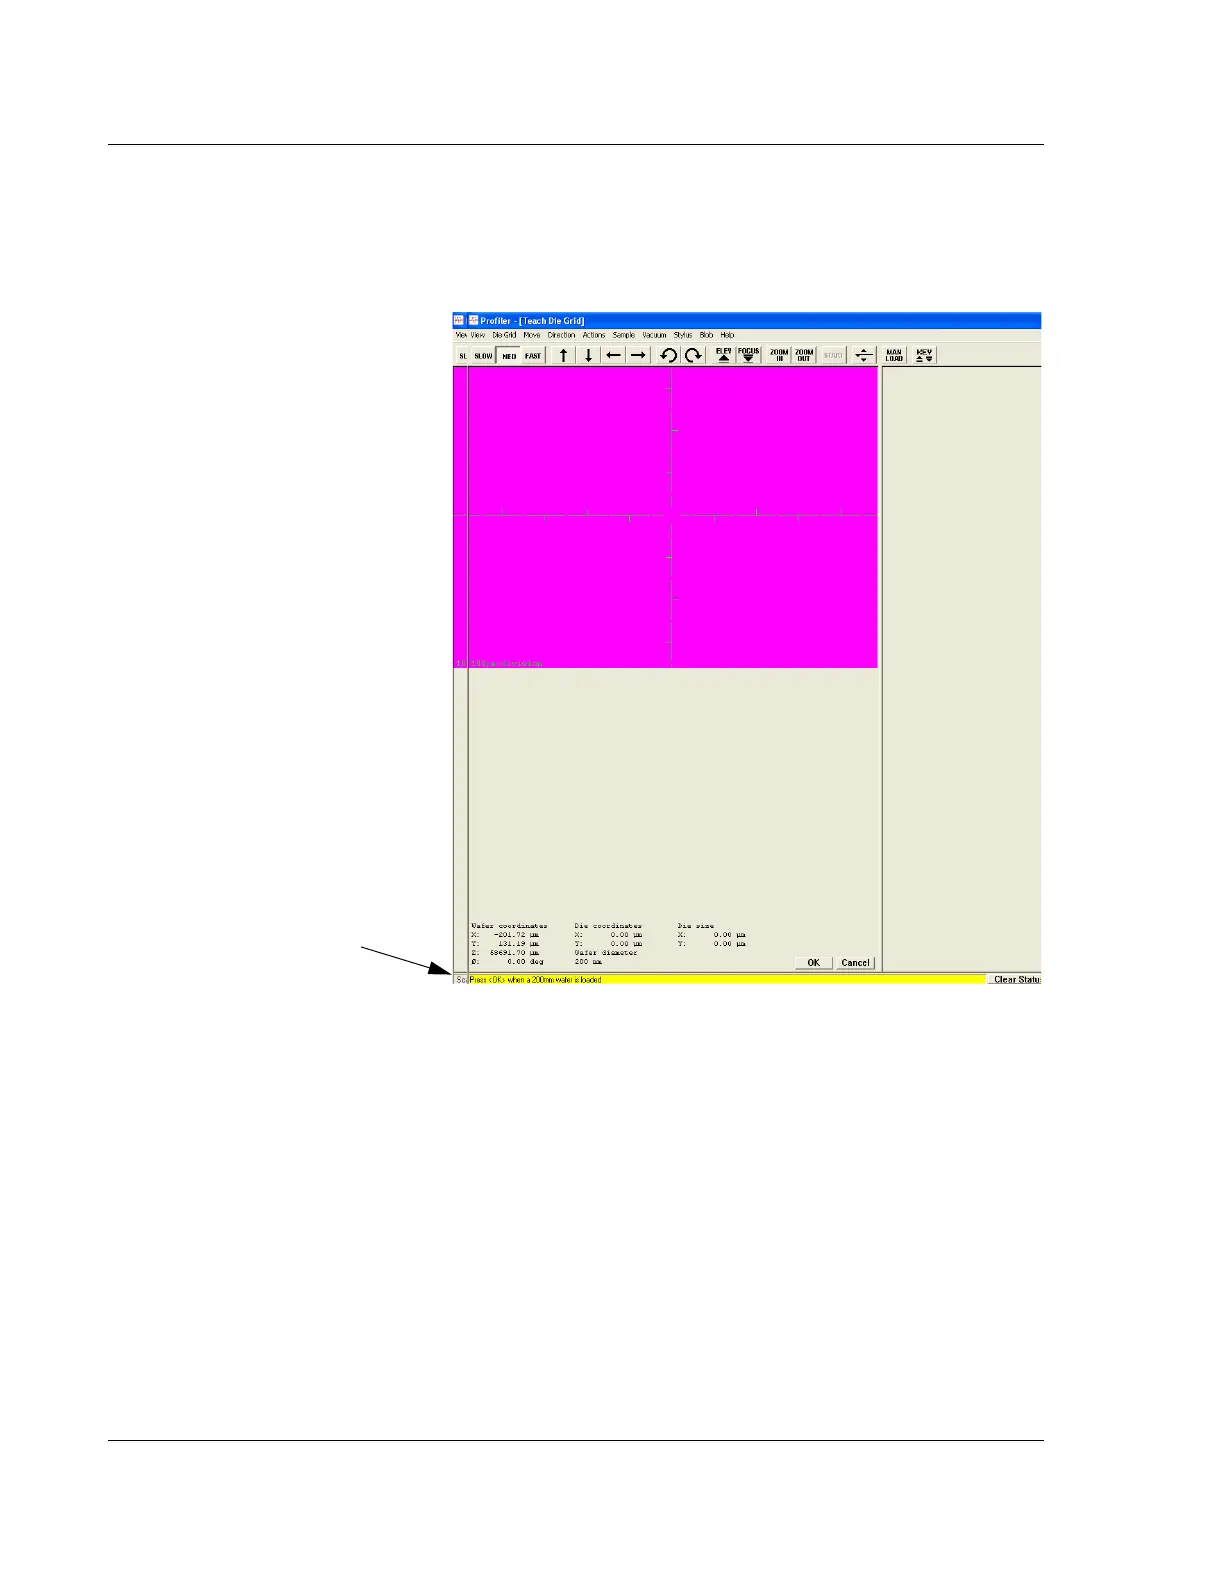
display area at the bottom left of the screen. (See Figure 4.15.)
Notice in Figure 4.15 that the message prompt tells the operator to place a
specific sized wafer on the stage and then click
OK. The system is configured to
run a specific sized wafer. It is important that only that size wafer be used.
5. Obtain the wafer to be used in the teach die grid procedure
6. Click
MAN LOAD to move the stage to the door.
7. Open the door and load the wafer onto the precision locator. (If there is no
precision locator, have one installed before continuing with this procedure.)
8. Turn
ON the vacuum using the switch located at the left inside edge of the door.
9. Close the door and click
MAN LOAD to send the stage back under the
measurement head.
Figure 4.15 Teach Die Grid Screen
Step 4 The message prompt, here
under the graphic, informs the
operator of procedures as they
occur and operator requirements.
 Loading...