Stylus Change Procedure - Stylus Removal and Replacement KLA-Tencor P-16+ / P-6 User’s Guide
13-8 KLA-Tencor Confidential 0142530-000 AB
3/13/09
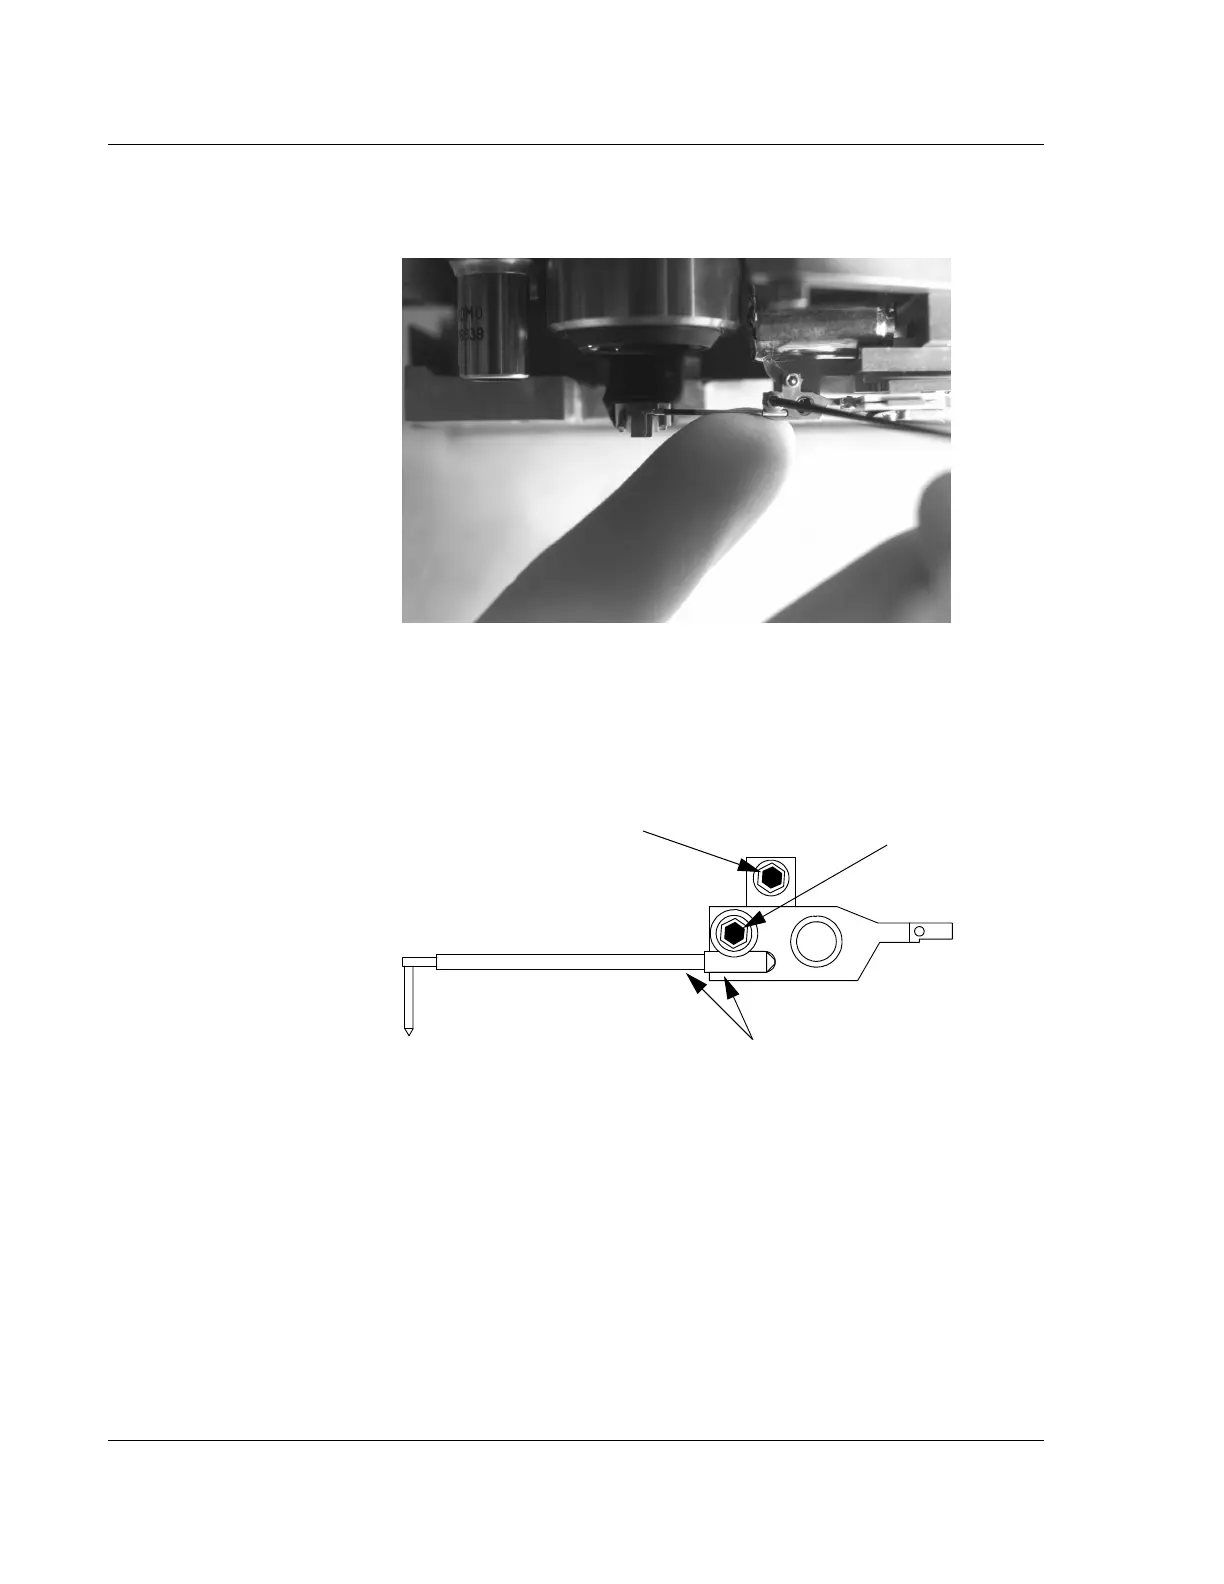
3. While supporting the stylus and the stylus arm, gently tighten the clamp screw
to hold the stylus in place. Do not over tighten or damage can occur to the stylus
arm pivot. (See Figure 13.10 and Figure 13.11.)
4. Remove the wrench from the clamp screw and replace it in its mount. Tighten
the thumbscrew to hold the wrench in place.
Figure 13.10 Supporting Stylus and Mount During Tightening Procedure
Figure 13.11 Sensor Assembly - Seating the New Stylus
Step 2 Support stylus and mount at
these two points. See Figure 13.10.
Step 3 Gently tighten the stylus clamp
screw to hold the stylus in place.
CAUTION: Do not turn
this screw; it can result in
damage to the stylus.

 Loading...