Analyzing 3D Scan Data - Customizing the View KLA-Tencor P-16+ / P-6 User’s Guide
7-38 KLA-Tencor Confidential 0142530-000 AB
3/13/09
1. Click Operations in the Analysis screen menu bar.
2. Click
Line Level...
3. Go to the Operations menu, and select Line Level.
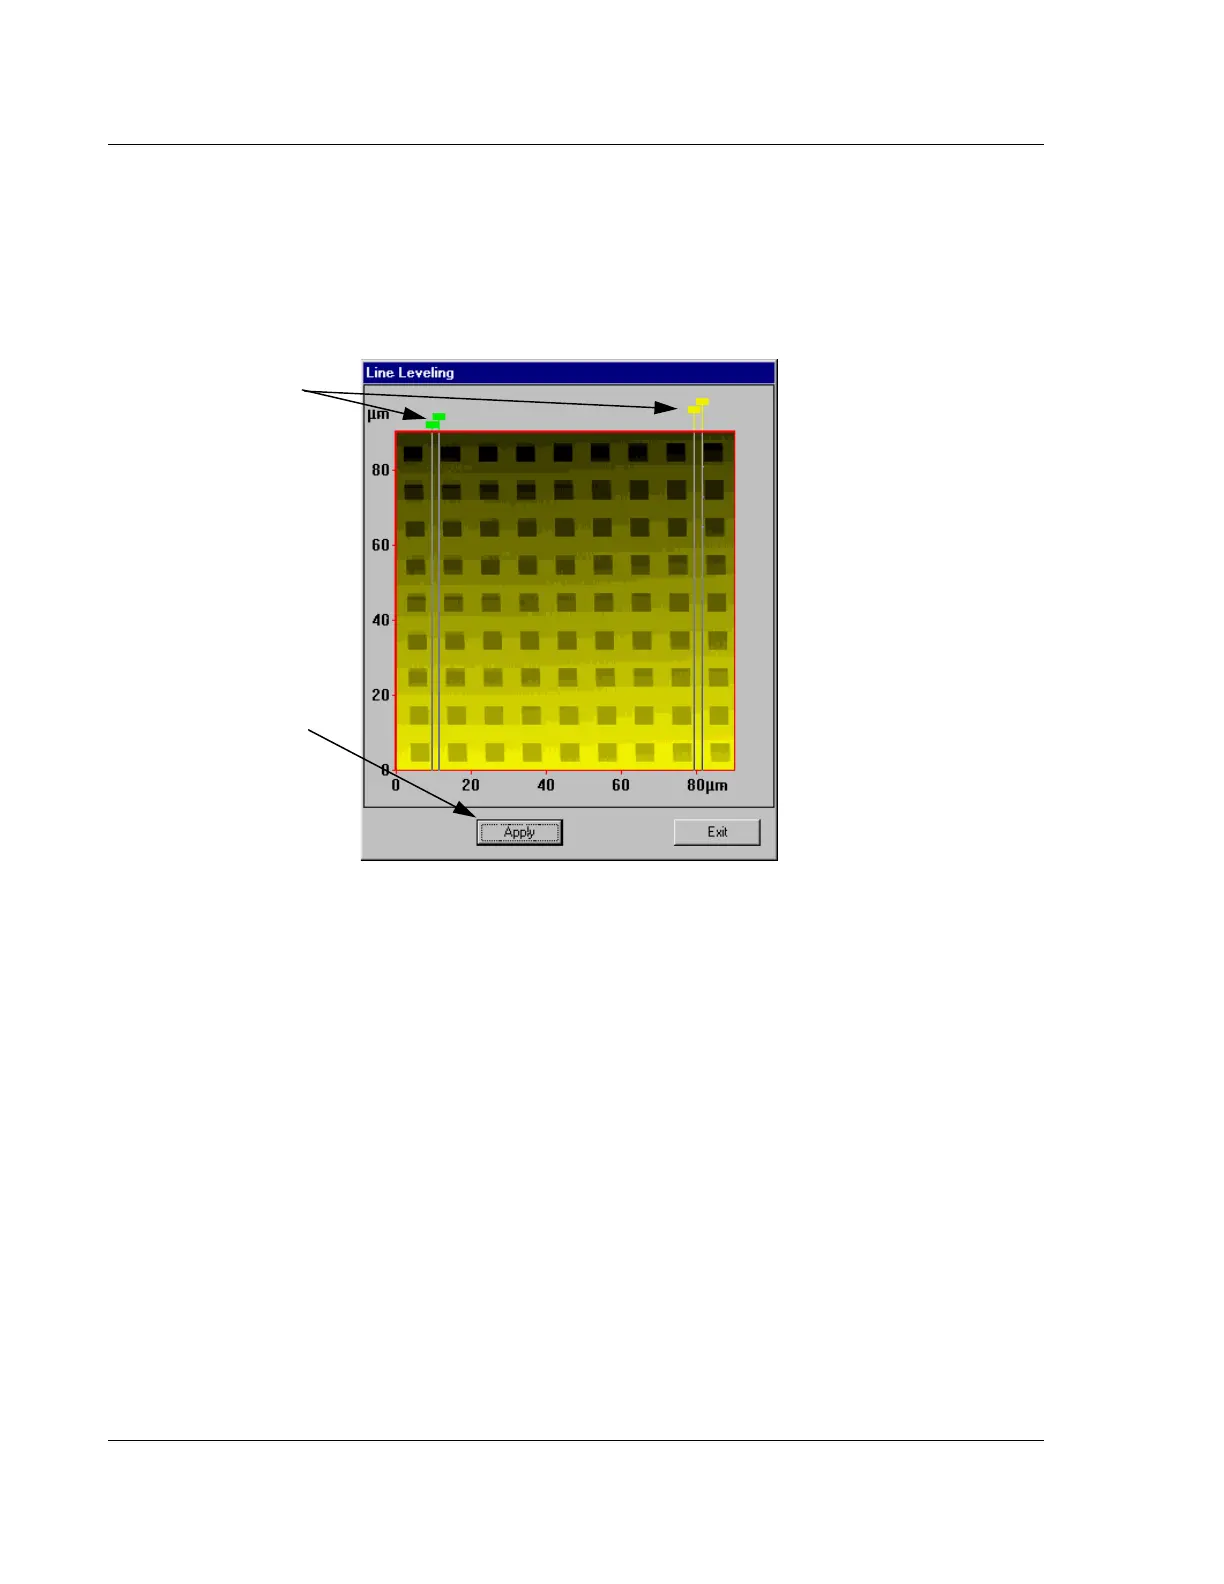
The dialog box appears (see Figure 7.25).
4. Click and drag the lines of each pair of boundary cursors to define segments of
the scan lines on the same plane.
Do not include features, only flat areas (see Figure 7.25 for placement of
cursors). Notice that in the image, the lines must be vary close together in order
to keep from including unwanted features.
The instrument compares the bounded segments and calculates an average
baseline for the scan.
5. Click the
Apply button to preview the results. The Undo button become active.
6. Click the
Exit button to return to the scan data window and view the results on
the scan image.
7. If the new leveling is to be retained, it must be saved. If the screen is closed
without saving, the changes are lost.
Figure 7.25 Line Leveling Dialog Box After Cursors Positioned
Step 4 The cursors in
this illustration must be
placed close together to
ensure that they are
covering the same plane.
Step 5 After the cursors
are set, click
Apply to
preview the results.

 Loading...