Analyzing 3D Scan Data - Customizing the Scan Image KLA-Tencor P-16+ / P-6 User’s Guide
7-36 KLA-Tencor Confidential 0142530-000 AB
3/13/09
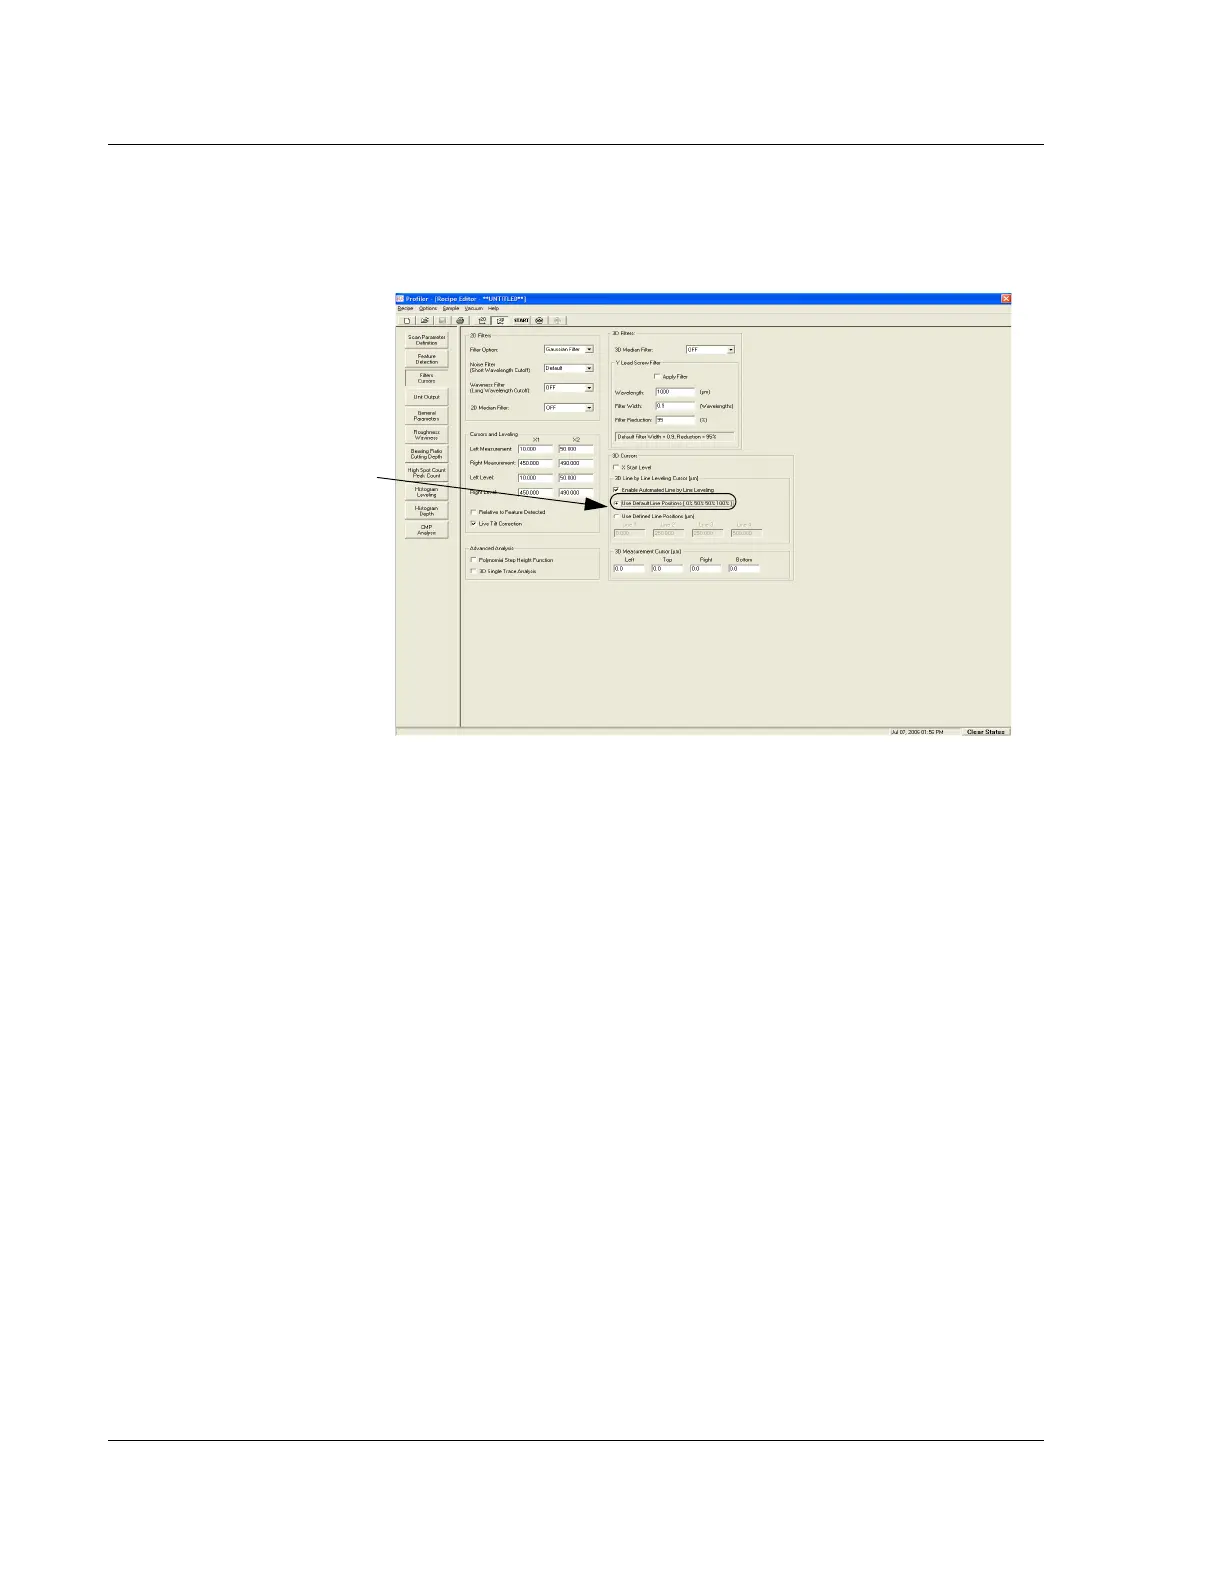
8. In the Recipe Editor, click the Filters Cursors button at the bottom of the
parameter window icon column. (See Figure 7.23.)
CUSTOMIZING THE SCAN IMAGE 7
Setting the Image Proportions 7
1. Go to the View menu, and select Change.
The
View Properties dialog box appears.
2. Type a number that gives an appropriate value for the image height in Data
Height Mag. (See Table 7.10 on page 7-22, View Properties.)
Since the number depends on the relative heights of the features in the image,
select a higher value to obtain a taller image, a smaller value to reduce it. Click
OK.
Setting the Shading Mode 7
1. In the View menu, click Change...
2. In the Change... menu, click View Properties.
The
Set Viewing Parameters dialog box appears.
Figure 7.23 Recipe Editor with 3D Cursors Window Displayed
The current cursor positions are
now recorded in the Line fields.