0142530-000 AB KLA-Tencor Confidential 12-5
3/13/09
KLA-Tencor P-16+ / P-6 User’s Guide Calibrations - Video Calibration
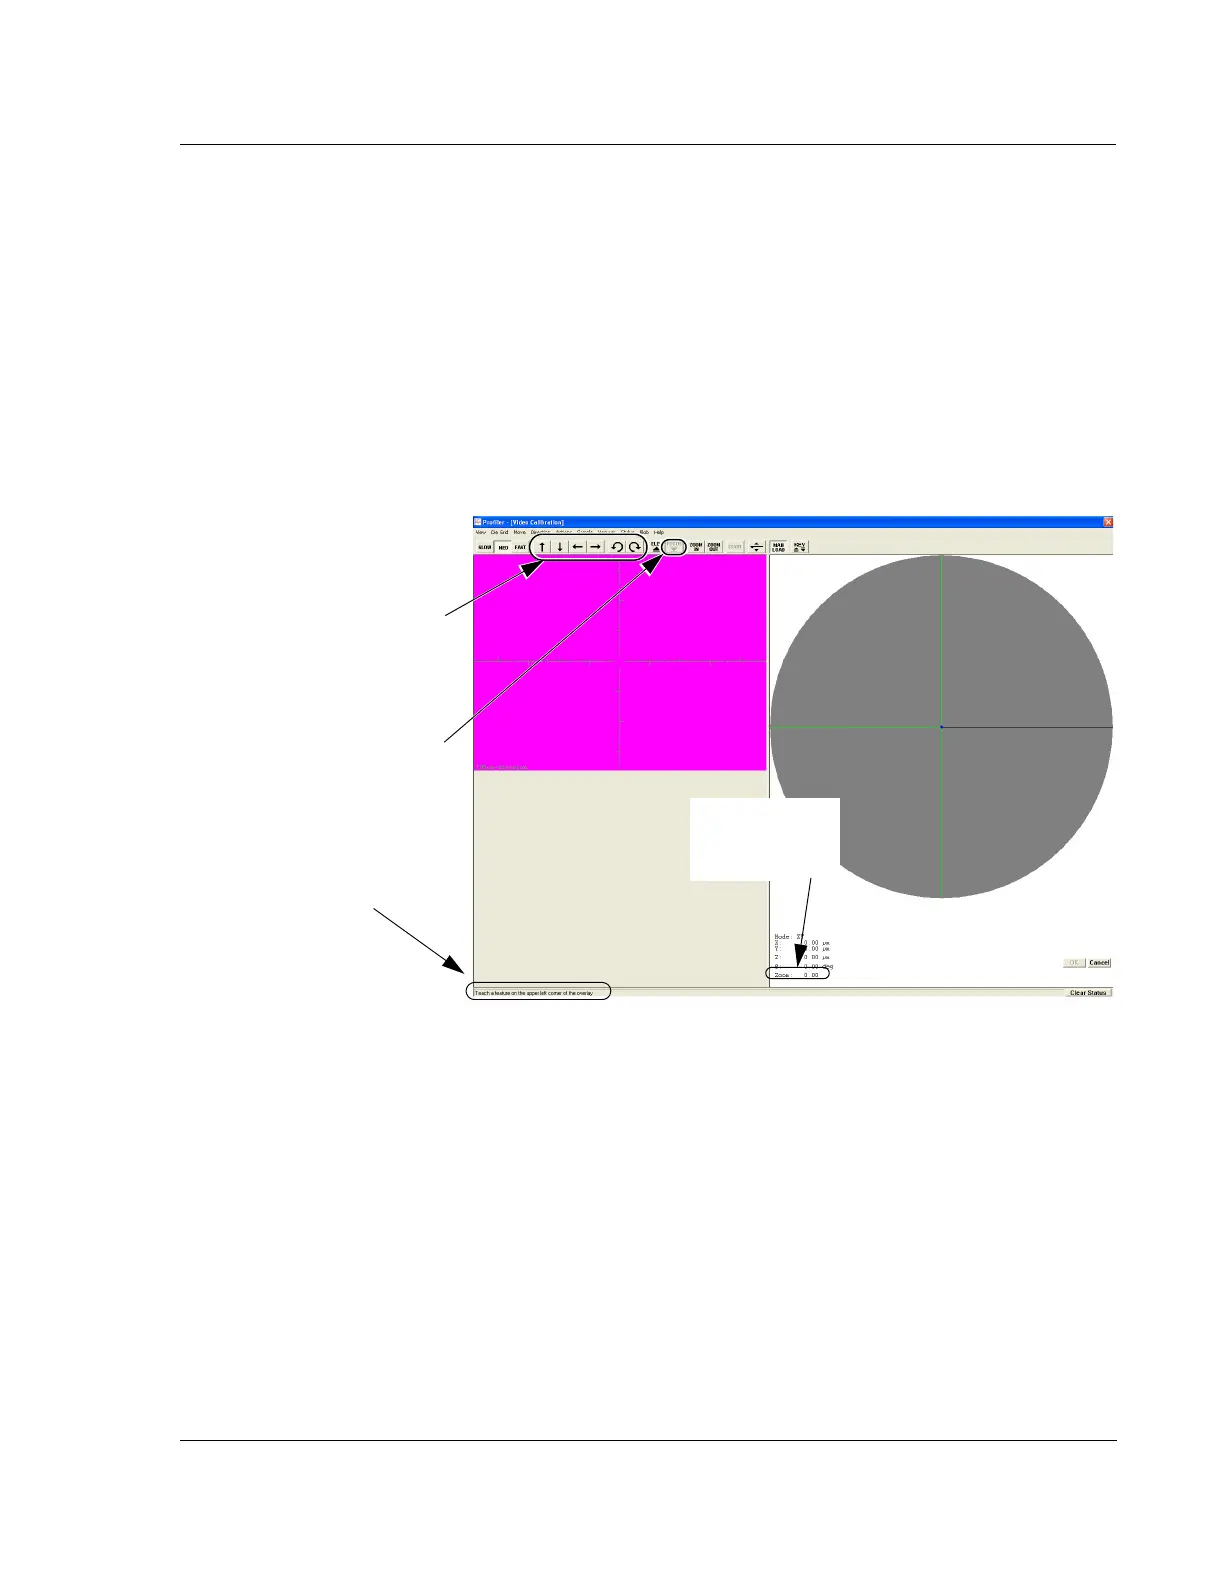
10. The prompt in the lower left corner of the screen reads, “Teach a feature on the
upper left corner of the overlay.
” Use the linear arrow keys to position a feature in
the upper left quadrant of the screen for use in teaching the calibration. Avoid
features that are identical or similar to other features nearby. (See Figure 12.5.)
Teaching for Systems with
Pattern Recognition
11. To TEACH the feature, drag a pattern recognition box around the chosen
feature. (Pattern recognition box: Move the cursor above and to the left of the
feature. Click and hold the mouse button, drag the box down below and to the
right of the feature, and release the button.)
The system moves the feature and pattern recognition locates it again. If the
system locates the feature go to Step on page -6. Otherwise continue on to the
next step.
12. If the pattern recognition program does not find the pattern, perform the
calibration again. If the system locates the feature, go to the results that are
explained in Step 14. If the system still does not locate the feature, use the
procedure for systems without pattern recognition as described in Step 13 and
Step 14.
Teaching for Systems
without Pattern
Recognition
13. Choose a feature in the upper left quadrant of the screen. To choose the feature,
move the cursor crosshair over the feature and click it at a precise point that can
be exactly identified again. The system moves the feature to another location
nearby.
Figure 12.5 Message Prompt and Focus Button
Step 8 Click FOCUS to null the
stylus on the sample surface.
Follow the message prompt
instructions throughout all the
calibration procedures.
Step 10 Use only these arrow
buttons to position the chosen
object or feature in the upper left
quadrant of the screen.
the zoom setting is
read at the bottom
of the screen.