0142530-000 AB KLA-Tencor Confidential 12-15
3/13/09
KLA-Tencor P-16+ / P-6 User’s Guide Calibrations - P-16 Series Level Calibrations
11. Click OK to begin the calibration.
The stylus nulls twice, once each near the left and right extremes of the wafer.
With each nulling, the Z value is registered. The system then calculates and
corrects the stage level status such that, when the calibration is performed again,
the entire surface of the stage has nearly the same Z value (assuming the wafer
has a minimal bow and that the Tilt calibration is correct).
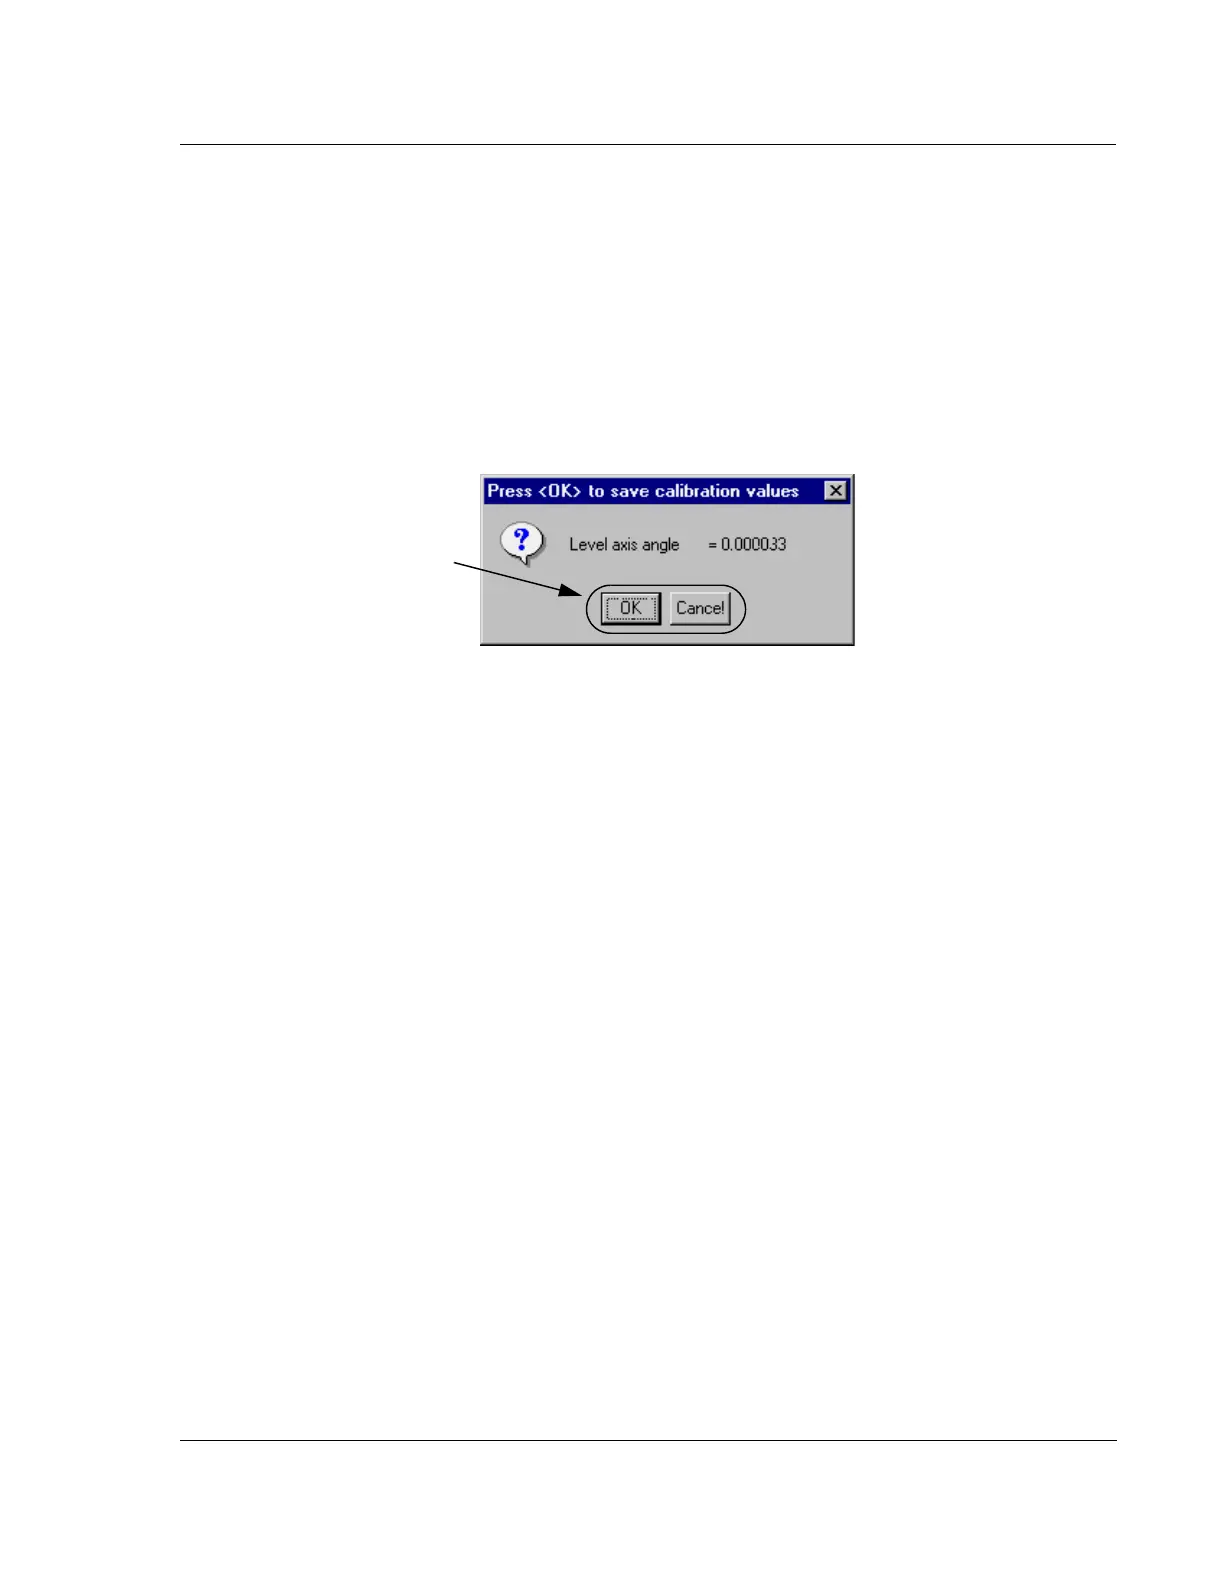
12. When the Level calibration is complete, the system presents a dialog box with
the results and an option to accept or reject the calculation. Click
OK to accept
the calculated value or
Cancel to reject it. (See Figure 12.16.)
Level Calibration Confirmation 12
After the Level calibration is complete, a confirmation test must be made of the
calibration results. The test consists of nulling near the left edge of the wafer and
recording its Z height at null, and then nulling near the right edge of the wafer and
recording its Z height at null. This can be done using the Lowest Elevator Position
procedure accessed through the Configuration screen. The difference between the left
and right Z value should be 20
μm or less for the calibration to be acceptable. If the Z
value is greater than 20
μm, perform the Level calibration again.
Figure 12.16 Tilt Axis Angle Calibration Value Dialog Box
Step 12 Click OK to accept
the Level calibration value,
or
Cancel to reject it.