Stylus Change Procedure - Stylus Removal and Replacement KLA-Tencor P-16+ / P-6 User’s Guide
13-4 KLA-Tencor Confidential 0142530-000 AB
3/13/09
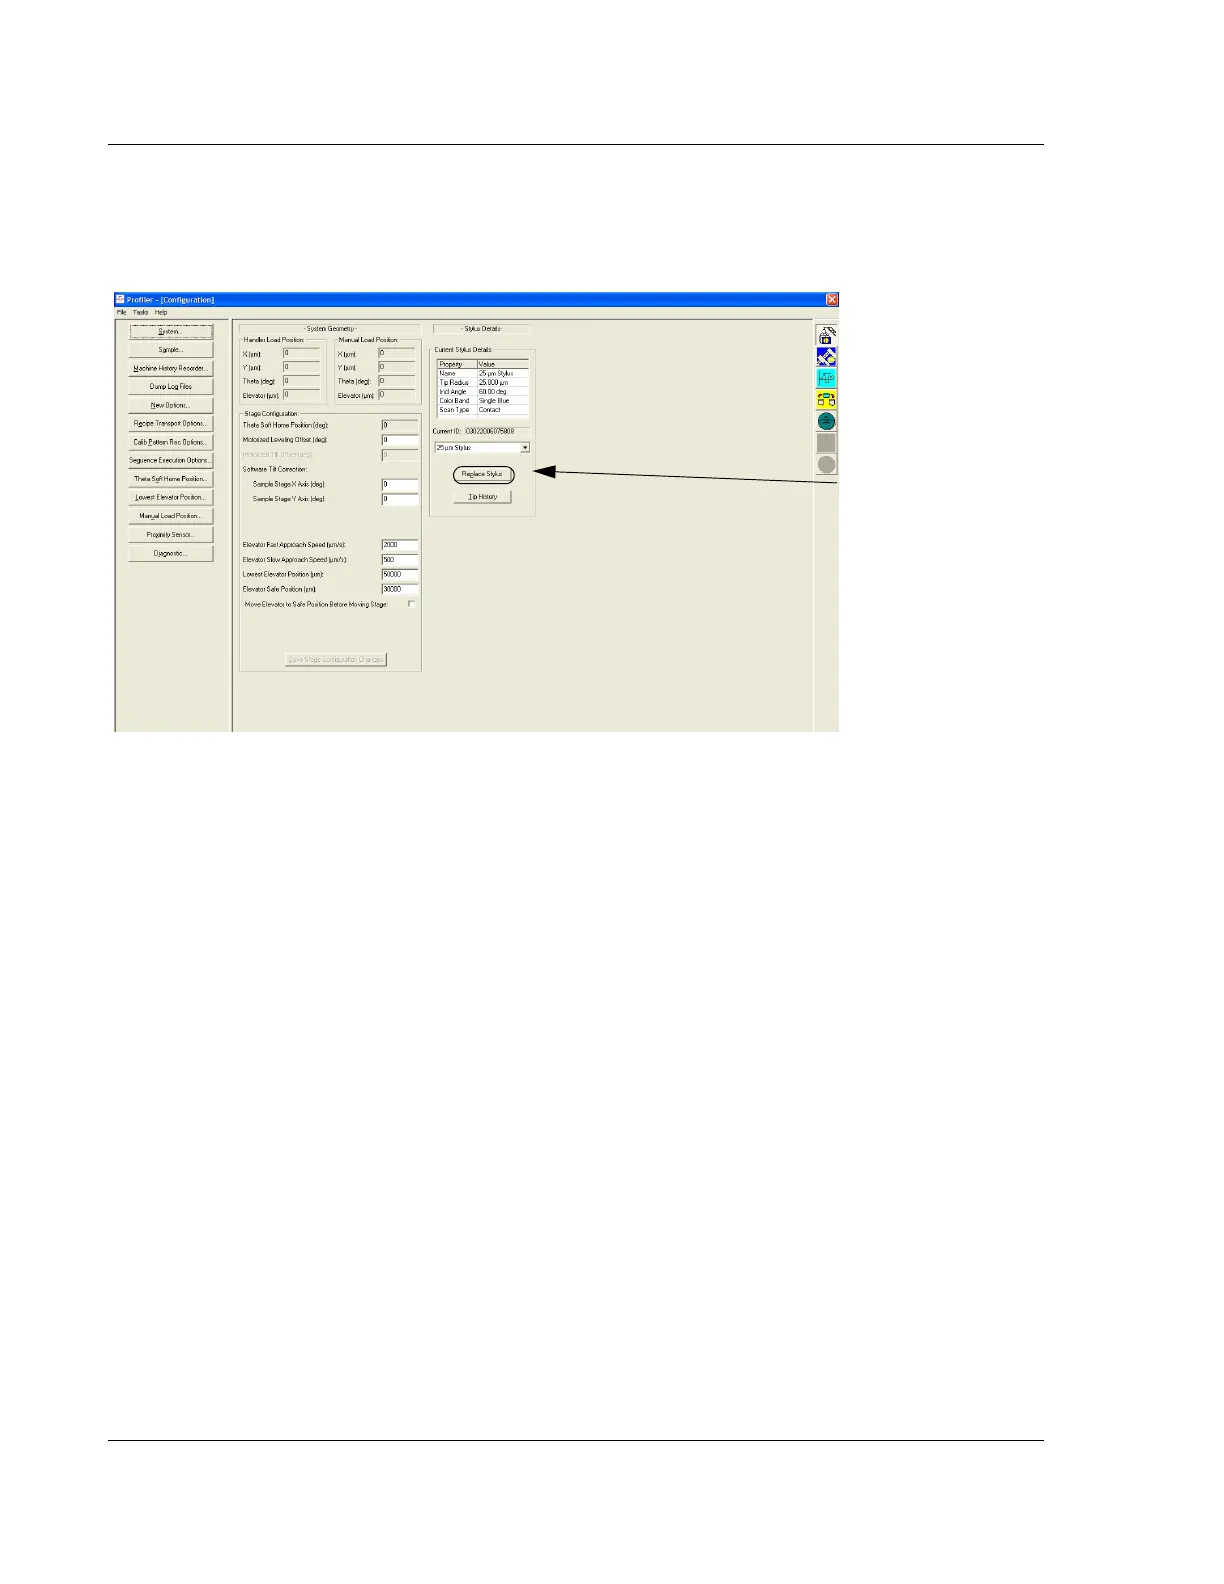
3. Click on the stylus type that will replace the current stylus. (See Figure 13.2.)
4. Click on
Replace Stylus to display its dialog box. (See Figure 13.3.)
5. To make it easier to track stylus performance, the system provides an
opportunity to name the stylus. The type of stylus has already been set before
moving to this screen (see Step 3.), and is identified in the
Type variable box.
This variable cannot be changed in this dialog box, only in the Configuration
screen. The name identifies the specific stylus of the Type referred to in the
Type
variable box.
The
Stylus ID dialog box is displayed. (See Figure 13.4.) It contains the name of
the stylus and a list of previously identified styli of the Type referenced in the
Type variable box.
To identify a new stylus: When using a new stylus, double-click in the ID
variable box and enter the new name.
To enter the name of previous stylus: When mounting a previously used stylus,
click on the name of the stylus from the
Previous ID’s list. The name should
appear in the
ID box.
Figure 13.3 Configuration Screen
Step 4 To begin the
stylus replacement
procedure, click
Replace Stylus to
display its dialog box.