0142530-000 AB KLA-Tencor Confidential 3-39
3/13/09
KLA-Tencor P-16+ / P-6 User’s Guide Scan Recipes - Creating and Editing a Scan Recipe
2. Click the desired Long Wavelength Cutoff value or type in the desired value.
Cursors 3
Cursors are used for two general purposes:
Measurement Cursors are used to gather data either between the two sets of
cursors or within the boundaries of the cursor itself.
Leveling Cursors are used to level the data points in the trace so the trace
features fairly represent the actual scanned surface.
Each cursor has limits that can be set. The limits of the cursor boundary are displayed
in X1 and X2 in the
Cursors parameters box. The cursor limits are set relative to the
starting point of the scan, or relative to the feature detected by the Feature Detection
algorithms, if enabled. These values can be set in the window by clicking on the
current value in the variable box and typing in the new value.
The easiest way is to set the cursors is in the analysis screen, after the scan, using the
click and drag procedure. The procedure is described in the following discussion. (For
more information on leveling cursors see Leveling Cursors on page 3-40.)
NOTE: The availability of cutoffs is dependent on the scan speed. The
systems prevents the accidental entry of a long wavelength cutoff that
is shorter than the currently selected short wavelength cutoff or the
value of the analog cutoff.
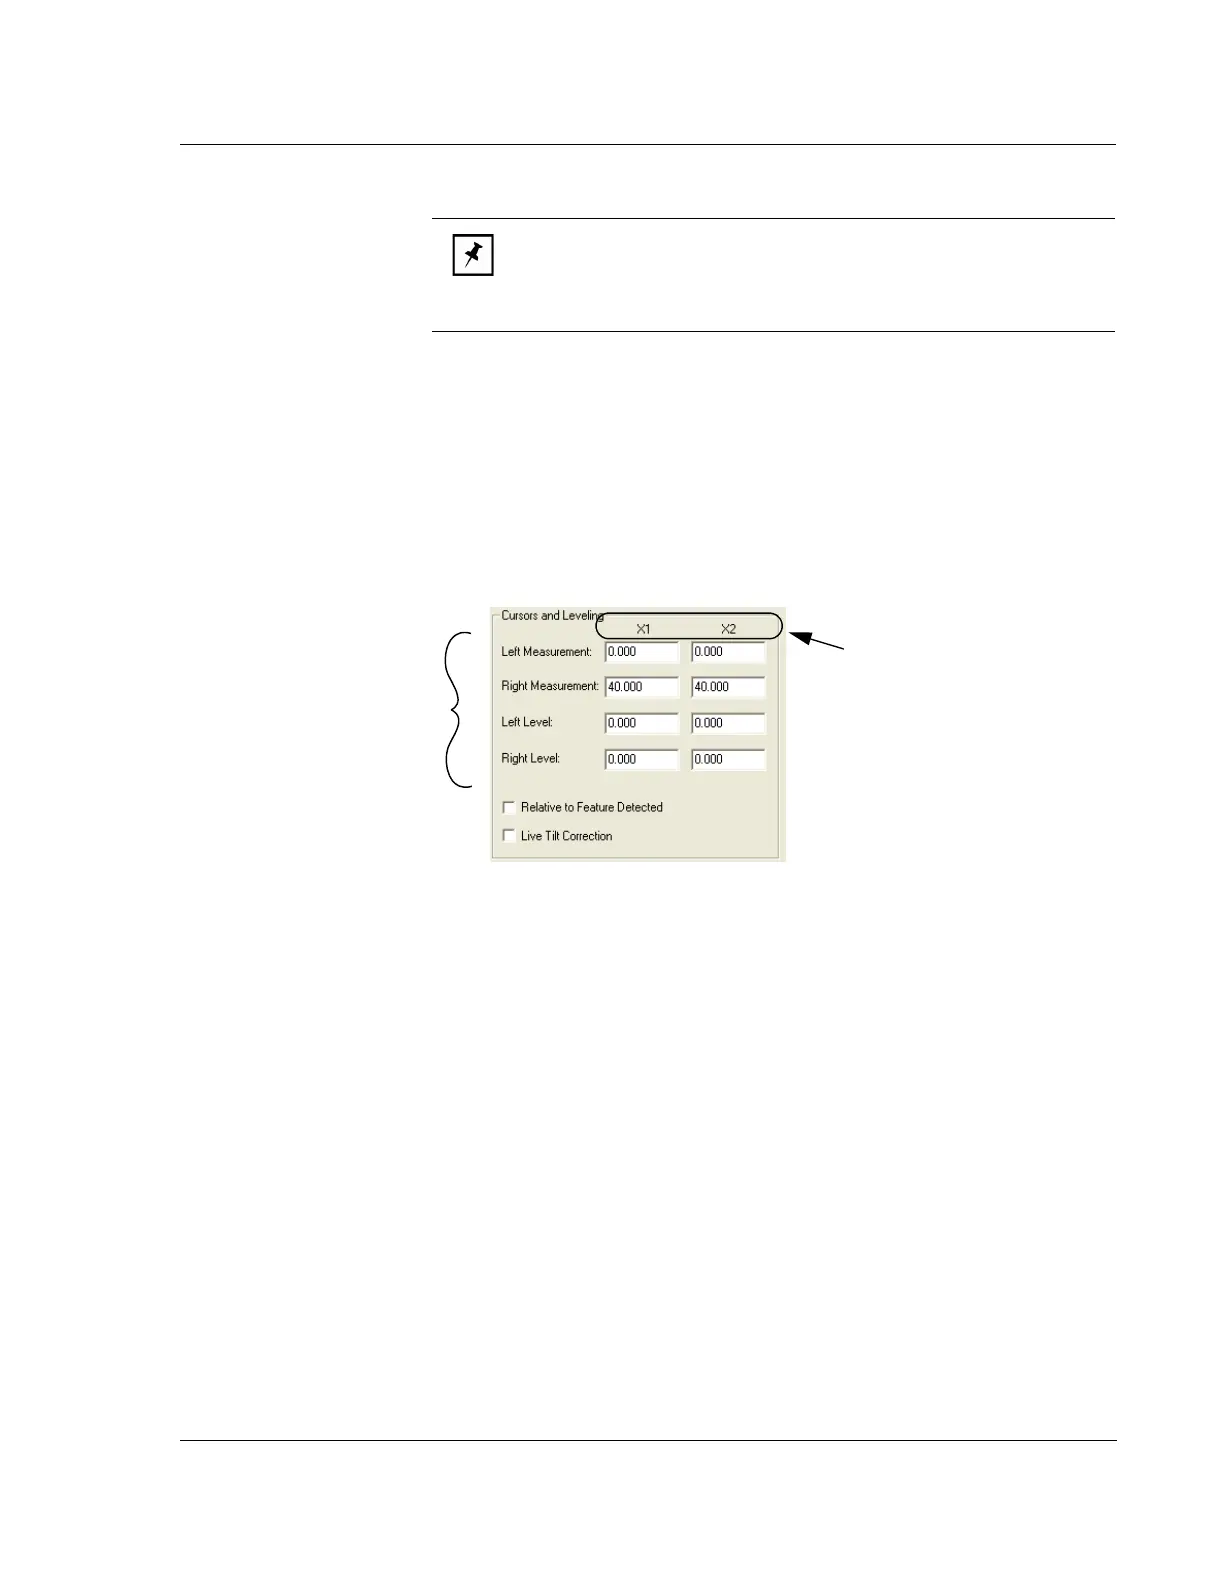
Figure 3.29 Cursor Parameters - Recipe Editor
Cursor parameters can be
changed using the screen
variable boxes by clicking in
the appropriate variable box to
highlight the current number.
Then type in the new number.
The limits of the cursor boundary
are displayed in the X1 and X2
columns for the various cursors.
Cursor positions can also be
changed by adjusting their
position in the data analysis
program.