0142530-000 AB KLA-Tencor Confidential 13-3
3/13/09
KLA-Tencor P-16+ / P-6 User’s Guide Stylus Change Procedure - Stylus Removal and Replacement
Stylus Removal 13
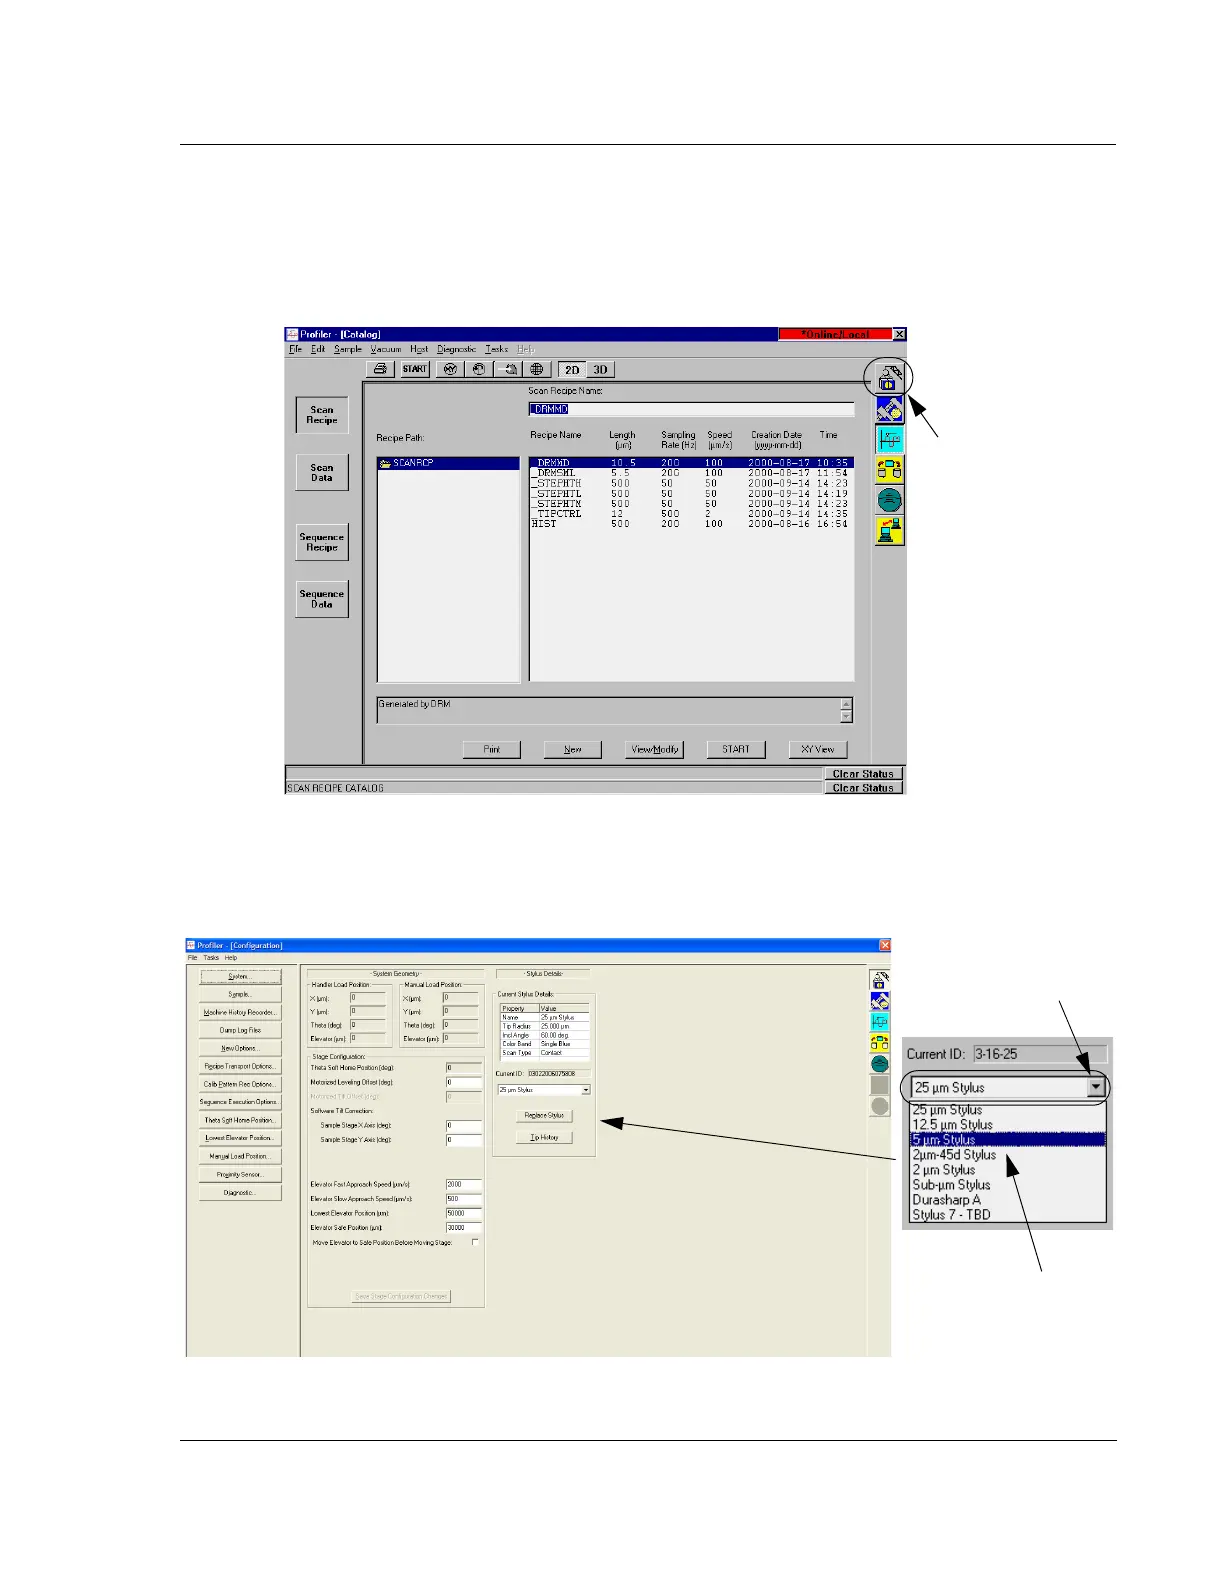
1. From the Profiler [Catalog] screen click on the Configuration icon to display the
Configuration screen. (See Figure 13.1.)
2. From the
Configuration screen click on the menu arrow to the right of the stylus
type variable box to display its menu. (See Figure 13.2.)
Figure 13.1 Profiler [Catalog] - Click on the Calibration Icon
Step 1 Click on the
Configuration icon to
display the
Configuration
screen.
Figure 13.2 Stylus Force Calibration Button
Step 2 Click the menu
arrow to display the list
of stylus types.
Step 3 Click on the stylus
type of the stylus that is to
be mounted.

 Loading...