0142530-000 AB KLA-Tencor Confidential 6-43
3/13/09
KLA-Tencor P-16+ / P-6 User’s Guide Sequence Recipe and Data - Sequencing with Pattern Recognition Deskew (Optional
d. If the rectangle was too small or too large, a message dialog box appears
indicating that the rectangle was too small or too large:
i. Click
OK.
ii. Teach the pattern again.
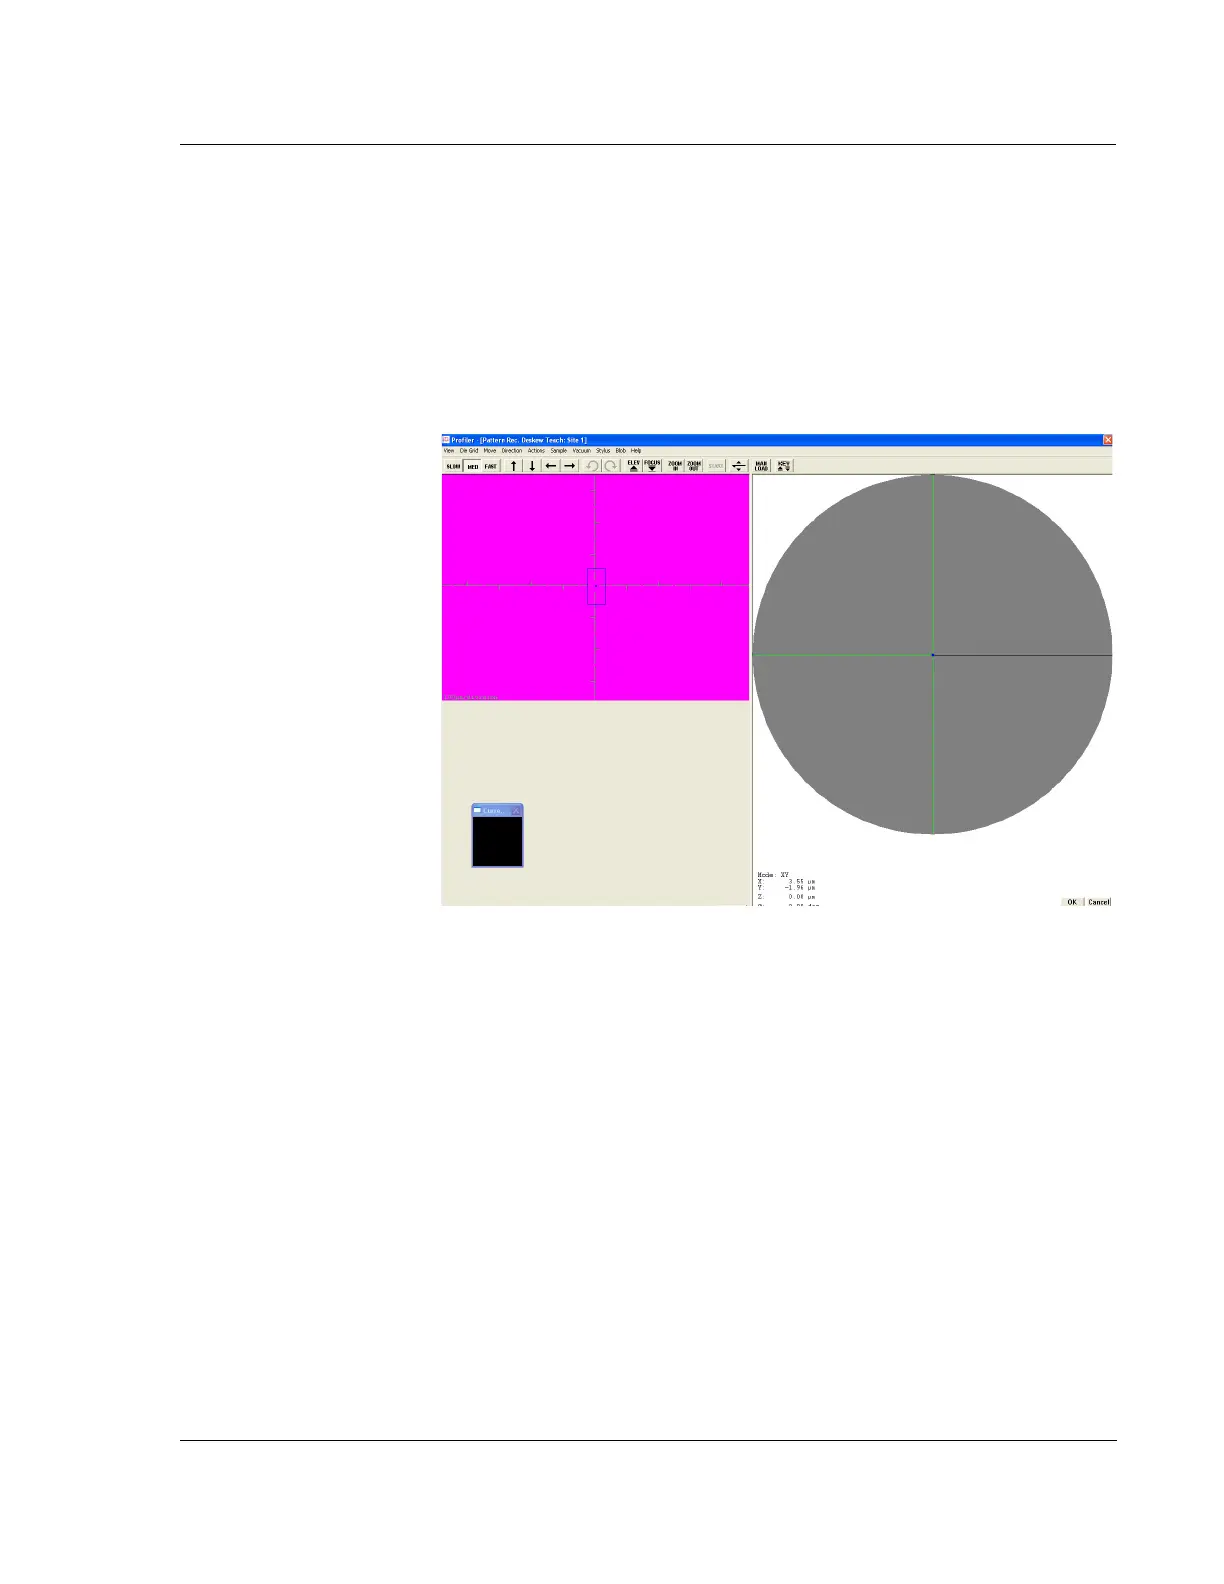
8. The blue box remains on the window with a darker blue dot in the center.
The stage moves until the selected feature is centered in the crosshair
(Figure 6.35 on page 6-43).
9. Move the stage a small distance.
10. Click
Verify to test whether the system can accurately find the taught feature.
A box is drawn around the feature when it is found.
11. If recognition fails, select another pattern and retry.
12. Click
OK to accept the new pattern.
13. Repeat Step 2 to Step 9 for
Deskew Site 2 to establish the second deskew point.
14. Once the deskew sites have been successfully established, proceed to
programming the rest of the sequence steps.
Due to the number of variables that affect pattern recognition, the computer
might not always be successful in locating a deskew site. The instrument can be
preset to do one of four things in the event of a failure:
Continue scanning
Stop scanning the wafer and proceed to the next scan site
Repeat the pattern recognition
Stop the entire sequence
Figure 6.35 Pattern Rec. Deskew Teach Window After Teach