Issue 3.0
7-10 Installing SV9100 Wireless Telephones
2.2.3.1 Charging the Battery Pack
1. Place the handset face down on a flat surface.
2. Pull the lock at the bottom of the battery compartment cover
upward and at the same time shift the cover downwards.
3. Remove the battery compartment cover.
4. Lift the battery pack and remove the battery protective tab.
5. Push the battery pack back into the casing.
6. Replace the battery cover.
2.2.3.2 Installing the Charger
1. Place the charger on a flat surface.
2. Connect the micro-B USB connector of the USB cable to
(the back of) the charger.
3. Connect the type A USB connector to the USB AC/DC
Adapter.
4. Connect the adapter to an electrical outlet.
5. Set the handset on the charger (refer to Figure 7-8 G566
Wireless Handset on page 7-9).
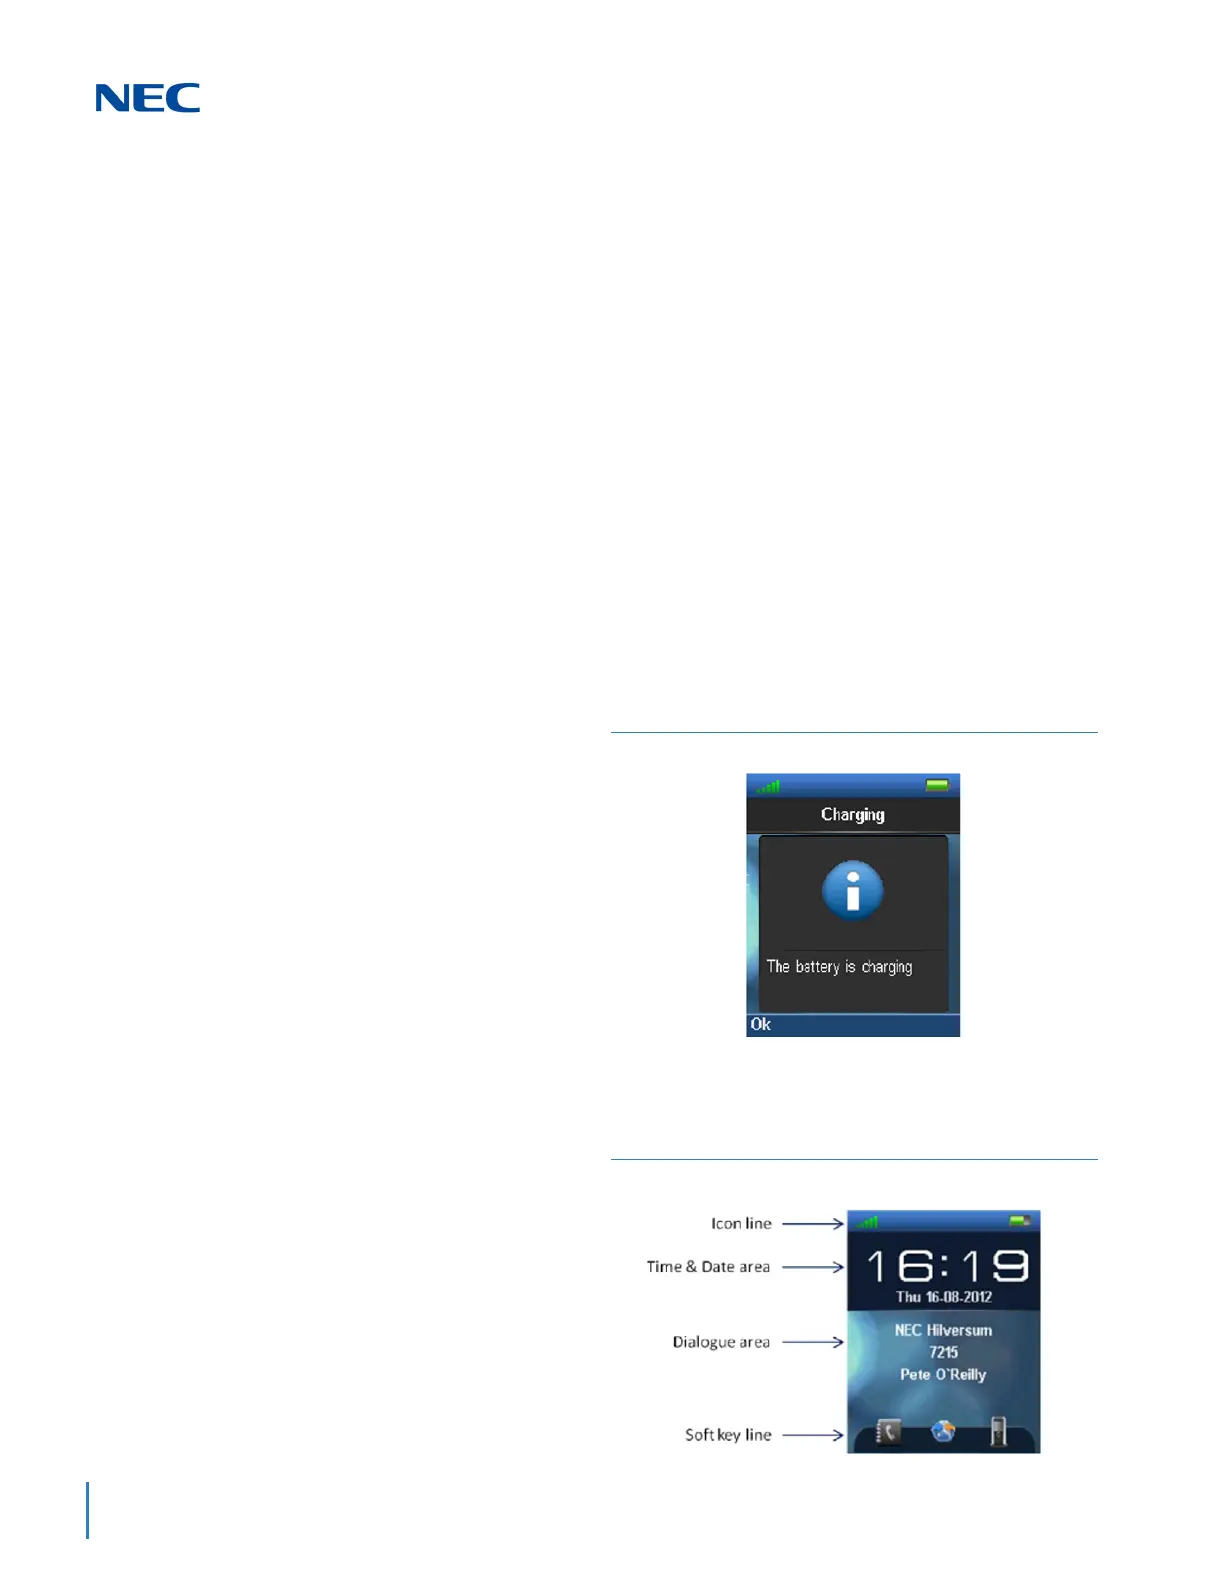
The Charging screen is displayed.
6. After a few seconds, the Charging display is replaced by the
normal display. Refer to Table 7-5 G566 Battery Charge
Status Icons on page 7-11 for a description of the icons
displayed during charging.
Figure 7-9 G566 Battery Charging Display
Figure 7-10 G566 Display Screen

 Loading...


