Issue 3.0
9-128 Installing SV9100 Optional Equipment
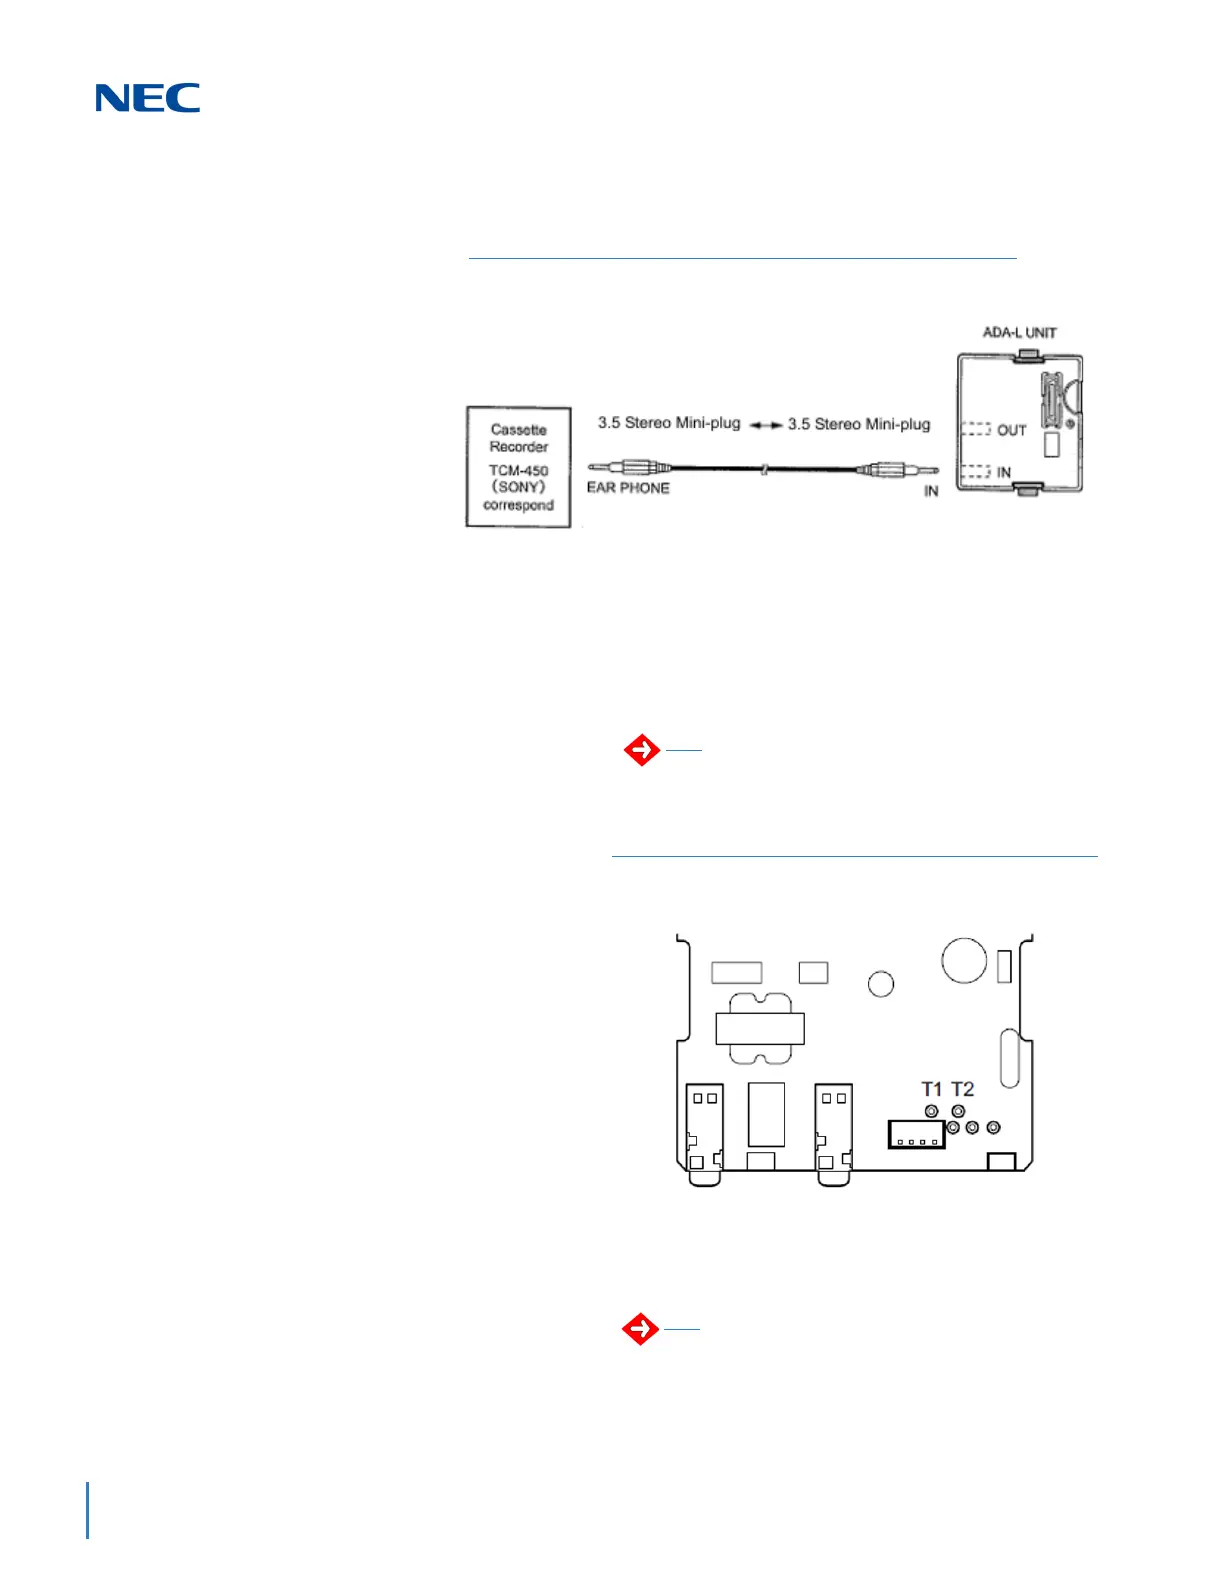
2. Using the mini-plug connection cord, connect the ADA-L
Unit IN jack to the cassette recorder EAR PHONE jack
(Refer to Figure 9-109 ADA-L IN Jack Connection).
13.3.3.3 Send a Startup (REMOTE) Signal to the Recorder
1. Using a Phillips screwdriver, remove the screw from the
ADA-L UNIT. Solder the cable to the T1 and T2 contacts on
the internal board (refer to Figure 9-110 ADA-L Solder
Points).
2. Run the cable out of the opening of the ADA-L UNIT (refer to
Figure 9-111 ADA-L Cable Opening).
Figure 9-109 ADA-L IN Jack Connection
❍ Ensure solder does not adhere to
surrounding parts.
❍ Remove any solder waste from the board.
Figure 9-110 ADA-L Solder Points
❍ DSW 4 must be set to ON.
❍ This function is not supported on some
recorders.

 Loading...


