8. CAPTURE FEATURE
168
8. CAPTURE FEATURE
You can use the screen capture feature to capture still-image data of the screen. You can save
the captured data to a USB memory device or overlay it on the input signal on the instrument’s
display.
8.1 Capturing the Displayed Screen
To take a screen capture, follow the procedure below.
1. Display the screen you want to capture.
2. Press CAP.
The screen is captured to the internal memory. You can also take screen captures by
pressing F•2 REFRESH while the CAP menu is displayed.
Note that if you perform one of the following operations after taking a screen capture, the
captured data will be deleted.
• Change the measurement screen
• Press INPUT, MULTI, SYS, MEM, or RECALL
• Turn off the power
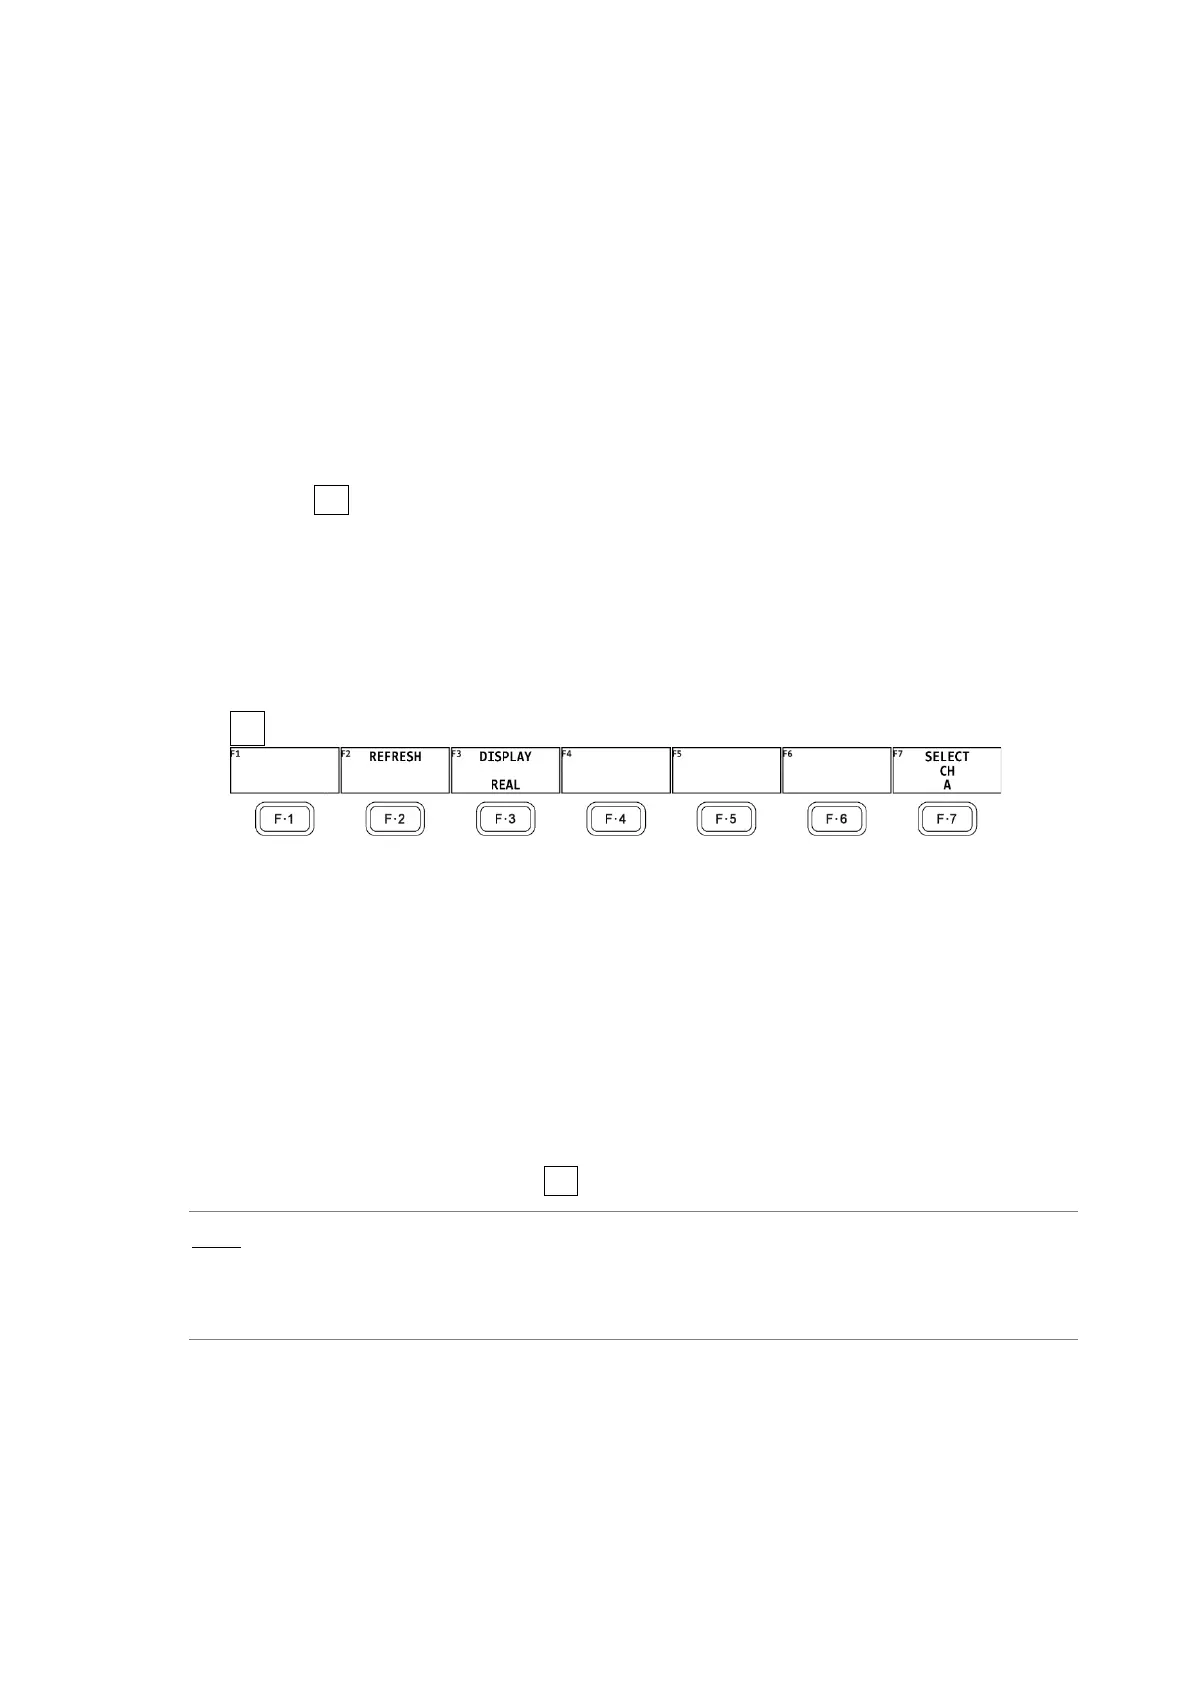
CAP →
Figure 8-1 CAP menu
8.2 Displaying Screen Capture Data
Press CAP to display the acquired screen capture data on the instrument or overlay it on the
current input signal.
You can display captured video signal waveform, vector, picture, audio waveform, and eye
pattern waveform display data on the instrument. Other kinds of data (such as status and
scale data) cannot be displayed. However, these other kinds of data can be saved to a USB
memory device as BMP files.
To display screen capture data, press F•3 DISPLAY on the CAP menu.
REAL: The current input signal is displayed.
HOLD: The screen capture data is displayed.
BOTH: The current input signal and the screen capture data are overlaid with their
intensities halved.