I SERVICE MODE > 5. Machine
I-6
d-Color MF4003/MF3303
<Procedure>
1. Load manual bypass tray with A4 or 8 1/2 x 11 plain paper.
2. Select a test pattern.
3. Select a paper type.
4. Press the Start key to let the machine produce a test pattern.
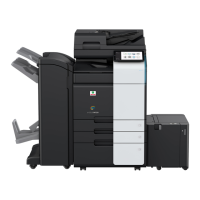
5. Check the dimension of width A on the test pattern.
6. If width A falls outside the target, change the setting using the [+] / [-] key.
• If width A is longer than the target, make the setting value smaller than the current one.
• If width A is shorter than the target, make the setting value greater than the current one.
7. Press the Start key to let the machine produce a test pattern.
8. Check the dimension of width A on the test pattern.
9. If width A is outside the target, change the setting again and make a check again.
10. If width A falls within the target, touch [END].
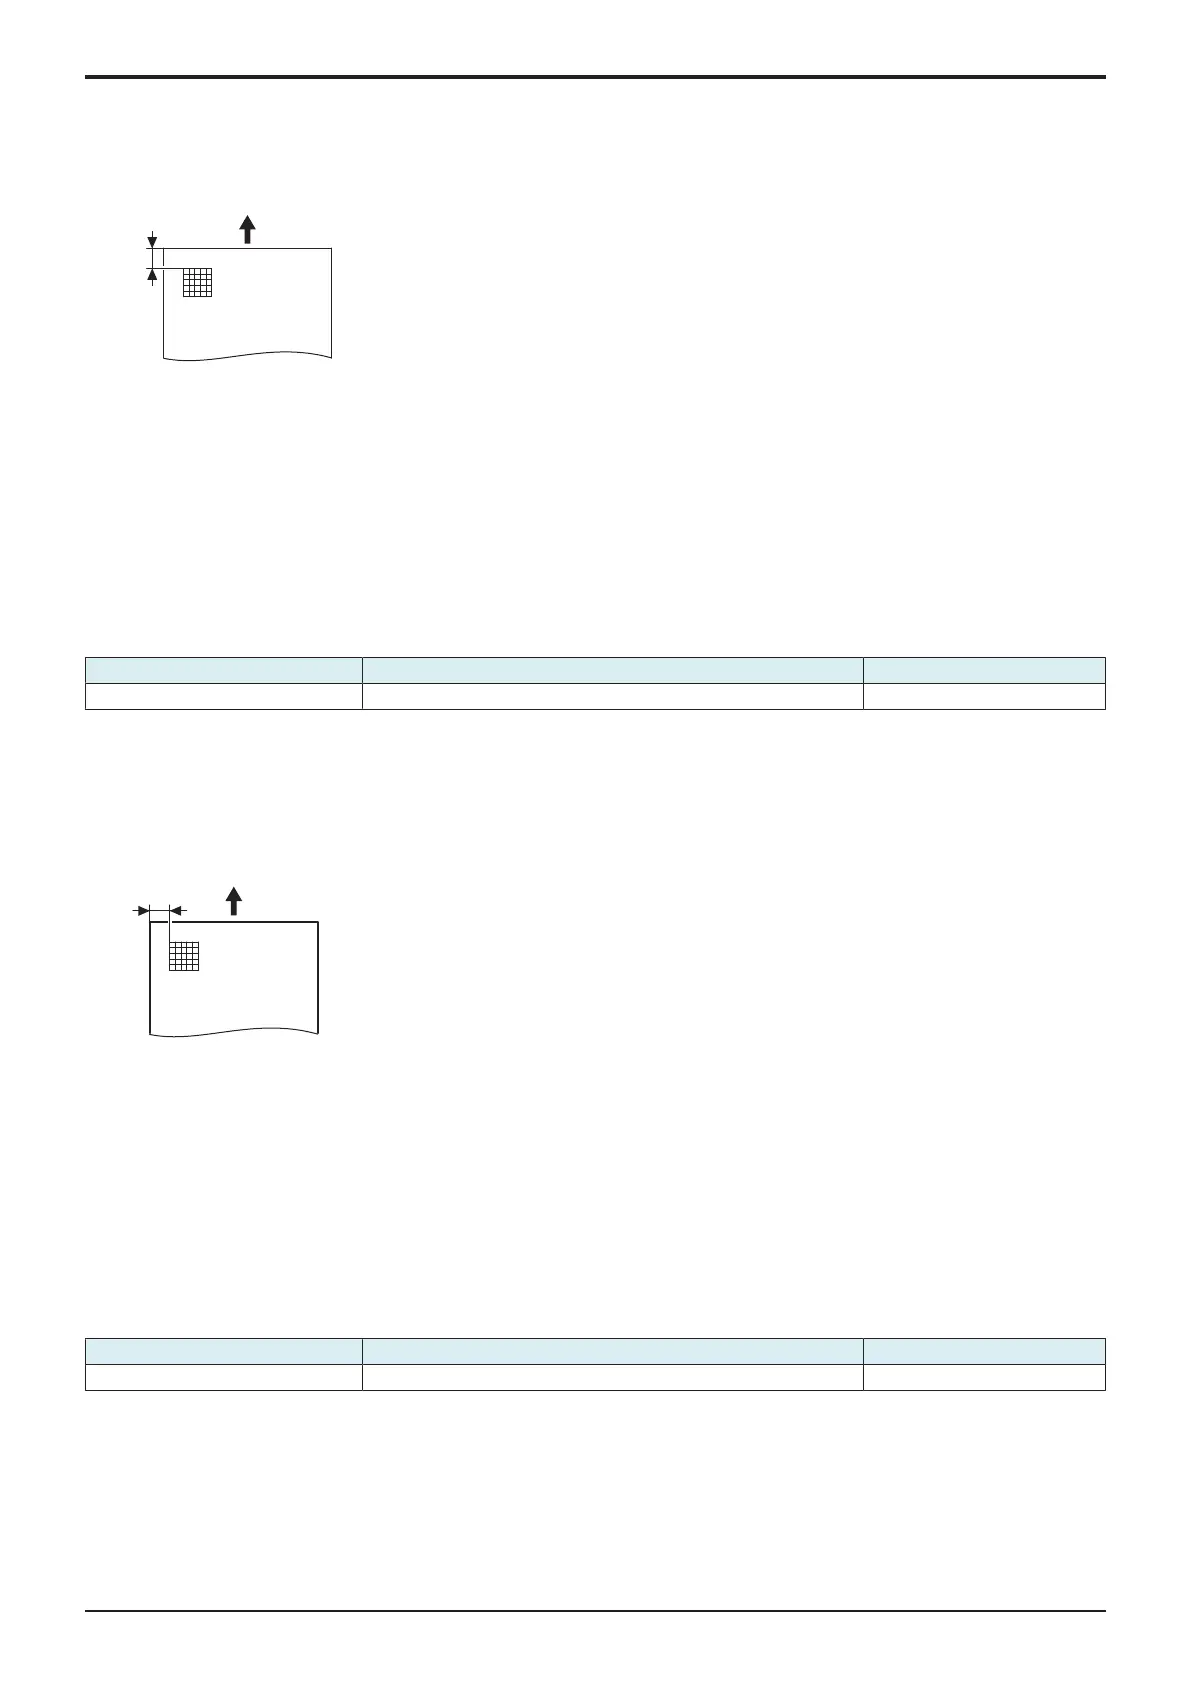
5.3.2Printer Image Centering Side 1
• To vary the print start position in the main scan direction for each paper source.
• The PH unit has been replaced.
• A paper feed unit has been added.
• The print image deviates in the main scan direction.
Target Setting range Default setting
4.2 ± 2.0 mm -5.0 mm to +5.0 mm (in 0.2 mm increments) 0.0 mm
<Procedure>
1. Load paper to the paper source to be adjusted.
NOTE
▪ Use A4 or 8 1/2 x 11 plain paper for the manual bypass tray.
2. Select a test pattern.
3. Select a paper source.
4. Press the Start key to let the machine produce a test pattern.
5. Check the dimension of width A on the test pattern.
6. If width A falls outside the target, change the setting using the [+] / [-] key.
• If width A is longer than the target, make the setting value smaller than the current one.
• If width A is shorter than the target, make the setting value greater than the current one.
7. Press the Start key to let the machine produce a test pattern.
8. Check the dimension of width A on the test pattern.
9. If width A is outside the target, change the setting again and make a check again.
10. If width A falls within the target, touch [END].
5.3.3Leading Edge Adj. Side 2 (Duplex)
• For individual types of paper, this function allows the adjustment of the image write start position in the sub scan direction on the 2nd side
of duplex printing. (to adjust the timing starting from the roller connection up to start of transfer output).
• Although the adjustment is made on the manual bypass tray, the adjusted values are reflected to each paper tray.
• This adjustment is made when the image on the 2nd side of paper deviates from the original position in the sub scan direction.
• This setting can be made independently for each paper type.
Target Setting range Default setting
4.2 ± 2.0 mm -3.0 mm to +3.0 mm (in 0.2 mm increments) 0.0 mm
<Procedure>
1. Load manual bypass tray with A4 or 8 1/2 x 11 plain paper.
2. Select a test pattern.
3. Select a paper type.
4. Press the Start key to let the machine produce a test pattern.
5. Check the dimension of width A on the test pattern. For measurement, use the image produced on the backside of the test pattern.

 Loading...