I SERVICE MODE > 9. System 1
I-39
d-Color MF4003/MF3303
9.2Tel/Fax Number
• To enter the tel/fax number of the service contact that will appear on the control panel when a malfunction occurs in the machine.
• Enter the tel/fax number from the 10-key pad. (19 digits)
• Upon setup.
9.3Serial Number
• To register the serial numbers of the machine and options.
• The numbers will be printed on the list output.
• To use the serial number as device ID during CS Remote Care communication.
• Upon setup.
NOTE
▪ When main power switch was turned ON while the serial number was not entered, the message to require entering the serial
number will be displayed.
▪ Do not change the serial number registered in the machine. If memory data is lost and entering the serial number is required,
enter the original correct serial number.
Be careful to enter the correct serial number since characters other than alphanumeric can be also entered. CSRC
communication is not available if a wrong serial number is entered.
▪ The serial number of “Printer” can be checked through the following: [Utility] -> [Counter].
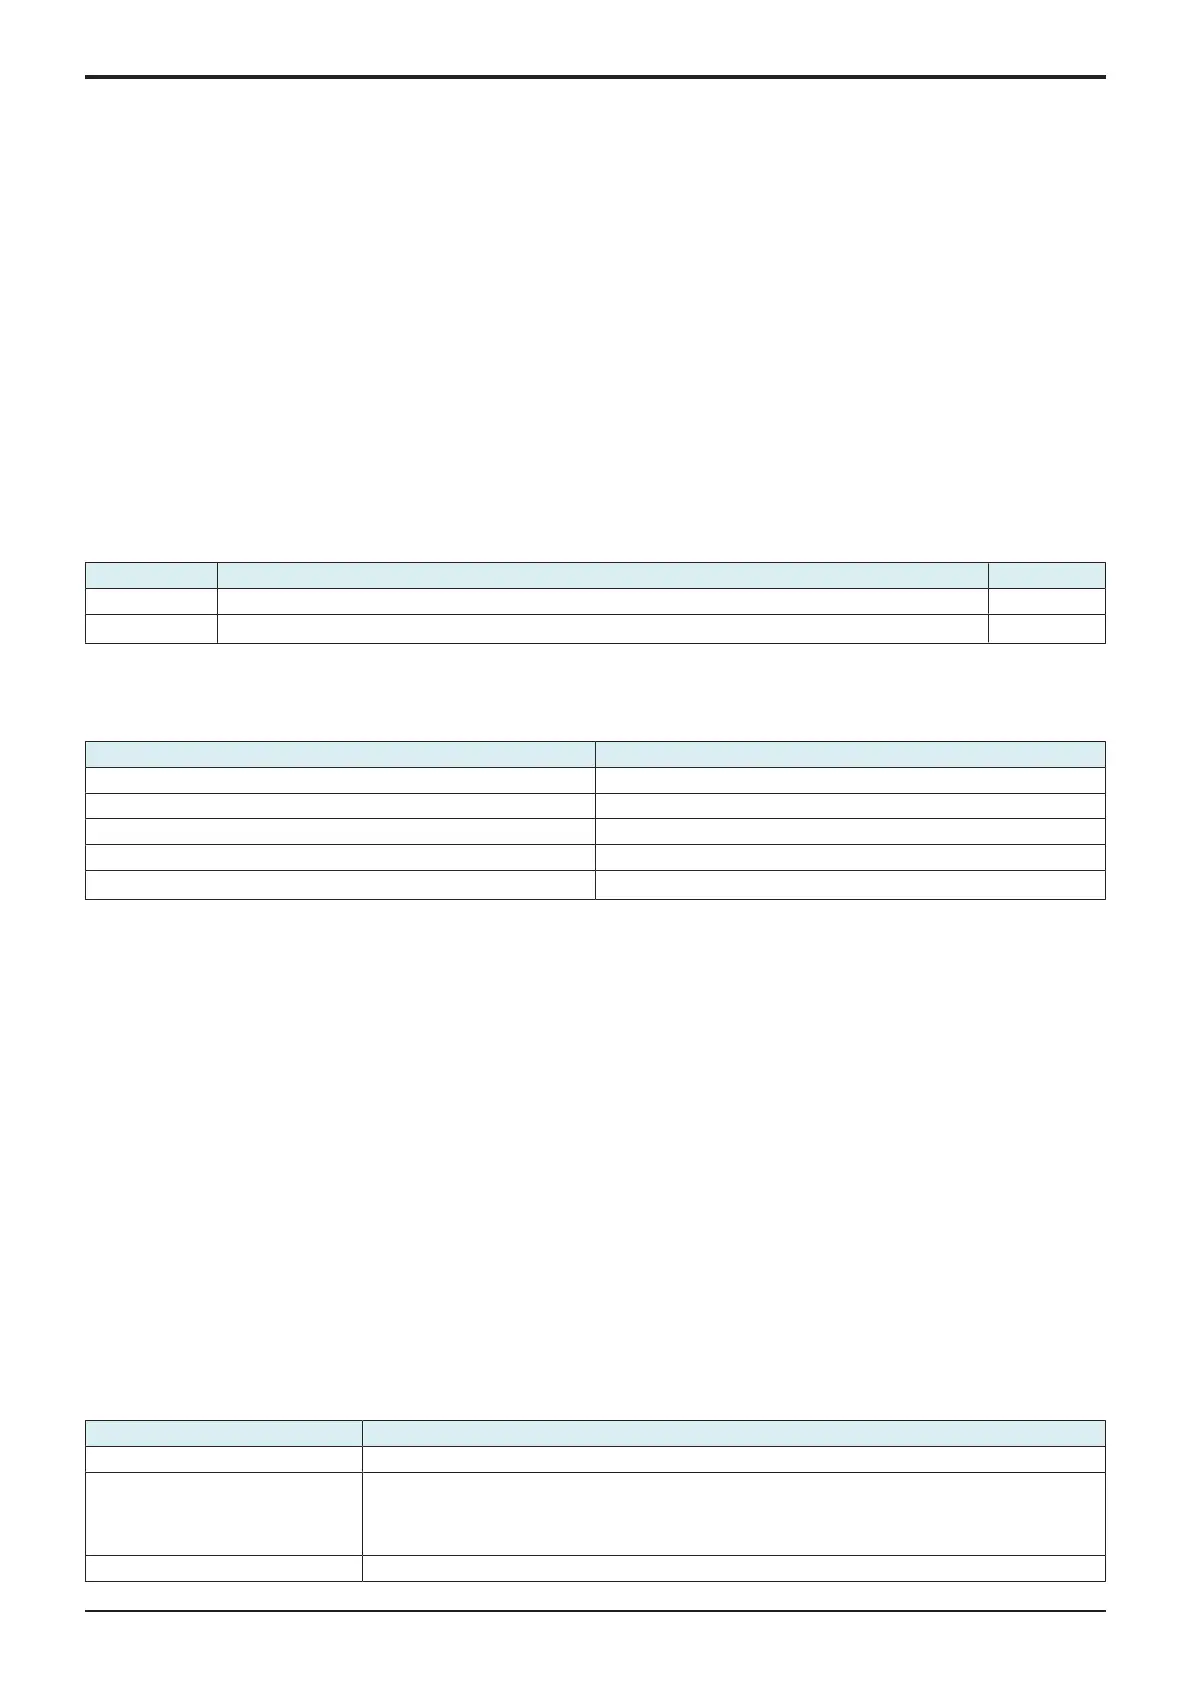
9.4Sleep ON/OFF Choice Setting
• To display the option of “No” for the [Sleep Mode Setting] screen available from [Administrator] -> [Maintenance] -> [Timer Setting] ->
[Power Settings].
Setting item Contents Default setting
Permit To display “OFF” in the sleep mode setting screen.
Prohibit No to display “OFF” in the sleep mode setting screen.
○
9.5Foolscap Size Setting
• To set the size for foolscap paper.
• Upon setup.
Setting item Default setting
8
1
/
2
x 13
1
/
2
8
1
/
2
x 13
8
1
/
4
x 13
8
1
/
8
x 13
1
/
4
8 x 13
○
NOTE
▪ “8
1
/
8
x 13
1
/
4
” and “8
1
/
2
x 13
1
/
2
” setting is corresponding to paper fed from the manual bypass tray only.
9.6Install Date
• To register the date the main body was installed.
• Upon setup.
NOTE
▪ When using without setting the install date, the date/month/year at which the total counter reaches more than 100 sheets of paper
will be set as an install date automatically.
<Procedure>
1. Touch Clear.
2. Enter the date from the 10-key pad. (Year 4 digit -> Month 2 digit -> date 2 digit)
3. Touch [Entry] to set the date of installation.
9.7Initialization
Clear All Data
• To initialize the setting data.
• For details on items to be cleared, see “List of Clear Item.”
<Procedure>
1. Touch [Clear All Data].
2. Press the Start key.
3. When [OK] is displayed, turn off the main power switch and turn it on again more than 10 seconds after.
Clear Individual Data
• Select the data, then start clearing data.
Function for clearing Contents
Copy Program Data To clear data registered as copy program.
Address Registration Data To clear address registration data.
The following are address registration data:
• Group address data, Program key data, One-touch destination data, Mail body data, Subject data,
Prefix/suffix data
Fax Setting Data To clear fax-related settings and parameters. However, address-related data is not cleared.

 Loading...