09/03
4-16
DC 3535/2240/1632, WC M24
REP 1.17
Initial issue
Repairs and Adjustments
REP 1.17 VSEL PWB
Parts List on PL 13.1
Removal
WARNING
To avoid personal injury or shock, do not perform repair or adjustment activities with
the power switch on or electrical power applied to the machine
CAUTION
PWBs can be damaged by electrostatic discharge. Observe all ESD procedures.
1. Remove Right Cover (REP 14.3).
2. Remove Top Cover (REP 14.1).
3. Remove Rear Cover (REP 14.2).
4. Remove the ESS Top Cover (PL 13.1).
CAUTION
Protect the Hard Drive Harness. The Hard Drive is mounted to the ESS Top Cover; the
harness remains connected to the ESS PWB while removing the cover.
a. Remove screws (11) from the ESS Top Cover.
b. Lift ESS Top Cover and place it upside down on the toner cartridges.
c. Disconnect the Hard Drive Harness from the ESS PWB.
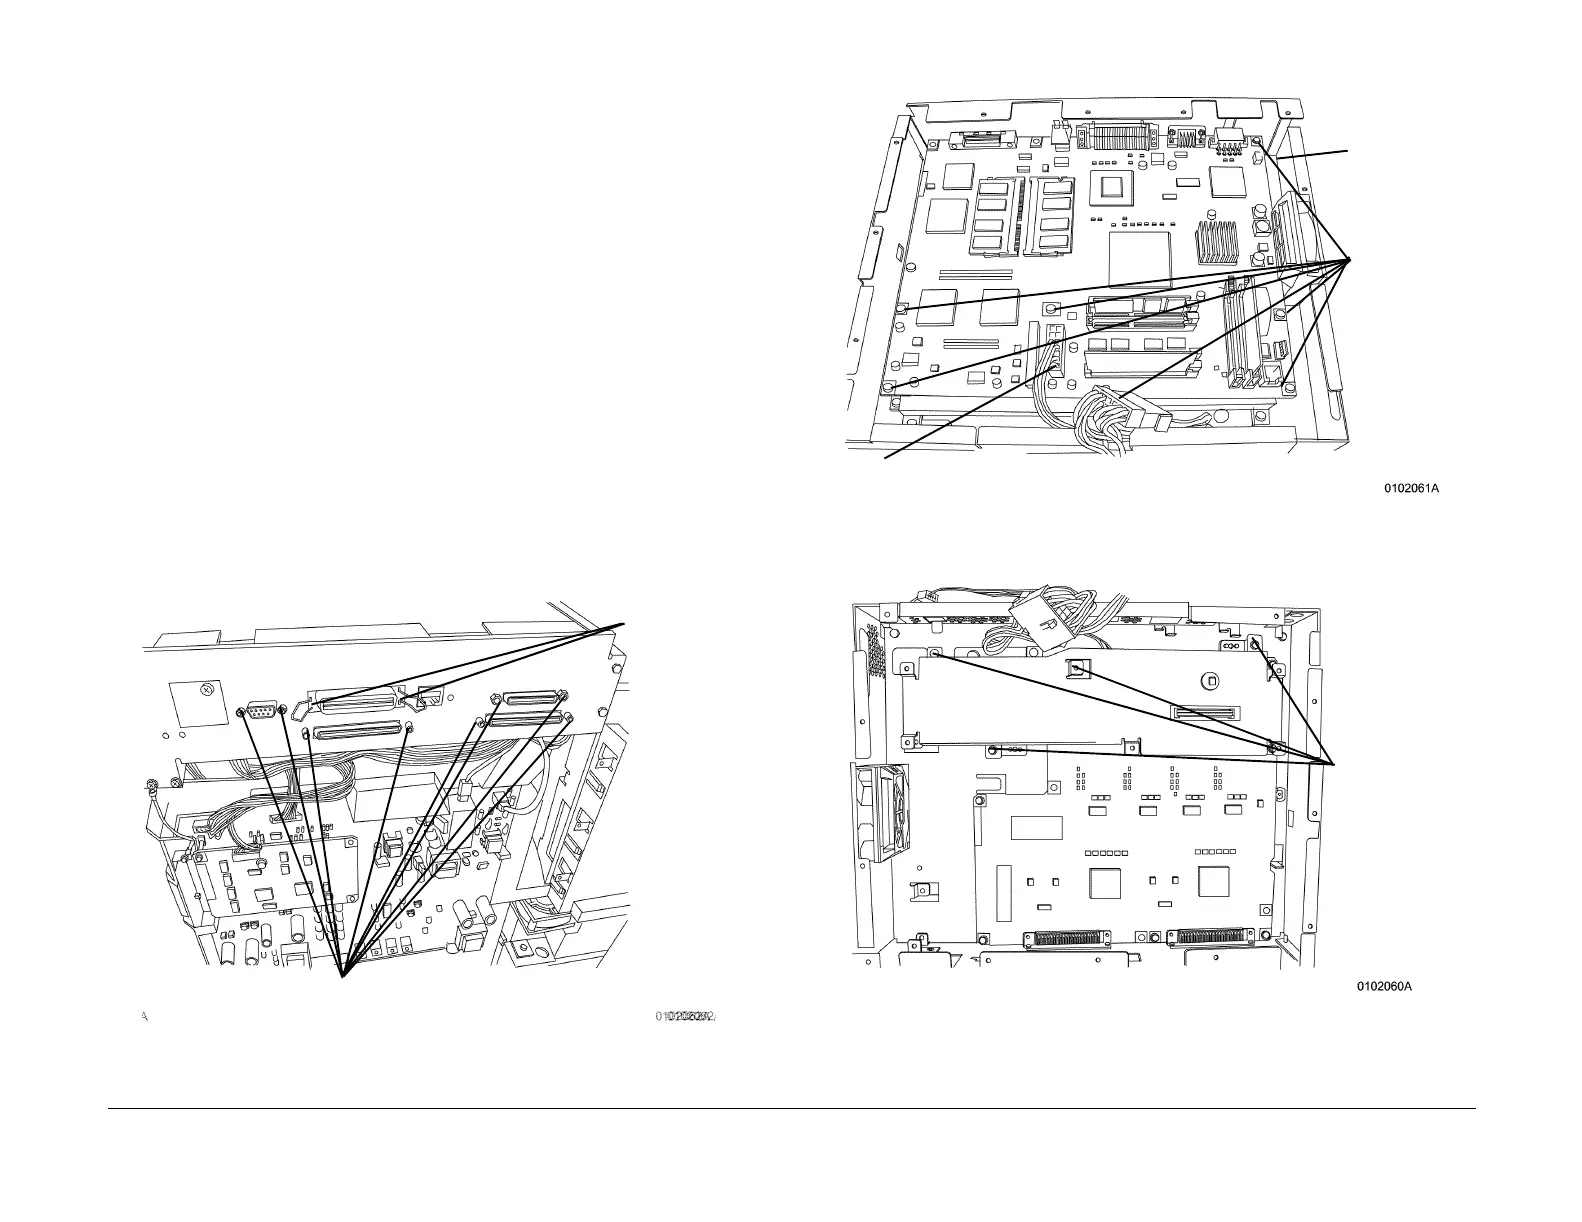
5. Remove the mating connector screws (8) and screws (2) securing the jacks to the plate
(Figure 1).
Figure 1 Removing mating connector screws and screws.
6. Remove the ESS PWB (Figure 2).
Figure 2 Removing the ESS PWB
7. Remove the bracket over the VSEL PWB (Figure 3).
Figure 3 Removing Bracket
8. Remove the VSEL PWB (Figure 4).
1
Remove mating connector screws (8)
2
Remove
screws (2)
1
Disconnect
P/J310
2
Remove
screws (7)
3
Disconnect P300/NJ300. Lift ESS straight up to disconnect P/J460.
1
Remove
screws
(4)

 Loading...


