09/03
4-86
DC 3535/2240/1632, WC M24
REP 9.16, REP 9.17
Initial issue
Repairs and Adjustments
REP 9.16 IBT Cleaner Assembly
Parts List on PL 5.3
Removal
WARNING
To avoid personal injury or shock, do not perform repair or adjustment activities with
the power switch on or electrical power applied to the machine.
1. Open Front Cover.
2. Release and move Xerographic Release Lever down.
3. Remove Right Cover (REP 14.3).
4. Remove IBT Belt Assembly just enough to access IBT Cleaner Assembly (REP 9.15).
CAUTION
In next step, toner may spill out of Belt Cleaner if cleaner is handled carelessly.
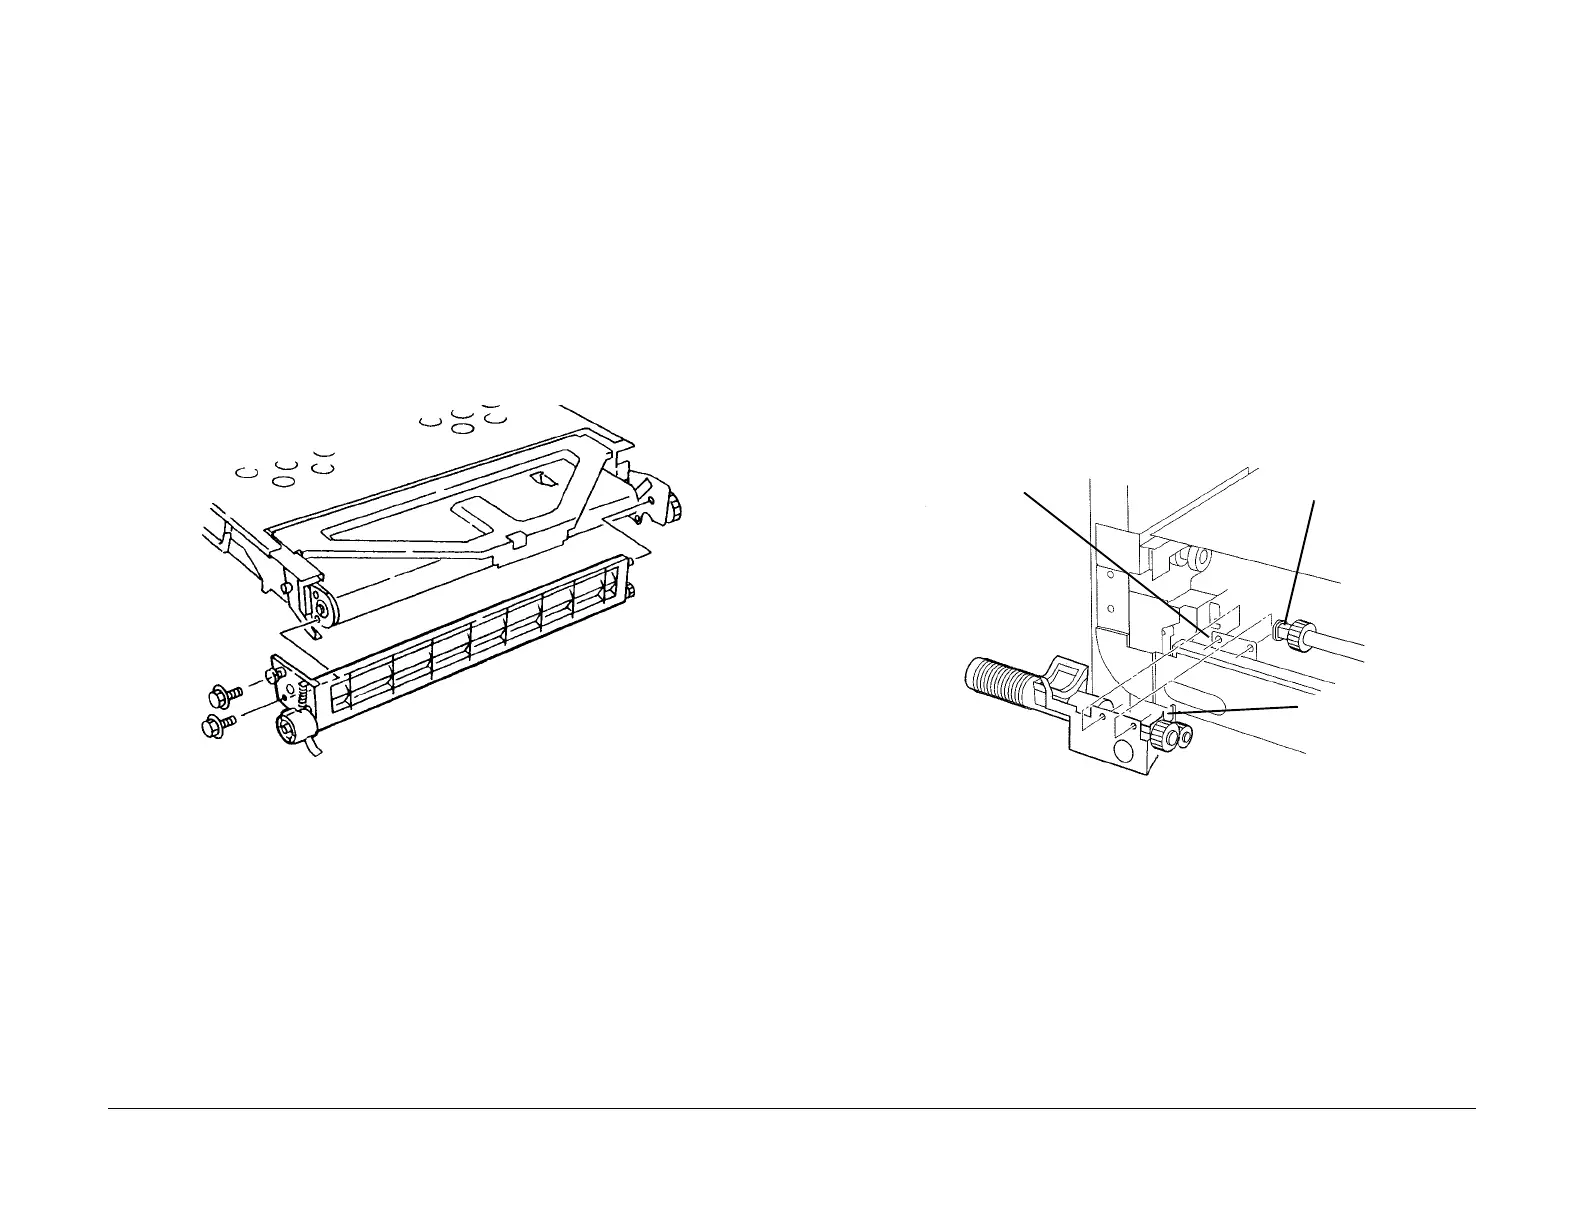
5. Remove Screws and remove IBT Cleaner Assembly (Figure 1).
Figure 1 Removing IBT Cleaner Assembly
Replacement
1. Ensure both rear locating pins engage holes in IBT Belt Assembly frame during installa-
tion of IBT Cleaner Assembly.
2. Go to Detailed Maintenance Activities and reset the HFSI counter for IBT Cleaner.
REP 9.17 Auger Assembly
Parts List on PL 5.2
Removal
WARNING
To avoid personal injury or shock, do not perform repair or adjustment activities with
the power switch on or electrical power applied to the machine.
1. Open Front Cover.
2. Remove Waste Toner Cartridge (REP 9.4).
3. Remove Right Cover (REP 14.3).
4. Remove IBT Belt Assembly (REP 9.15).
5. Move Xerographic Release Lever to up position.
6. Remove Auger Assembly (Figure 1).
a. Remove screws (2).
b. Move Auger Assembly toward bearing to disengage cutout from bearing.
c. Remove Auger Assembly.
Figure 1 Removing Waste Toner Agitator
Replacement
Move Xerographic Release Lever to down position before reinstalling IBT Belt Assembly.
Screws
(2)
Screws (2)
Cutout
Bearing

 Loading...


