09/03
4-87
DC 3535/2240/1632, WC M24
REP 9.18
Repairs and Adjustments
Initial issue
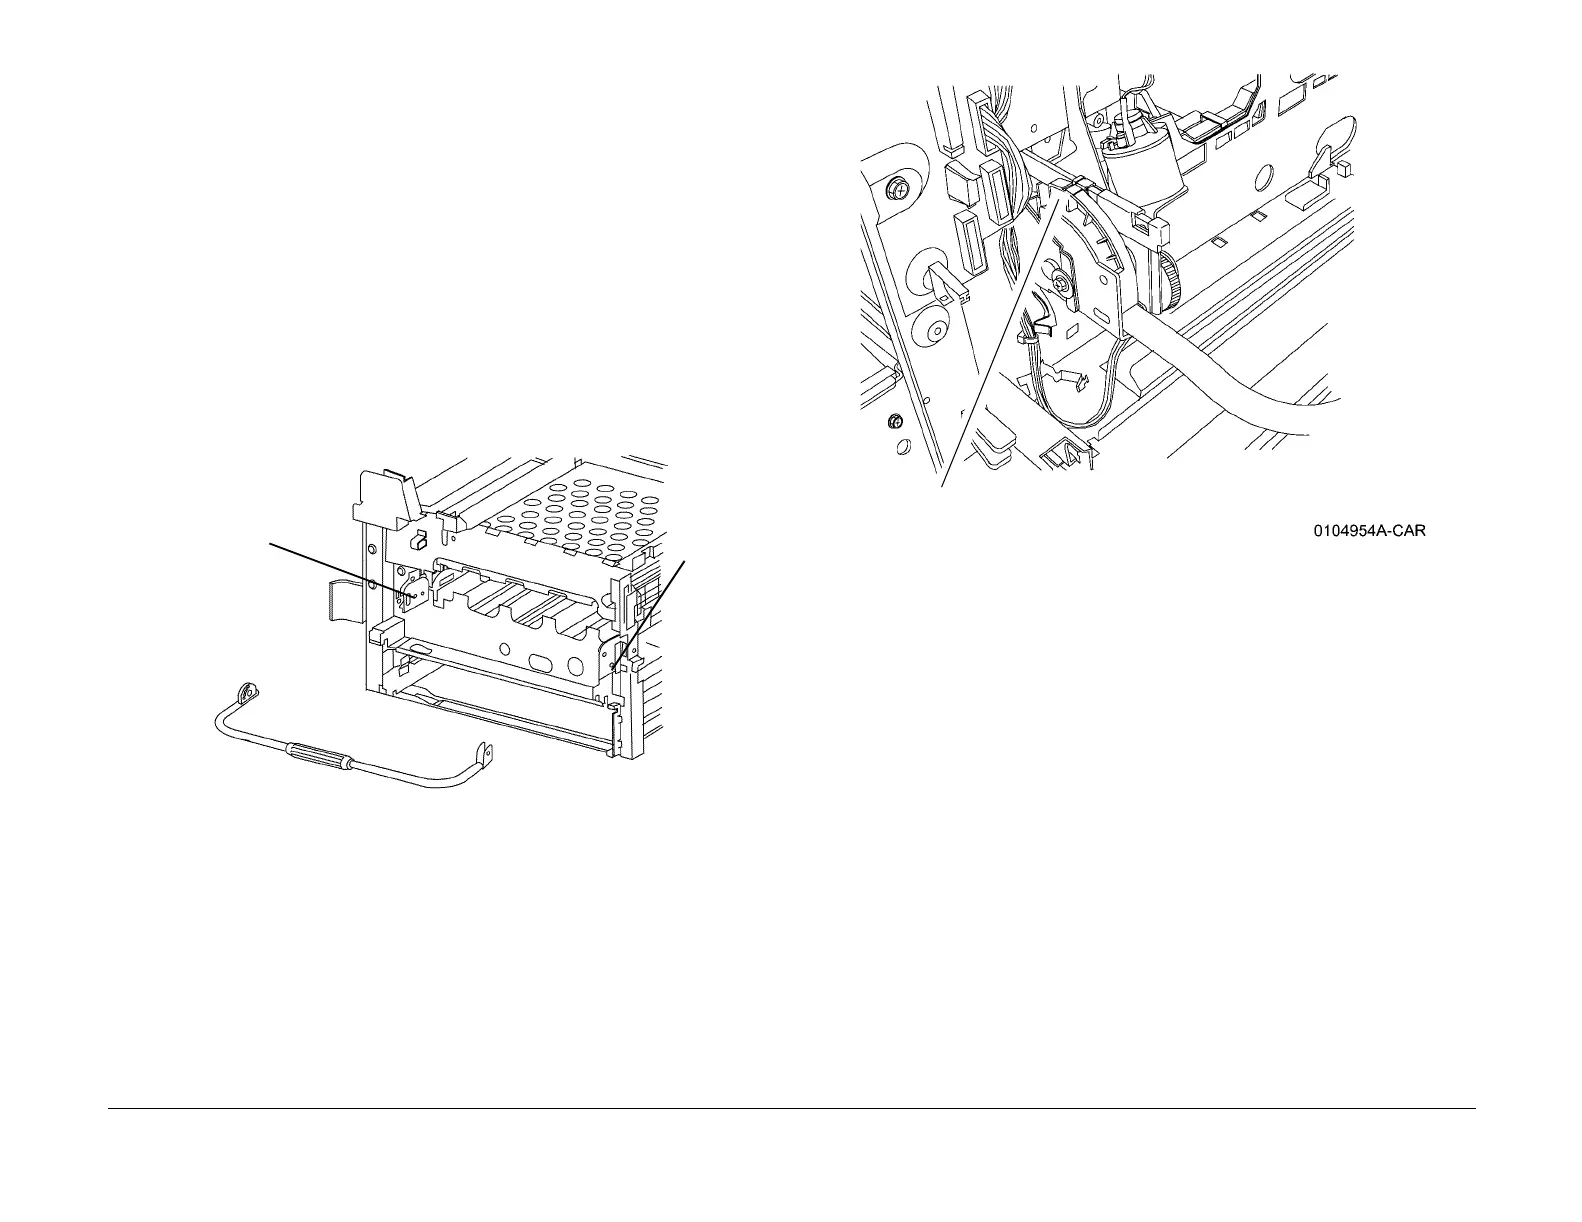
REP 9.18 Lever Assembly
Parts List on PL 5.1
Removal
WARNING
To avoid personal injury or shock, do not perform repair or adjustment activities with
the power switch on or electrical power applied to the machine.
1. Open Front Cover.
2. Remove Fuser Cover (REP 14.8).
3. Remove Waste Toner Cartridge (REP 9.4).
4. Remove Waste Toner Cartridge Cover (REP 9.3).
5. Remove Inner Cover (REP 14.10).
6. Remove Drum Cartridges (REP 9.1).
7. Remove Right Cover (REP 14.3).
8. Remove IBT Belt Assembly (REP 9.15).
9. Remove Lever Assembly (Figure 1).
Figure 1 Removing Lever Assembly
Replacement
1. Make sure that the Right and Left Lift Assemblies are fully extended, and that the index
marks on both ends of the Lever are aligned with the index marks on the Lift Assemblies
(Figure 2).
Figure 2 Index Marks
2. Move Lever to down position before reinstalling IBT Belt Assembly.
1
Remove screw,
washer, and hinge
pin.
2
Remove E-
ring and
hinge pin
3
Remove
Lever
Assembly
1
Align Index Marks

 Loading...


