EPSON AcuLaser CX11/CX11F Revision B
DISASSEMBLY AND ASSEMBLY Printer 350
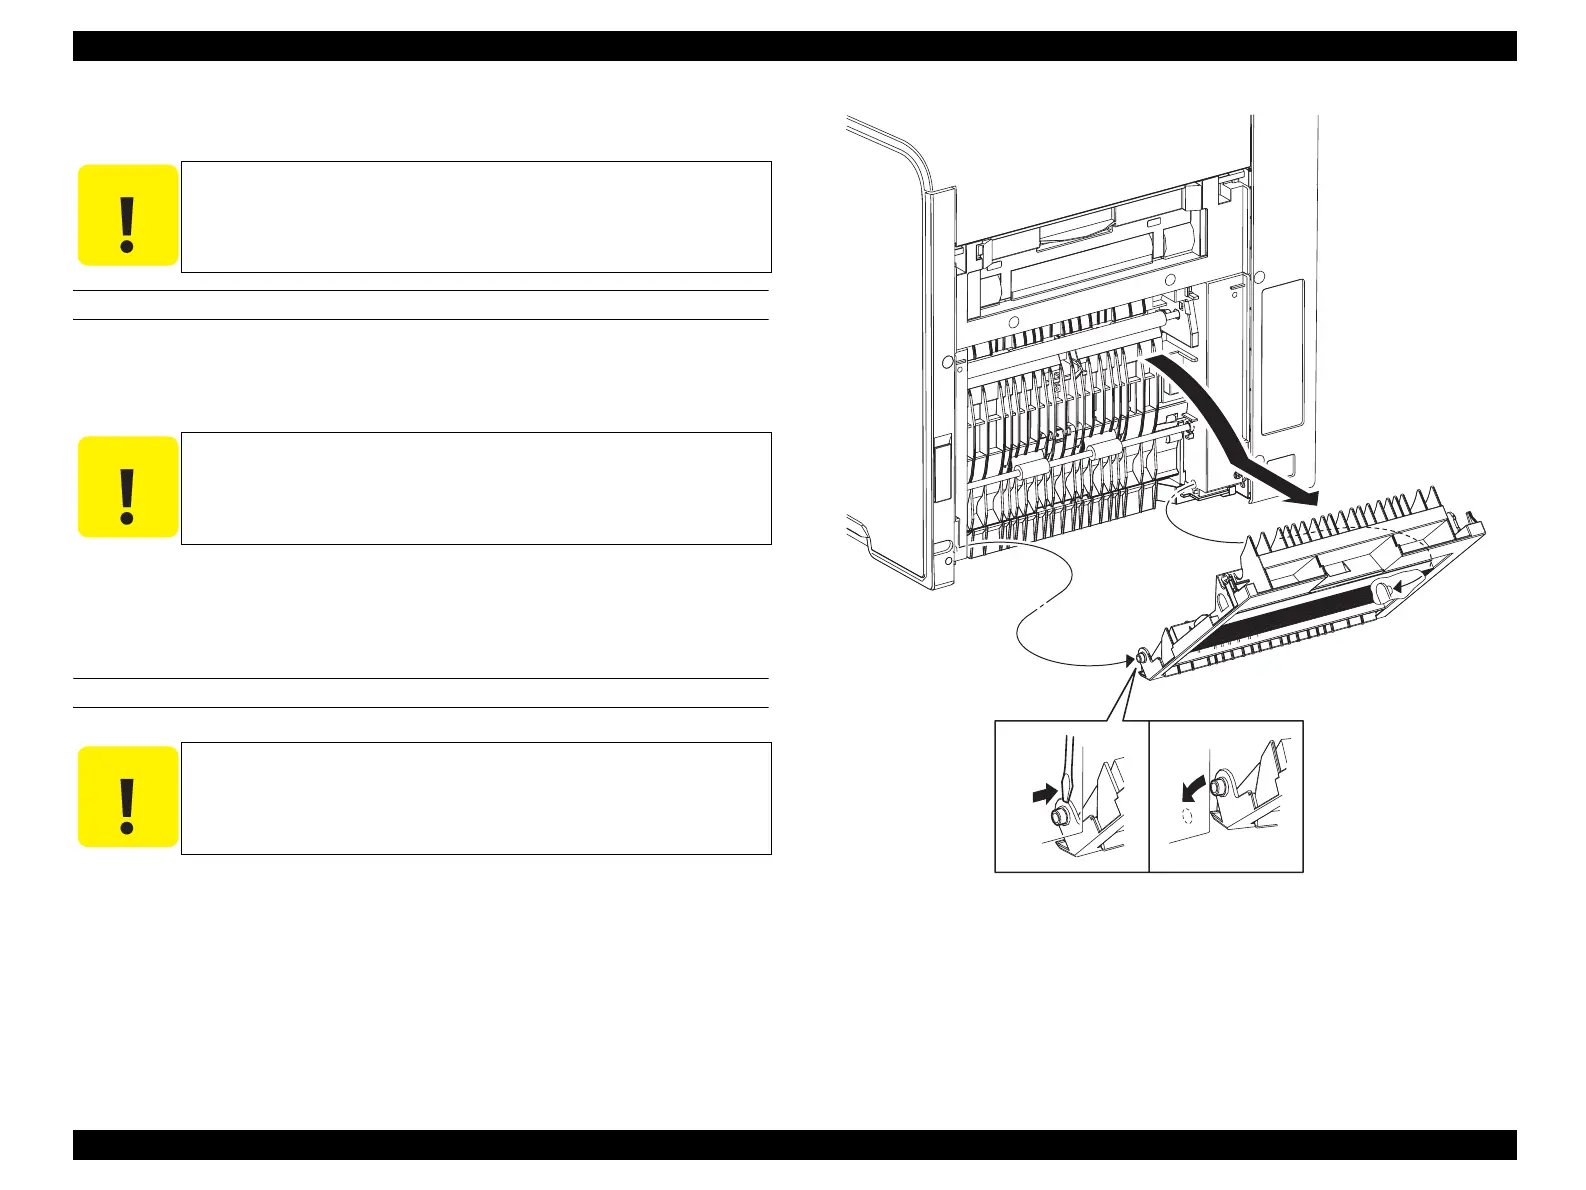
4.2.4.2 CHUTE ASSY-REAR
REMOVAL
1. Remove COVER-PH. (p349)
2. Open CHUTE ASSY-REAR.
3. Press the attaching portion on the right side of the CHUTE ASSY-REAR inward
with a flat-blade screwdriver or a similar tool, and remove the boss on the
attaching portion from the hole on the FRAME-PH to remove the CHUTE ASSY-
REAR.
REINSTALLATION
1. After inserting the boss on the left side of the CHUTE ASSY-REAR into the hole
on the left side of the FRAME-PH, insert the right boss on the CHUTE ASSY-
REAR into the hole on the right side of the FRAME-PH by sliding the right boss
from the obliquely upward.
2. Close CHUTE ASSY-REAR.
3. Attach COVER-PH. (p349)
Figure 4-42. Removal of CHUTE ASSY-REAR
C A U T I O N
Step numbers with [ ] in the figure indicate the step of
reinstallation.
C A U T I O N
Be careful not to damage the boss on the CHUTE ASSY-REAR
when performing the next procedure.
C A U T I O N
Be careful not to damage the boss on the CHUTE ASSY-REAR
when performing the next procedure.
Leg_Sec03_055EA
4)-2
[1)]4)-1
manuals4you.commanuals4you.com
 Loading...


